

How much time and money do you spend on achieving fabulously manicured nails? If it's more than you'd like, why not try some of these nail polish hacks to give yourself professional-looking nails without the hassle.
Today we're sharing 20 nail hacks that'll help you, no matter how artistically talented you are. Give them a go today!
1. Quick-dry nails
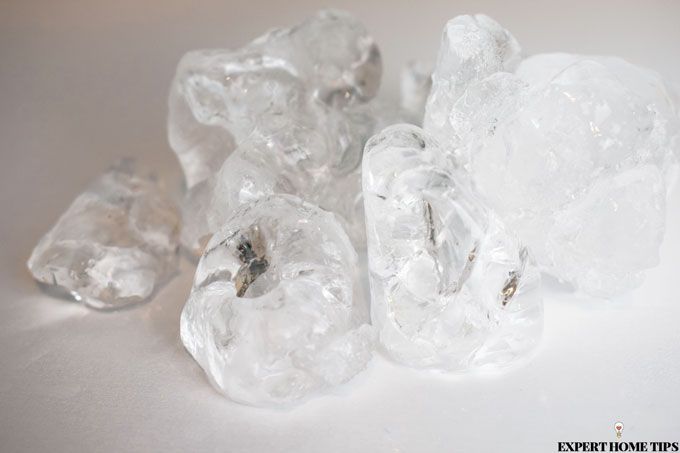
Are you always messing up your paint job because you're too impatient to wait for your nails to dry? It's easy to speed up the process with this nail drying hack. Just before and 1 minute after painting your nails, dip your fingers into a bowl of ice-cold water. The cold temperature will help the polish to harden faster.
2. Give your nails a matte finish
Nowadays nail polishes come in so many different varieties, but you don't need to buy them all to keep up with trends. If you want to transform one of your polishes into a matte finish, just mix a small amount of cornflour into the bottle. You can use a toothpick to stir it.
You can still achieve a matte finish without transforming an entire bottle of paint. All you need to do is:
- Paint your nails as normal.
- Boil some water in a saucepan.
- Face your fingernails down over the steam emitted from the boiling water.
Your nail polish will magically turn matte - how nifty is that?
3. Neat nail varnish hack
If you can't stay inside the lines when painting your nails, why not try this nail painting hack? Take some PVA glue or liquid latex and carefully paint it onto the skin around your nail. Be careful not to let any get onto your actual nail.
Paint your nails as normal and then once they're dry, carefully peel away the dried glue or latex. All of the messy paint will come along with it, leaving you with a professional manicure.
4. Use tights to remove nail polish
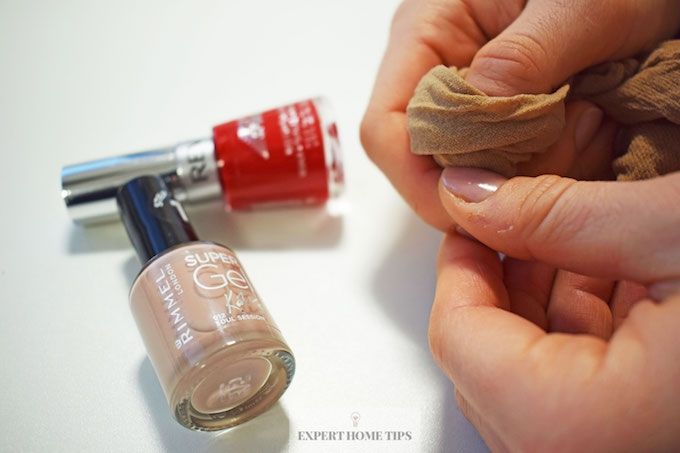
Found yourself needing to remove nail polish without any cotton wool left? You could use some toilet roll, but that old pair of ripped tights sat in your drawer will work even better!
Cut an old pair of tights into small pieces and use them to remove polish whenever you need to.
5. Go glittery!
Have you noticed that glitter polish never looks as good painted onto your nails as it does when it's in the bottle? You've probably layered it until you're left with a gloopy mess that'll never dry, but there's actually a secret trick that can help you get full coverage.
- Begin by painting your nails in a solid colour that matches your chosen glitter polish. This will stop any gaps appearing later on.
- Next, take a cosmetic sponge and the glitter polish that you want to use. Paint directly onto the sponge an area that's bigger than your fingernail. The sponge will soak up excess varnish while all of the glitter collects on the surface. Keep adding layers until you have a dense glitter.
- Working quickly, dab the sponge onto your nail. Once you're happy with how your nails look, apply a clear topcoat.
6. Fix chipped nails
There's nothing quite as irritating than perfecting your home manicure, only for it to start to chip later in the week. To make your polish go the extra mile, use a glitter polish to patch up any imperfections. This trick also works well for nails that have started to grow out. Just fill in the gap between your old polish and your cuticle with a dense glitter polish.
7. Use toothpaste to whiten your nails
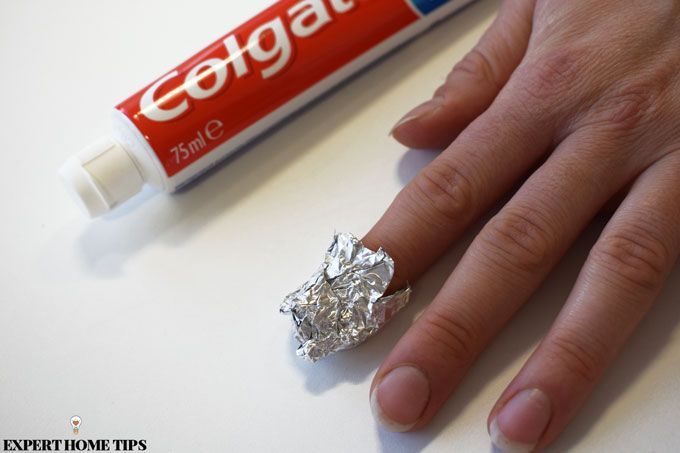
How's this for a brilliant beauty hack? Fix yellow fingernails by applying a small amount of whitening toothpaste to each fingernail. Rub it in with a nail brush and leave on your nails for at least 5 minutes.
If you want, you can wrap each finger in tin foil so that you don't get toothpaste on anything else. Rinse your nails with warm water and repeat every other day until your nails have improved.
TOP TIP: If you don't have a nail brush, an old toothbrush will do the trick.
8. How to do a french manicure
There are plenty of ways that you can achieve neat french tip nails at home, but the most effective stencilling tool has to be elastic bands. Follow these instructions and learn how to do a french manicure with a rubber band:
- Begin by applying a base coat to your nails. Leave to dry fully.
- Take an elastic band and tie it in the middle so that you have two loops.
- Place one loop over your fingernail, leaving the tip of the nail exposed.
- Loop the other end of the band over your thumb to hold it in place.
- Take a white nail polish and paint the exposed tip of the nail.
- Before the polish dries, carefully remove the elastic band.
- Once dry, add a clear topcoat.
9. How to remove glitter nail polish
Trying to remove glitter polish sends a shiver down our spine. The feeling of rubbing cotton wool on scratchy glitter is like nails on a chalkboard - not to mention how long it can take to remove every last fleck!
Next time you want to rock a glitter polish, paint a base coat of PVA glue onto the nail. Wait for it to dry and then paint your nails as normal. When you want to remove the polish, all you have to do is peel it off.
TOP TIP: This technique works well for all polishes and will protect your natural nail from staining and damage.
10. Nail polish remover jar
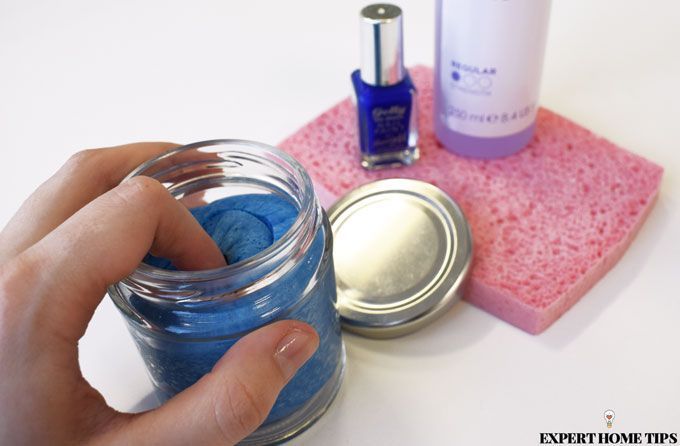
Looking for a more environmentally friendly - and much easier - way to remove your nail polish? Make a DIY polish removing jar. Take a small glass jar and place a piece of sponge inside. Pour in enough nail polish remover to completely saturate the sponge. You'll be able to dip your finger into the sponge and remove nail polish in an instant.
NOTE: Make sure that the jar is sealed correctly to stop the solution from leaking or drying out.
11. Use a bobby pin for nail art
Want to achieve a neat polka dot pattern? You don't need fancy dotting tools - a bobby pin will do the trick! Dip the longer end of the hair grip into your chosen polish. Gently dot onto the nail and wait for it to dry fully before applying a top coat.
12. Don't waste money on cuticle oil
You really don't need to splurge on expensive cuticle oils when you could use something you already have in your home. There are endless products you could use to soften your cuticles, but our favourites are baby oil and Carmex.
Use whichever you have to hand, and massage it into your cuticles. This will also help you to grow long and strong nails.
13. Water marbling
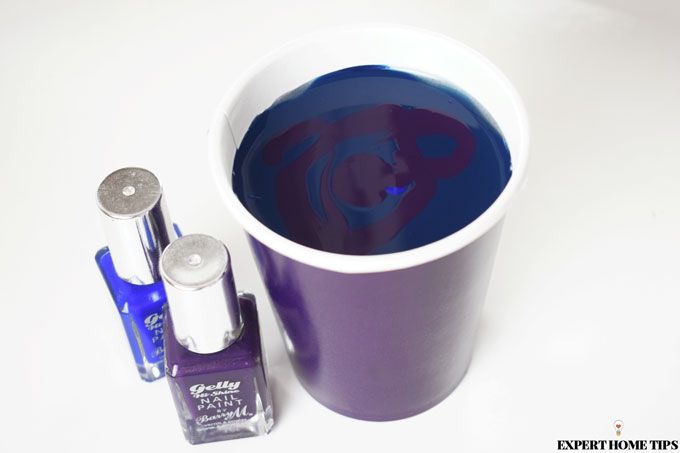
For nails that look super professional, you could try your hand at this water marbling nail polish hack.
- Take a disposable cup and fill it with cold water.
- Add drops of nail polish to the surface.
- Use a toothpick to swirl the polish around until you're happy with the design.
- Place your finger down into the surface of the water and carefully pull it out again.
- Clean up the skin around your nail with a remover solution.
14. DIY nail decals
Make your own nail decals using washi tape. Here's how it's done:
- Cut out some small shapes from the washi tape - don't be too ambitious, this is a fiddly job!
- Apply a base coat to your nails.
- Once dry, place the DIY decals onto your nails.
- Help them to stay by adding a clear coat to your nails.
15. Make your own toe separators
Toe separators are easy to misplace. Make your own by cutting up a sponge into small rectangles, just big enough to keep your toes spaced apart.
16. Loofah stencil
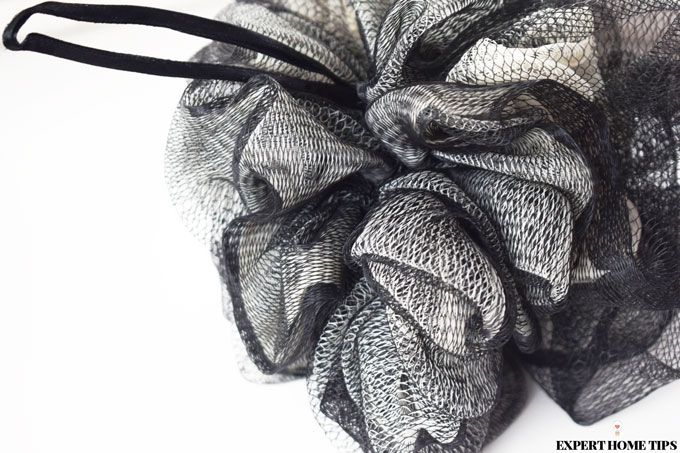
Don't throw away that old loofah! The netted material is the perfect stencil for creating a scaley design. Paint a base coat and wait for it to dry. Place a piece of the net over your nail and use a cosmetic sponge loaded with nail polish to dab a different colour over the top.
17. Nail polish storage
Make it easier than ever to pick your polish with this storage tip. Get some small, circular stickers that will fit on top of the nail polish lids. Go through your polish collection and paint a sticker for each polish. Pop the stickers on top of the polish. You can now store all of the polishes neatly in a box, whilst still being able to see what you have.
18. Use a teabag to fix a broken nail
Broken nails are very irritating, but did you know that they can be easily repaired with a teabag? Cut open the bag and dispose of the contents. Cut a small square piece of the bag, big enough to patch up the broken section. Use some nail glue to adhere it to the nail.
19. Eggshell effect
We've all got hoards of plastic bags in a cupboard somewhere. Put one to use for nail art. Pick two contrasting colours and paint one of them as a base coat - white works really well for this. Scrunch a small section up and dip it into the other polish of your choosing. Dab onto the base coat and you will have a pretty eggshell effect.
This design can get messy, so be prepared to clean it up with some nail polish remover, or use our PVA glue method mentioned above!
20. Unscrew a tight lid with a rubber band
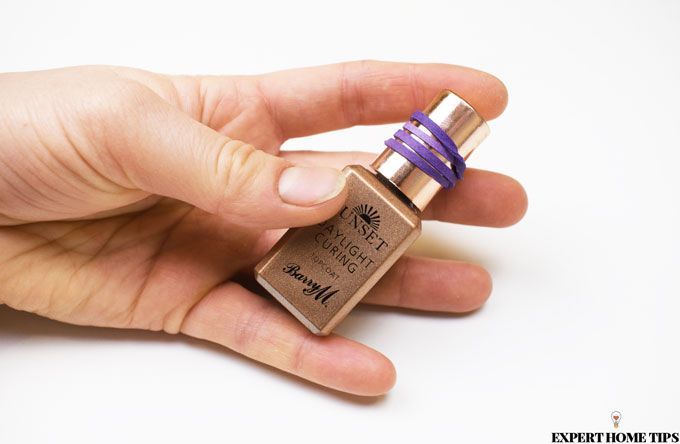
Has your nail polish got a stuck lid? Tie a rubber band around the top! It'll easily come open with a bit of extra grip.
Do you know any more clever hacks for achieving perfectly manicured nails? Let us know in the comments below!

If you have had your nail done and they required a UV light to cure the gel; you can usually change them up by using ordinary nail polish on top. As long as you make sure to us acetone free nail polish remover to take to nail polish off, you can have different colours every day without harming the gel nails underneath, but of course you should try a small test patch first to ensure the polish you want to use will work, as some finishes may not be compatible with the gel finish.
What a brilliant idea, Anne!
I always paint the nails on my dominant hand first. That way, by the time I've finished painting my other hand, the nails on my dominant hand are nearly dry. I used to ruin my just painted nails all the time doing it the other way round, and now I hardly ever do!
Great idea, Alice!
Oh, this! I do exactly that whenever my non dominant hand has been involved, especially the first time, from painting nails to shaving under my arms and on my shoulders, though maybe the reason is different, starting from the most difficult part of using a hand which is quite harder to coordinate, being afraid of doing one side really well and then screw the other, which although it's a remote eventuality, I'm just more serene and relaxed knowing I alread did a nice job with my supposedly less reliable hand and I only have to finish with my dominant. But with time I'm trusting my self starting with either more often. I also recommend that for women or men who think about starting to shave their arms, though I personally don't, atm. When cutting my nails short, though, curiously my hands are inverted, when it comes to scissors or nail trimmers. But well this might be cause I'm an odd type of left handed, which is comfy doing many if not most things with the right one :D.
I do the same!
Thanks
You're welcome!
Hi, My nails are often brittle and prone to crack if I catch my hand on a hard edge. I discovered a while ago that I can quickly repair a nail by dabbing a small blob of superglue over the crack. Don't worry about trying to keep a smooth surface - when the glue is dry and hard, simply buff and smooth with a nail buffer. Once varnished the nail looks perfect. The nail will remain strong until you eventually file it.
That's a great hack! We'd never thought to try super glue.
For weak breaking nails, try Pink Armor. Not expensive and really IS pink armor for your nails. A pink tinged shield!! Another hint, cleaning the crumbs, etc, use a toothpick not a metal file! For perfect tips on a French manicure use a paper reinforcement! Perfect shape, every time!
Hi Meryllee! The paper reinforcement idea is a great one. Thanks for sharing.
I would use newspaper for a quick nail repair only draw back is that those who don't really like colour is that u need it to cover print..oh my gawd just thought of another idea for broken nail.traceng paper or type writer reoair tape...and last tip those tablets you clean your false teeth with soak ur hands in a container of fairly hot water and dissolve 2 tablets And soak your hands in it u can feel it bubbling ur ur nails feels great and it whitens ur nails .when done add more hit water and maybe one more tablet and soak ur feel..it losens deS dry skin a d ur hands n feet feel just great
Using newspaper or tracing paper for a nail repair may not provide a firm hold and could damage your nail. Soaking your hands in denture cleaning tablets may cause skin irritation or dryness, and it's better to use a gentle exfoliating scrub or moisturizing treatment specifically designed for hands and feet.
When you're re- growth starts making ya Mani look awful but payday is still a week or two away, get some glitter varnish and dab it at the bottom (using a small section of a makeup sponge will give thicker coverage) the re-growth is now hidden, the glitter give it a whole new feel AND you've got an extra week or two before going back to the salon.... happy days
That's a great temporary solution! Thanks for sharing.