
- What is puffy paint?
- Microwave puffy paint recipe
- Shaving cream & glue puffy paint recipe
- Which recipe should you use?
- Extra creative ideas for using puffy paint
If you’re looking for a fun and creative way to keep the little ones entertained, might we suggest making some puffy paint? This simple (and affordable) craft exercise is always a winner, especially if you're looking for a summer activity to take outside.
If you’ve not heard of puffy paint before, you’re in for a real treat. In the following guide, we’ll be covering what it is, how to make it, and what you can do with it. Our easy puffy paint recipe takes no time to whip up, and is a great way to get creative with your kids. Let’s dive in to this super fun messy play idea.
What is puffy paint?
First up, let’s talk about what this stuff is. If you haven’t come across puffy paint on TikTok or Facebook Shorts, you might be the only one. This simple DIY craft exercise is taking the world by storm.
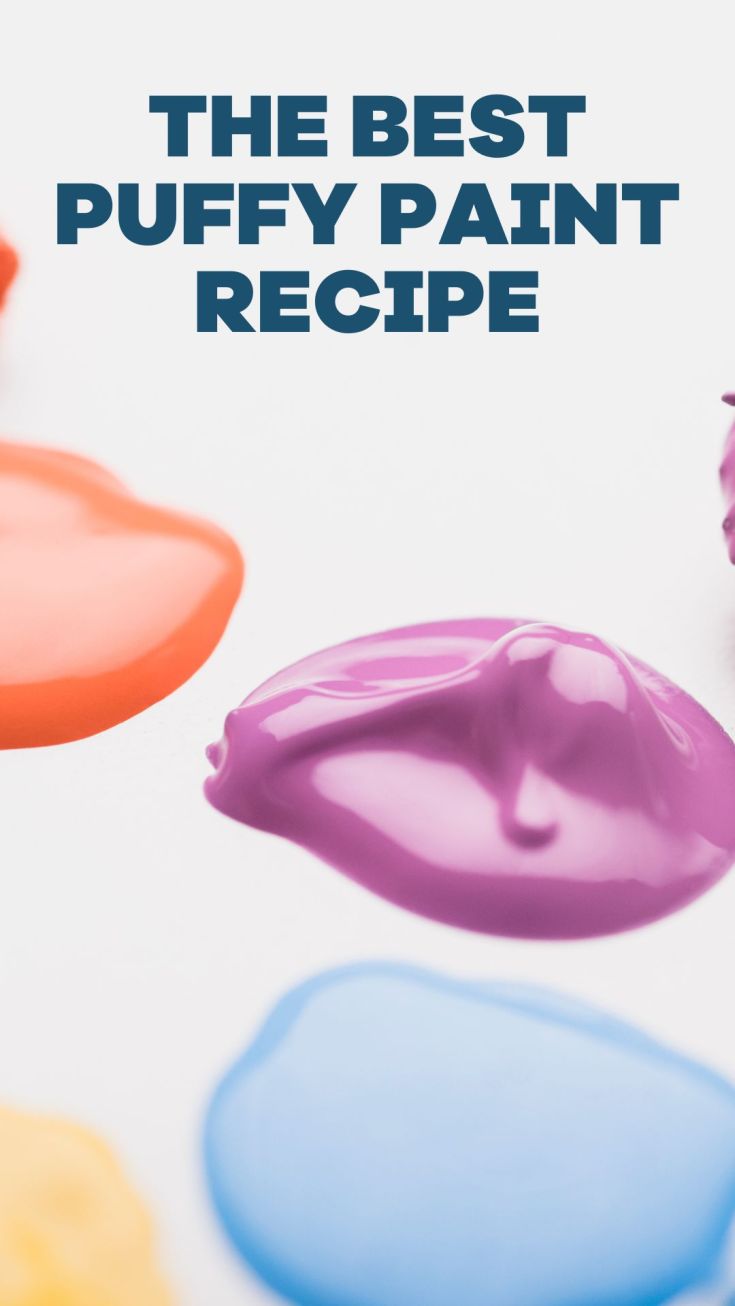
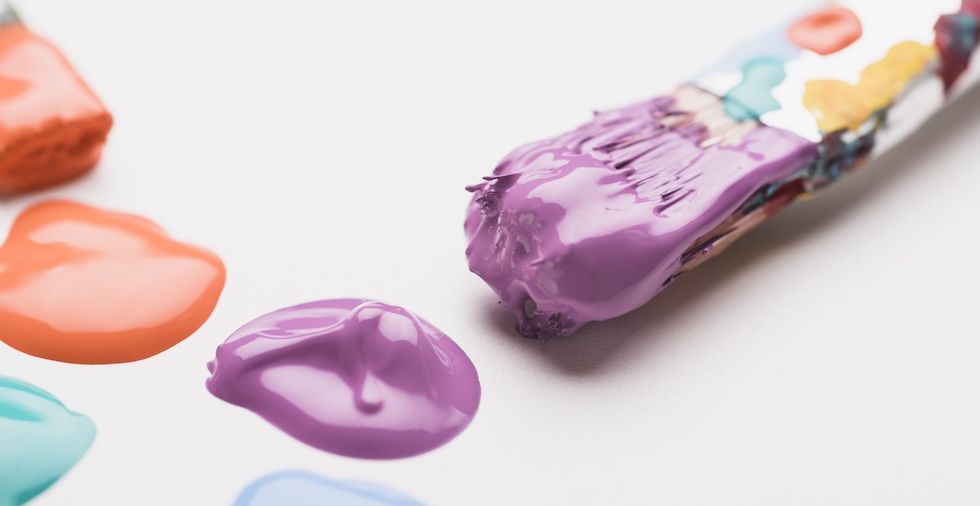
Puffy paint is a thick, foamy paint. When it dries, it has a raised, textured finish which looks unique. You can use it for kids’ art, your crafts, card making, and even chalk-style pavement art (don’t worry—we’ll get to that!).
The best part is that it costs virtually nothing to make. You don’t need any special supplies. You need everyday ingredients like flour, salt, glue, or shaving cream.
Chances are, you probably have everything you need in your cupboards already. That’s great news if you’re doing this last-minute on a rainy day.
There are two popular ways to make puffy paint:
- The microwave version, which uses a flour and salt combo
- The shaving cream version that air-dries and looks cool
Both give you a fun, 3D result, but which one you choose depends mainly on what you have at home. In the following sections, we’ll be taking a look at a couple of puffy paint recipes you can try.
Microwave puffy paint recipe
First up, let’s talk about the microwave puffy paint recipe. This method makes your artwork puff up right before your eyes… in the microwave. It dries instantly once heated, which is all part of the fun. But how do you get started?
You’ll need the following:
- 1 tablespoon self-raising flour
- 1 tablespoon salt
- Water (to make a thick paste)
- Food colouring
Note: You’ll need these quantities for each colour you’re making. So, if you’re making three colours, you’re going to need three times the above.
How to make puffy paint for a microwave
Step 1: Mix the ingredients
The first step in this puffy paint recipe is to combine the ingredients. You can start by mixing the flour and salt in a bowl.
Step 2: Add some water
Next, add around ¼ of a tablespoon of water and stir well. Keep going until you get a paste that's a similar consistency to yoghurt. It should be thick but still spreadable.
Step 3: Splash in some colour
Now, add a splash of the food colouring. The more you add, the deeper the colour will be. However, we recommend starting with a couple of drops and going from there. Mix the puffy paint well so that the colour is even throughout.
Step 4: Ready, steady, paint!
Now, you’re ready to get painting. Use a brush or a cotton bud—whatever works for you. Make sure the paper or card you paint on is microwave-safe. If it has any metallic parts or a shiny finish, it may not be suitable for microwaving.
Step 5: Microwave the paint
When you’re happy with your creation, pop the thing into the microwave for up to 30 seconds. You will see it starting to rise and harden immediately.
Bonus tips:
- Thick card works the best. Choose a thicker card so it doesn’t warp in the microwave. This will mean your art looks even better.
- Do a test run first. Microwaves vary, so you might need to adjust the timing. Start with a test piece and see what happens.
- Avoid too much water. You don’t want your puffy paint to end up sloppy. This DIY puffy paint recipe works best if you use just a splash of water.
Shaving cream & glue puffy paint recipe
Don’t want to play around with the microwave? We’ve got you. There’s another puffy paint recipe you can try for yourself. This one is a little messier, but it’s great for sensory play.
You’ll need the following:
- 60ml PVA glue
- 60ml shaving foam
- Food colouring
- Brush, spoon, or cotton bud
How to make puffy paint with glue
Step 1: Mix it all up
Once again, the first step is mixing. Combine the glue and shaving cream in a bowl, and be sure to give it a good old stir.
Step 2: Give it some colour
Next, you need to add the amount of colouring you want. It’s the same as before. The more you add, the richer the colouring will be.
Step 3: Get creative
Now, use a brush, cotton bud or spoon to spread the concoction onto your card or paper. Create whatever design suits you, and don’t be afraid to mix it up.
Step 4: Leave it to dry naturally
Finally, put it out somewhere and let it air dry. It will stay soft for a while—so no touching it—and then firm up overnight. When you wake up, it will be a puffy masterpiece.
Bonus tips:
- Don’t pile it on too thick. Thick blobs of puffy paint can take a day or more to dry.
- Add some extras. Make it fun by swirling in other colours or even adding glitter.
- Be snappy. Use the puffy paint the same day you mix it up for the best results.
Which recipe should you use?
That’s a good question. If you want to see some instant results, the microwave version is the quickest (and it’s fun to watch!).
For more control over your designs and a less techy recipe, you can use the PVC glue and shaving cream version. Remember, shaving cream and gel are not the same thing. Make sure you use cream to get the right consistency.
Extra creative ideas for using puffy paint
Painting with DIY puffy paint is the first level, but if you want to kick things up a gear, you have some options. Here are a few ways to get extra creative with stuff:
- Make a 3D ice cream: Use pink, brown or green puffy paint to create a 3D ice cream cone craft. The shaving cream version works well for this.
- Pavement art: If the weather’s good, don’t keep your little ones inside. This is the perfect garden activity! Try the flour-based recipe for some outdoor art. Paint directly onto the floor and let the sun dry it out. Don’t worry… You can wash the stuff away fast!
- DIY cards: Use the puffy paint to make some cool cards. Create your designs.
With our DIY puffy paint recipes, you can quite literally have hours of fun with your kids. Why not try both of them over the summer and see which one you like best? Remember always to supervise your little ones when they are crafting. While the microwave recipe is technically edible, you don’t want them eating it all up. Get started now.
Looking for another arty activity? Learn how to make slime, or try the viral cloud slime recipe! We've also got some great tips for reducing screen time for kids.
Q&A
Did we miss something along the way? Check out our frequently asked questions now:
What’s the easiest puffy paint recipe?
The easiest DIY puffy paint recipe is the PVC glue and shaving cream option. This takes minutes to make, and you don’t need a microwave.
Can I make puffy paint without shaving cream?
Yes, you can. Just use the flour and salt version that we’ve shared at the start of this guide. You’ll need to use a microwave to make sure that it puffs up nicely.
Can you keep the mixture for later?
Not really. Both types of puffy paint we’ve covered work best when freshly made. Shaving cream loses its fluff, and flour paste can harden or separate. For that reason, you ideally want to use it the same day you make it up.
If you have no choice but to make it in advance, use an air-tight container to store it. For example, some Tupperware might do the trick, but it may not work as well as it would fresh.
Will it work on fabric?
Technically speaking, yes, but we don’t recommend it. Puffy paint can stick to fabric, but won’t hold up in the wash, and you may make a real mess of your machine. For something more permanent, you’d need fabric paint.
Which craft recipe would you like to see next? Let us know in the comments below!

great idea paint effect
Thanks, Juliet!
Can I use puffy paint on plastic to peel off, thread with ribbon and hang in a window as a Christmas decoration?
Thanks for the question! It can work on some smooth plastics, but we'd recommend testing a small area first as not all puffy paints peel off cleanly once dry.