

We LOVE reading comments on Expert Home Tips - it's great to hear from our visitors! Recently, one of our posters said they hate cleaning the shower and that any tips were welcome. Elizabeth, this post is for you!
From soap scum to hard water stains, limescale, mould and mildew… your bathroom can quickly become a pretty grimy place.
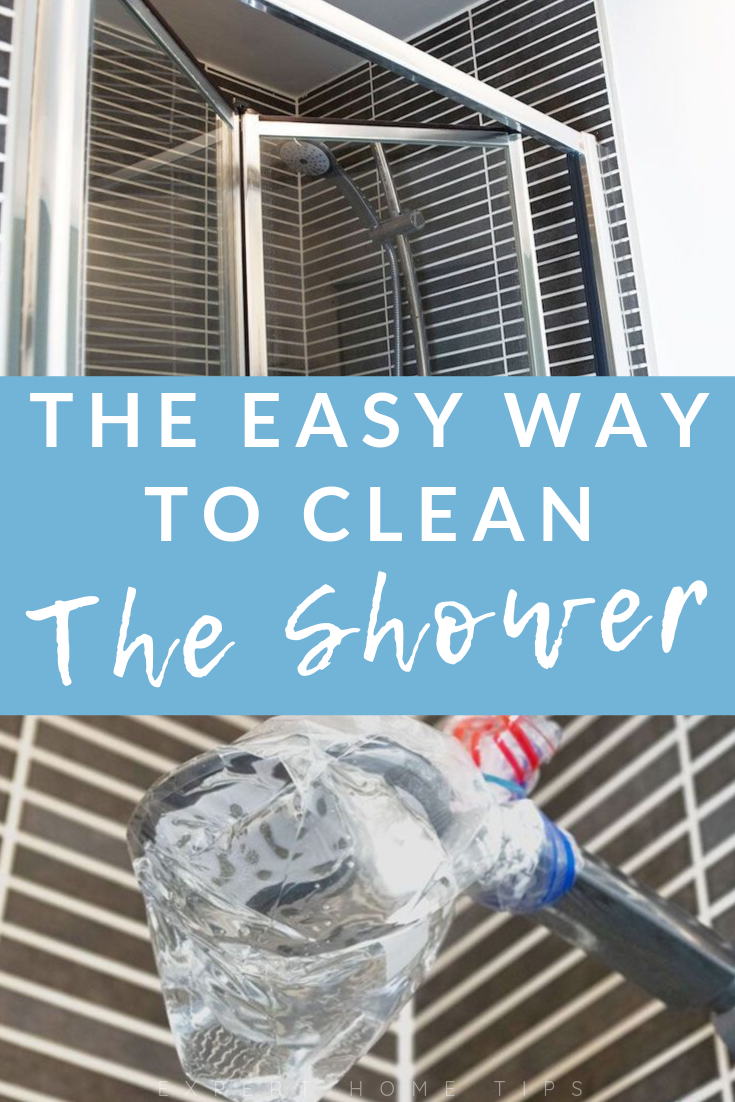
Today, we’re showing you how to clean your shower and bath properly, from glass and doors to the bathtub and fittings. Everything will look fresh, clean, and streak-free with minimal effort.
Let's get into it...
Editor's Note: This post was originally posted in May 2016 and has been completely revamped and updated for accuracy and comprehensiveness in April 2026.
Watch the video
How to clean a shower and bath
1. Remove everything before you start cleaning
Never clean your shower without doing this first. Take everything out of the shower or bath area before you begin.
Move bottles, razors, loofahs and organisers out of the way so every surface is fully accessible. This also helps you reach areas where grime builds up unnoticed.
Once everything is cleared, cleaning becomes quicker and more effective.
2. Use steam to loosen built-up grime
Want to cut scrubbing time in half?
Run a hot shower for a few minutes before you start cleaning.
The steam helps soften soap scum and loosen limescale, making it come away more easily. It also helps break down accumulated dirt over time.
This step reduces the amount of scrubbing needed later.
Did you know, you can also hang up wrinkled shirts and the steam will help to smooth them out?
3. Rinse surfaces before applying cleaner
Rinse all surfaces with warm water before you start scrubbing.
This removes loose hair, dust, and surface grime, so your sponge works on the buildup rather than spreading bits of dirt around.
Always rinse from top to bottom so everything clears away properly.
4. Make sure the room is well ventilated
Open a window or turn on the extractor fan before you start cleaning.
Good airflow helps reduce moisture in the room and makes the space safer to work in. It also helps surfaces dry faster once you are finished.
5. Apply a cleaner and let it sit
If you scrub straight away, you’re wasting time.
Spray your chosen cleaner across all surfaces, including glass, tiles, bath and fittings.
A simple mix of water, white vinegar and washing-up liquid works well, or you can use a standard bathroom cleaner.
Leave it on the surface for around 5 to 10 minutes so it can break down soap scum, limescale, and hard water stains.
Do not let it dry before you start scrubbing.
6. Scrub all surfaces thoroughly
Use a non-scratch sponge or soft cloth to clean all areas.
Focus on shower glass, bath edges, tiles and taps where buildup is usually heaviest.
A bit more pressure may be needed to remove stubborn limescale, especially around corners and in grout lines.
Work across the space in sections so nothing gets missed.
7. Next, let's focus on the grout lines
Dirty grout ruining your bathroom?
Let’s freshen it up!
Apply a cream cleaner to a grout brush - or if you don’t have one: an old toothbrush, and scrub along the lines using firm strokes.
You’ll see the dirt and mould lifting in no time. For tougher spots, go over them again with a bit more pressure. Rinse with clean water and wipe away any residue with a damp cloth.
8. Rinse everything clean
Think you’ve finished cleaning? Not yet!
Always rinse surfaces thoroughly with clean water.
This removes leftover product and loosened dirt. Any residue left behind can dry into streaks or marks, especially on glass and tiles.
Take your time with this step for a cleaner finish.
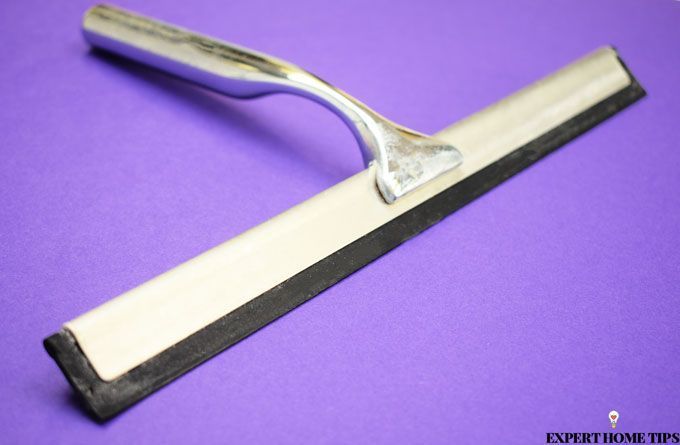
9. Clean shower glass and doors properly

Want crystal-clear shower glass every time?
Use a squeegee or dry microfibre cloth to remove all water from the surface.
This helps prevent water marks, limescale and cloudiness from building up again quickly.
Pay attention to the edges where water tends to collect.
10. Clean the bath area
You’re probably missing this spot when cleaning.
Wipe down the inside of the bath, focusing on the rim and corners.
Soap residue and shampoo buildup often collect in these areas and can be easy to miss during a quick clean.
A thorough wipe here makes the whole room feel fresher.
11. Remove stubborn mould
If you still have stubborn mould on your bathroom silicone, try this trick!
Rubber gloves are essential here.
Carefully saturate cotton wool with thick bleach and press it directly onto the mouldy areas, ensuring everything is fully covered. You may need several pieces of cotton. We like to roll it into strips to help it stick to the silicone line.
Leave it for a few hours - or overnight for tougher spots. Then, with your gloves back on, peel it off and rinse the area thoroughly. After a few days, spray the area with white vinegar to prevent the mould from returning!
From limescale to smearing, shower doors are a nightmare to clean! Grab a can of trusty WD-40 and spray it on your shower door. Leave it for 20 minutes then wipe it off with a paper towel to achieve a crystal clear shine. It's a good idea to replace the sealant on your shower if it's more than 5-10 years old, or showing signs of wear.
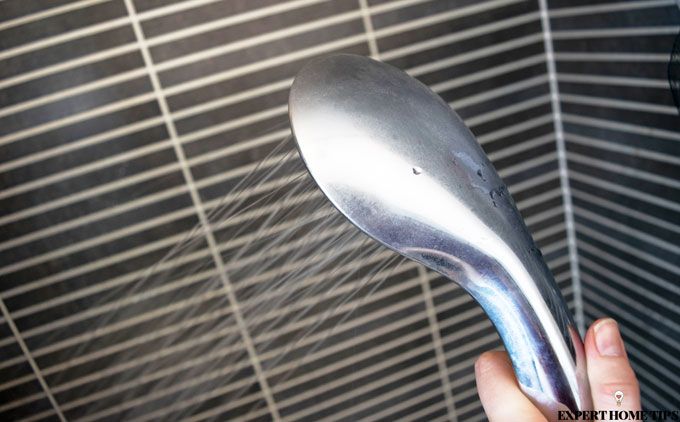
12. Restore shine to taps and fittings

Want your taps to look brand new?
Rub chrome taps and fittings with half a lemon to remove limescale and restore shine.
Rinse afterwards and buff dry with a clean cloth for a polished finish.
This step helps brighten the bathroom's overall look.
Take a look at our natural cleaning tips for more ideas.
13. Descale the shower
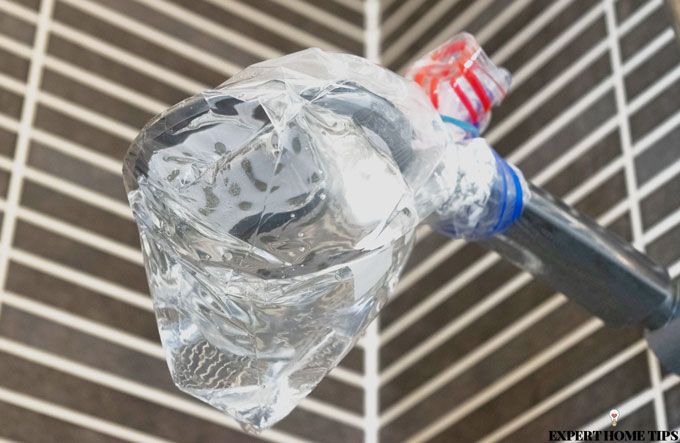
If water pressure is low or uneven, limescale is often the cause.
Fill a bag with white vinegar and secure it around the showerhead.
Leave it to soak for a few hours or overnight, then remove and rinse thoroughly.
14. Dry everything for a streak-free finish
Use two microfibre cloths to finish the job.
The first removes excess water from surfaces. The second buff dries everything out for a clean finish.
This helps prevent water spots, streaks, and hard-water stains from forming again.
15. Get a plug guard
If your hair gets everywhere, then get yourself a plug guard. It sits over your shower or bath plughole and catches all those bits that might clog your drain. You'll be surprised how much it catches, and it means you won't have to unblock the drain later.
If it's too late, read our guide on how to remove hair from drains.
Looking for more bathroom tips? Read about the weird and wonderful shower onions.
Keep your bathroom cleaner for longer
1. Use a squeegee after every shower
Wipe down glass and tiles after use to reduce limescale and water marks.
2. Keep air moving in the bathroom
Use a fan or open a window to reduce moisture and prevent mould buildup.
3. Quick clean each week
Regular small cleans help prevent heavy buildup of soap scum and limescale.
4. Reduce clutter in the shower area
Fewer items mean fewer places for grime and water to collect.
Try this routine for a week and then come back and tell us if it helped!
And there you have it. A simple way to clean your bathroom properly, remove limescale and keep your shower, glass and bath looking fresh and streak-free.
If you tried this routine, drop us a comment and let us know how it went. We’d also love to hear any of your own shower cleaning tricks.
If you've got any tips you'd like to share, please comment below!

One of the first things I do when moving to a new home check if it has hard or soft water. If in a hard water area put in a water softener, it will save you hours of scrubbing, and reduces how much shampoo/washing powder that you need to use.
That's a brilliant tip, thank you Christine. I live in a hard water area, I will have a look for water softener later!
Great ideas but good luck with trying to get your family involved!
Lizzie - that's a whole other kettle of fish isn't it!
great tips - I'll try the WD40 one later!
Glad to hear you enjoyed the post Esme!
Amazing tips , it works wonder. Thanks all that the information.
Thank you Jennifer, hope you enjoyed the post. Don't forget to share it with your friends!
Sorry a tad disappointed. Was hoping to read a tip or two on how to clean grubby glass surrounds of a shower.
Hi Marianne! Thanks for your feedback. We'll definitely look at adding that in a future update.
It is very helpful post. Follow the instruction and clean the bathroom. Thank you for the post.
You're welcome, Amelia!
Bathroom cleaning tips and technique is marvelous and effective. This is very useful technique. Thank you fort he post.
You're welcome, Amelia!
I use my Karcher widw vac after every shower, so quick and easy on the tiles, glass panels and shower tray then wipe all the chrome down with a micro fibre cloth. Takes about 4 minutes.
That's a great tip!