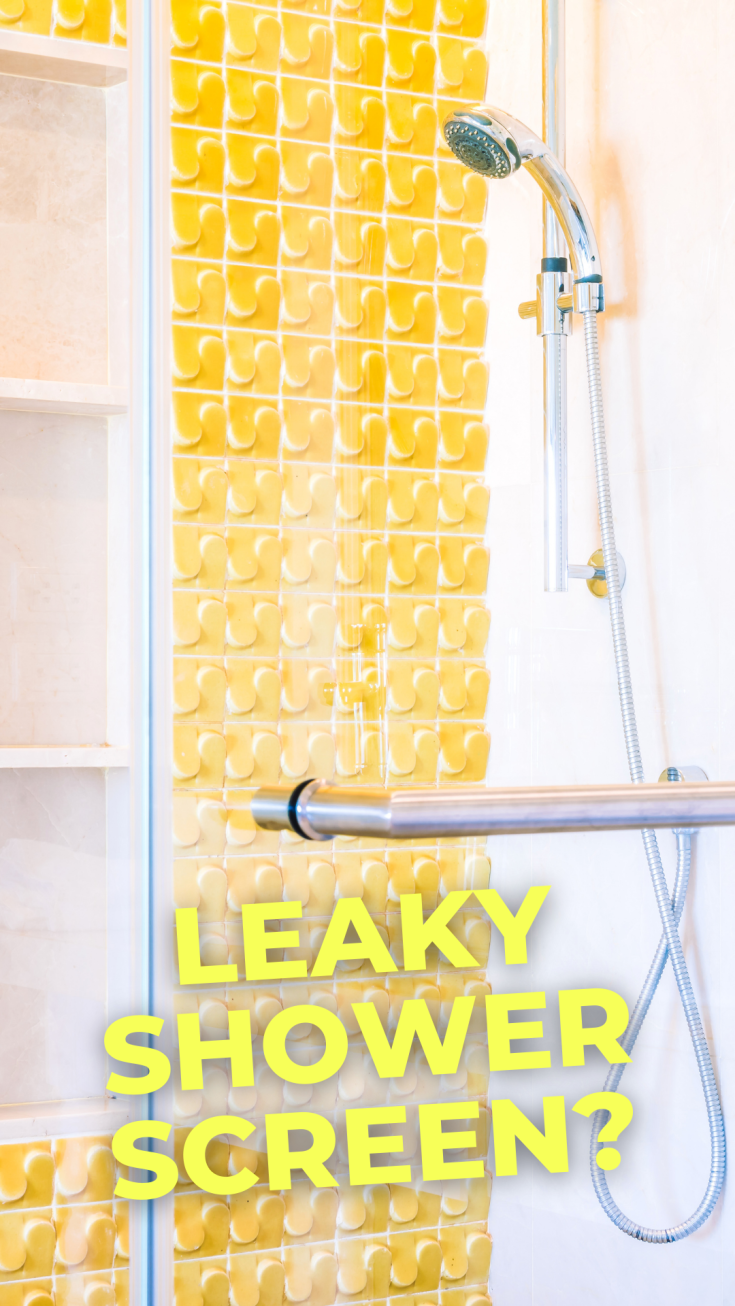

There's nothing more relaxing than a hot shower, except when it starts to leak. If you've noticed that water is all over the floor when you wash, you need to do something about it. Sealing a shower door is the first step here, and it's easier than you might imagine. The following guide will look at how to fit a shower door seal and what you can do if it doesn't work. Here's everything that you need to know to get started.
How to fit a shower door seal
Whether you have refitted the shower door or need to reseal the shower, there is a simple way to do it. You don't have to be an expert at sealing a shower to get this right. However, one thing that you will notice is that there is a lack of information out there about this subject. Luckily, we have what you need. Read our steps to fitting a shower door seal.
Step 1: Make sure that the shower is dry
Before you get started, the first thing you must remember is that the shower should be 100% dry. You want the sealing strip to sit firmly against the glass. For that to happen, you should ensure the surface is completely dry. Grab a decent glass cleaner ahead of sealing your shower. Clean both the inside and the outside of the doors. We suggest reading our guide on how to clean glass first.
If there was a shower seal on before — and you have removed it — you will need to clean that area too. You won't believe how much gunk and soap scum builds up beneath these seals over time. Now is the ideal opportunity to thoroughly clean your shower, including removing limescale, whitening the grout and cleaning the shower head.
Step 2: Get a good shower sealant
You need a good sealant to create a sealing strip inside and outside your shower. Choosing the right one is the key to getting this job right. Chances are, you don't know where to start. Here's a quick rundown of choosing the proper shower sealant.
- Measure the width of your shower. Before you get started, measure the width of your shower to see what size you need. Shower sealing strips come in all shapes and sizes. While you can cut them down to the right fit, it's best to get a strip that's as close as possible. Usually, the measurement is in inches.
- Check the gap. If your shower is leaking, the most likely cause is that there is a gap there. You need to know how large that is when buying a sealing strip. Check out the space and measure it, if required. The gap won't be larger than a centimetre. It is most likely to be between three and four millimetres.
- Choose the type of seal. Did you know there's a wide selection of shower sealants out there? Ahead of rushing to the shops, you must be sure which one you want. The main types include a magnetic seal, a full-door seal, or an under-the-door seal. Look at where the leak is coming from to help you decide.
- Decide on the right shape. Remember we said that shower seals come in all different shapes and sizes? We meant it literally. Whether you fit a sealing strip to the shower base or along the side, the shape matters. The main types are a D-shape, an F-shape, or an H-shape buffer. The most common type you will need to use is the D-shape. Look up the various styles and see what you need.
When you have decided which shower seal to use, you can buy it online or at a shop. Most DIY retailers will have a wide selection of options from which you can choose. If in doubt, simply tell a staff member that you are replacing a shower door seal.
Step 3: Soften up the sealing strip
One of the first things you will notice about a shower door seal is that it is rock hard. These strips don't tend to be malleable, making them a real pain to fit. Fortunately, you can use a quick hack to soften them up before you use them. Run a sink full of hot, soapy water and put the shower seal into it. Leave it there for 15-30 minutes. When you take the strip out, you will notice it is softer and easy to bend.
Step 5: Slide the strip onto the door
When replacing a shower door seal, you can usually slide the strip onto the shower base. The way that the sealing strip goes on will depend on the shape and size of your shower door. Don't try to force it too much. When you get the angle right, you should find that the strip slides on with the greatest amount of ease. Make sure it fits well before leaving it.
Step 6: Watch out for leaks
When you have done all of the above, you only need to worry about whether your shower leaks. The proof is in the pudding. You will have to test it out to determine whether the doors will leak. If you find the shower door is leaking, you may have to take extra precautions to seal it.
How to silicone a shower: quick and easy steps
If you have sealed your shower door, as we have explained above, and it's still letting water in, you must take some extra steps. Shower sliding door seals will only do so much when it comes down to it. You can use silicone to seal the shower base if your shower is still leaking. Here's a quick rundown of how you can get that right:
- Get some silicone. The first thing is to buy some silicone. Make sure that it is suitable for shower sealing before you decide to use it. You should read the manufacturer's guidelines too. These products often come with a handy nozzle that you can use when sealing the shower tray.
- Clean the shower base. Once again, you need to ensure that the shower base and tray are as clean and dry as possible. Any unwelcome dirt, grime, or dust could get in the way of you sealing your shower. Don't make that mistake. If your shower base isn't draining, make sure to unblock the drain, too.
- Apply the silicone evenly. Use the nozzle — or another tool — to apply an even amount of silicone around the edge of the shower. You should do this using a "bead" style or dots. When applying the silicone, there should be no visible gaps—that way, you know that the shower will no longer leak afterwards.
- Smooth it down. You will need a smoothing tool for this next part of the process. Smooth down all of the silicone. You want to make these as neat as you can. Most of the time, you can see the sealant at the shower base.
- Wait for it to dry. Of course, the final step in this process is allowing the silicone time to dry. Don't use the shower for 24-48 hours after you have sealed it. While you may find that the silicone dries quickly, you don't want to take any chances.
Following these steps, you should find that the shower base is sealed and ready to use. Of course, you should keep the silicone bottle if you need to use it again. You may find that there was a space that you missed, and so you need to seal it.
Sealing a shower door doesn't have to be a massively laborious task. Now that you have read our guide, you should have no problem sealing it. The point is that you don't need to be an expert to get this right. Our step-by-step guide has all of the answers that you need. Now that you're clued up on how to seal a shower door, why not learn about the viral shower onions trend?
Q&A
Are you looking for some more information? Check out our frequently asked questions section.
How do you apply silicone sealant neatly?
To apply silicone neatly, you should use a "bead" technique. That means using the nozzle to make tiny beads or dots along the shower base. When you do this, you can smooth the silicone out and allow some time for it to dry.
Can you replace the seal on a shower door?
Yes! In most cases, you should have no problem replacing the seal on a shower door. Our guide has shared the inside secrets to help you get this job done right.
How do you know which shower seal to get?
Before you choose a sealing strip for your shower door, you need to measure your glass's width and thickness. That way, you should have no problem selecting the proper seal for your door. If in doubt, get a shop assistant to help you out here.
How long does shower sealant last?
You should find that your shower sealant lasts 5 to 10 years. However, many factors can play a role in the quality of the sealant.
Do you need more help? Leave a comment below!

We moved in to a new house January 2024. Now the shower seal at the bottom of the door is not straight across it is wavy...is it OK? I don't see any leaking but need to know if we need customer service to fix it. Thanks
Thanks for your question! If it's sealing properly and there's no leaking, a slight wave isn't usually a problem, but if it gets worse or starts letting water through it's worth contacting customer services while it's still under warranty.
You did not say that when applying new silicone it is important to make sure that all the old is completely removed so you will get a good finish.
Thanks for mentioning that. You're absolutely right, removing all of the old silicone first is one of the most important steps for getting a clean finish and a good seal.