
Editor's Note: This post was originally posted in June 2022 and has been completely revamped and updated for accuracy and comprehensiveness in May 2023.
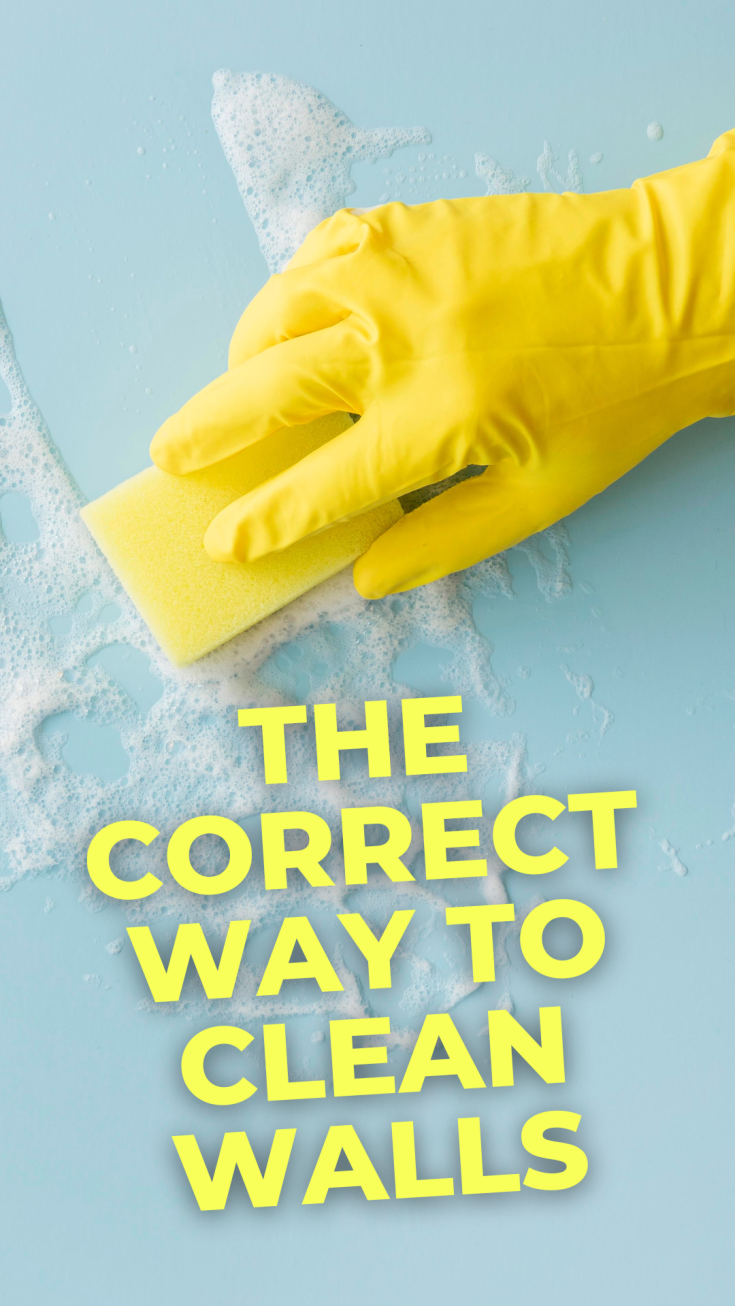
Keeping your house spick and span can often feel like a full-time job. But, whether you're channelling your inner Mrs Hinch or you hate Hoovering, cleaning your home from time to time is essential. While getting the basics down is easy, a few tasks take extra care and attention. So, do you know how to clean walls without removing paint?
Over time, your walls may have started to look less than new. When you first painted your home, you might have admired its beauty. But beauty fades. When you haven't decorated for a few years, you may find that the walls start to look dull. The paint colour is fading, and there are even some nasty marks on the walls. If that sounds familiar, you've come to the right place. Check out our guide on how to clean walls right here.
How to clean walls without stripping paint
What's the best way to clean painted walls? It's the question that has baffled humankind for decades. Luckily, there's a way to make your walls mark-free without running your paint job. You have to know how to get it right ahead of time. Before you dust off your cleaning kit and get to work, you must ensure you'll get it 100% right.
Don't panic. We have cleaning tips to ensure your walls look as good as new. In three simple steps, free your walls from grub and grime. Ready to get started? Follow our simple guide to make sure that your home looks spotless again.
What you will need:
- Lightweight sponge
- Washing up liquid
- Microfibre floor mop (or microfibre cloth)
- Dry cloth
- Two bowls
- Warm water
- Cool water
Step 1: Get rid of the excess dust
Washing a wall without dusting first is a real mistake. When you add water to dust, you cement it onto the paintwork. That is a terrible idea if you want your walls to look as good as new once again. So, you must do this first rather than going at it with a damp cloth.
Get started by getting rid of any dust on the wall. That is often easier said than done. You can't use any old cloth to do the job. Instead, grab a microfibre cloth to get to work. Ensure that the material is entirely dry.
A great hack for dusting like a pro is to use a clean, dry floor mop for dusting your walls. This will help you get into those hard-to-reach spots and cover more surface area in less time.
When you have done that, gently wipe the cloth over the walls. You want to be as thorough as you can here. The truth is that there may be some grime there that you cannot see. If it has been a while since you painted the walls, you may not notice the dull look that has begun to appear. Dust and dirt can make your walls look less than attractive.
You should take down any pictures or mirrors ahead of getting started. Use a sweeping motion across the wall as you work. You don't want to apply too much pressure here. However, you should cover as much of the surface areas as possible. When you look at the microfibre fabric, you should notice that it has started picking up dirt.
Wondering how to reduce dust in your home? Check out our other article.
Step 2: Wash any scuff marks off
Are you dealing with scuff marks? You might find fingerprints around your walls or even areas where the paint has marks. Getting rid of these flaws can be challenging. But will washing the walls ruin the paint? The short answer is no. However, you have to know what you're doing here. If you go in too hard or wet, you risk messing it up.
First, fill a bowl with warm water and washing up liquid. You don't want this mixture to be too soapy, so you should avoid using too much of the cleaning product. Instead, use around half a teaspoon for every couple of pints of water. Next, you can check whether the water is too bubbly. If that is the case, add more water to dilute it.
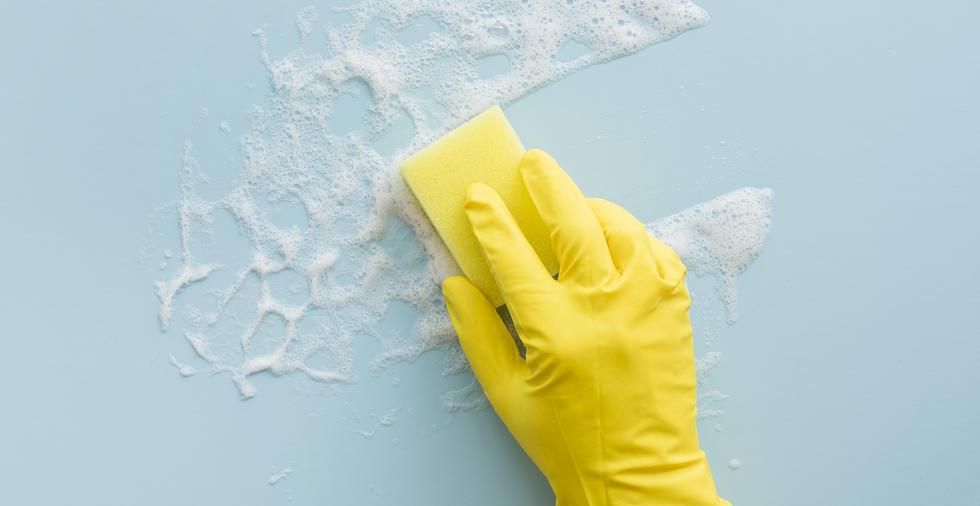
When we talk about how to clean painted walls, it's important to remember to go in gently. First, you should get yourself a lightweight sponge. If you're wondering which type of sponge you should use, you want to avoid using a sponge with any rough areas. These could mark or even scuff the paintwork when you are cleaning. Instead, you need to choose a soft sponge all the way around.
You will need a separate bowl with cold water on the side. When you are cleaning the walls, you will use this to rinse off any excess. Pop it next to you on the floor.
Once you've set up all of the above, dip the sponge into the warm water and washing-up liquid mixture. Squeeze it well. You need to make sure that there is as little excess as possible. If the sponge is too wet — and the paint is not waterproof — you may find that it starts to damage the paint as you clean. So, give it a thorough squeeze before you start.
Begin at the bottom of the wall and work your way up. While that approach may seem counterproductive, it could be the easiest way forward. As you move the sponge, you will catch any liquid so you won't get any nasty streak marks. In addition, you should ensure that you use a 'dabbing' motion. Don't rub the paint or move the sponge across it.
There's an element of trial and error here. You don't want to get the walls too wet, or you could hinder the paint. Therefore, you should start with a small section, dab it, and then take a look. You might want to wait a minute for it to dry to ensure no damage.
Now that you've dealt with those grubby fingerprints, check out these clever cleaning tips that all parents should know.
Step 3: Rinse and blot the area
The last thing you want is to use too much soap on painted walls. That is a real mistake. With that in mind, when you have first gone over the area, the next step is to rinse the sponge. You can use the cold water in the bowl to do this. Dip the sponge and squeeze it to get rid of any excess water. Nothing could be easier.
Use the soap-free sponge to go over the area that you have cleaned. Once again, you don't want to use too much water on these areas. The sponge should be damp rather than wet. You can use the dabbing motion once again to get this right.
Finally, grab the dry cloth and get to work. The last part of the cleaning process is to blot the area. You need a clean, dry cloth to do this. You might find that a cotton cloth or a microfibre one does the job best. Next, you should dab the areas that you have cleaned. Ensure that these areas are completely dry. You don't want any watermarks on them, after all.
Mistakes to avoid when cleaning painted walls
Now that you know the basics of how to clean walls without ruining the paintwork, let's take a look at what not to do. There are plenty of silly cleaning mistakes you can make here. Before you get started, here are some of the things you need to avoid:
- Don't use commercial cleaning products with bleach in them - even if you are trying to get rid of mould on your walls, bleach will only work on non-porous surfaces.
- Avoid using too much water on painted walls.
- Don't scrub or rub painted walls when you are cleaning them.
- Don't presume that watermarks will disappear when the wall dries.
- Avoid using too much soap when you are cleaning walls.
You don't want to ruin your walls. Luckily, you can clean a wall without removing paint. You need to use a gentle approach that doesn't damage the paintwork. Within this guide, we have offered you the essential cleaning tips to get this right. Now that you know them, why not give your painted walls that spring clean they've needed?
Next up, learn how to remove skirting boards in our other article.
Q&A
Have you got a burning question on your mind? Don't panic. We've got all the answers you need here. But first, let's look at some of the frequently asked questions.
How do you clean walls without leaving marks?
Make sure that the sponge or cloth you use isn't too damp. You should start at the bottom of the walls and work your way upward. Finally, when removing any marks or stains, use a dry cloth to dab the area dry. If you don't want to do that, you can angle some electric fans toward the walls and allow them to dry that way.
How should you clean walls before painting them?
Want to know how to clean walls before painting them? The key is to get rid of any dust or grime on them. While you may not be able to see this dirt, it can show up in the paint when you have painted the wall. Use a microfibre cloth to dust it away in minutes. You can also use sugar soap for a thorough clean, but be sure to rinse this well.
How do you clean white walls?
Many people wonder how to clean white paintwork. The answer is that it is the same as any other wall. However, ensure that you take extra care when washing these walls. The reason is that they tend to show marks more than other coloured walls.
Will washing the walls ruin the paint?
So long as you know what you're doing here, you should not remove the paint from the walls. When you are cleaning painted walls, you need to take extra care. That means choosing the right products and using the proper motion. Always be as gentle as you can!
What kind of stains are you cleaning from your walls? Let us know in the comments below.

I have 3 dogs. 1 is a very slobbery bloodhound and I am forever washing my walls. Normally spot wash but every now and then a proper top to bottom. I use an eco friendly multi purpose cleaner but diluted to half of recommended dose, a thoroughly wrung out microfibre cloth which is smooth one side and textured the other and for the tough marks, a magic eraser. Last time my walls were painted was 5-6 years ago. Now, because of puppy chews I need a cheat way of sorting out nibble marks on the corners of skirting boards
To remove nibble marks on skirting boards, try rubbing a baking soda paste or vinegar and water solution onto the marks. Alternatively, use a matching crayon or a touch-up pen designed for wood surfaces to fill the marks, then buff and polish for a seamless finish.