
- Can you take a skirting board off at home?
- How to remove a skirting board
- Tips for removing your skirting boards
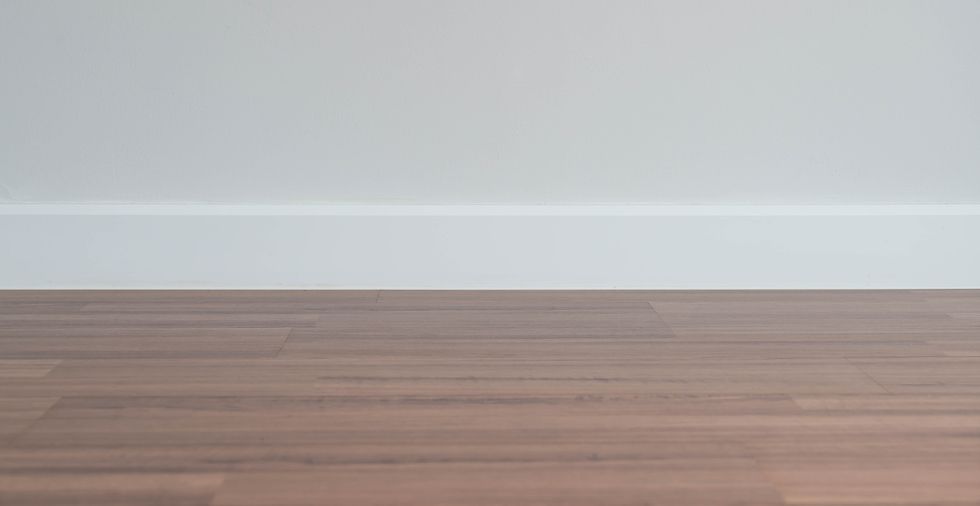
Skirting boards, also known as baseboards, are essential in any home. Not only do they add a decorative touch, but they also protect walls from furniture bumps and daily wear and tear. However, there are instances when you might need to remove them, such as during renovations or when replacing old, damaged skirting boards.
Are you looking to spruce up your home? While it may seem daunting, with the right tools and techniques, you can safely and efficiently remove skirting boards without causing damage to your walls. In this guide, we'll take you through removing and replacing skirting boards step-by-step, providing valuable tips.
Can you take a skirting board off at home?
Absolutely! Removing skirting boards is a task that any competent DIY enthusiast can undertake. However, it is essential to approach the process carefully to avoid any accidental damage to the wall or the skirting boards themselves. While it may seem straightforward, patience and precision are crucial to achieving the best results.
How to remove a skirting board
Ready to get started and learn how to remove your skirting board? You've come to the right place. Here are the steps you need to take to complete the job.
Step 1: Get the right tools
Before you get started, you will need some tools. You should be able to pick up the following at any decent DIY shop:
- Flathead screwdriver
- Crowbar or Pry bar
- Hammer
- Utility knife
- Safety goggles
- Work gloves
Step 2: Prepare the area
Clear the area around the skirting board by moving furniture and objects to create enough space to work comfortably. It's essential to have a clutter-free zone to avoid any accidents or hindrances during the removal process.
Step 3: Loosen the skirting board
Using the flathead screwdriver, gently insert the blade between the top edge of the skirting board and the wall. Apply gradual pressure to create a small gap. The purpose of this step is to loosen the skirting board from the wall without causing any damage.
Step 4: Insert the pry bar once you have a gap
Switch to a crowbar or pry bar. Insert it into the gap you created with the screwdriver and gently pry the skirting board away from the wall. Work along the length of the skirting board, exerting equal pressure at various points to ensure an even lift.
Step 5: Remove nails or screws
As you lift the skirting board, you may encounter nails or screws securing it to the wall. Use a hammer and the flathead screwdriver to extract the nails or unscrew the screws carefully. If the skirting board is glued to the wall, use the utility knife to cut through the adhesive before prying it off.
Step 6: Lift and repeat
Lift and repeat, prying the skirting board and lifting it away from the wall until it is entirely free. Take your time during this process to avoid cracking or breaking the skirting board. If you plan to reuse or donate the skirting board, handle it carefully to prevent damage.
Step 7: Look for any damage
Check for any damage with the skirting board removed. Inspect the wall for any problems. Patch up any small holes or dents left behind by nails or screws. If you intend to replace the skirting board, repair any imperfections on the wall surface to ensure a smooth installation.
Step 8: Clean it up
Clean the skirting board before reusing or disposing of the skirting board; take the opportunity to clean it. Wipe off dirt, dust, or old adhesive residues to restore its original appearance. We have an article on how to clean skirting boards, so you can do it like a pro!
Step 9: Recycle the old board
Store or recycle the skirting board, if applicable. If you plan to reuse the skirting board in the same room or another part of your home, store it safely in a dry and cool place. Alternatively, if you don't need the skirting board any more, consider recycling or donating it to reduce waste - just don't make these recycling mistakes!
How to replace a skirting board
After successfully removing the old skirting board, you may want to replace it with a new one or install an updated style. Follow these steps for a seamless replacement:
Step 1: Measure up the board
Measure and cut the wall length where the new skirting board will be installed. Mark the measurements on the new skirting board and use a saw to cut it to the appropriate size. Ensure the angles are correctly measured and cut if your walls are not straight.
Step 2: Paint and finish
Paint or finish before installing the new skirting board; you may want to paint or finish it to match your interior decor. This step is optional but highly recommended for a polished look.
Step 3: Install the skirting board
Install the new skirting board. Apply a suitable adhesive along the back of the skirting board or use small finishing nails to secure it to the wall. Make sure it is level and flush with the wall. Use a level to double-check its alignment.
Step 4: Deal with any gaps
Fill nail holes and gaps with wood filler if you used nails to secure the skirting board. Fill gaps between the skirting board and the wall using caulk or putty. Smooth out the filler and allow it to dry before sanding and painting over it.
Tips for removing your skirting boards
Now that you know how to remove your skirting boards, let's look at some top tips. Here's everything that you need to know before you get started:
- Patience is vital: Rushing the removal process can lead to damage, so take your time and proceed carefully. Go slowly and try not to make any mistakes.
- Work in sections: Start removing the skirting board from one end and gradually work your way along its length. Keep your eyes on the prize from the start.
- Protect the skirting board: If you plan to reuse the removed skirting board, place a cloth or cardboard underneath the pry bar to prevent scratches. That way, you should have no problem reusing the skirting board when it comes down to it.
- Mind the wires and pipes: When removing skirting boards, be cautious not to damage any electrical wires or plumbing pipes that might be running behind them. Taking extra care means that you won't end up damaging anything important.
- Label the boards: If you're removing multiple skirting panels from different rooms, label them as you go to avoid confusion during reinstallation. This is a small tip you can use, but it will save you a lot of hassle further down the line.
Removing and replacing skirting boards can be a satisfying and achievable DIY project with the right tools, techniques, and a bit of patience. Remember to prioritise safety by wearing protective gear and working carefully. By following the step-by-step guide and utilising our expert tips, you'll not only be able to remove skirting boards effectively but also replace them to enhance the beauty of your home. Happy DIY-ing!
Next, find out how to clean walls without removing paint!
Q&A
Did we miss something along the way? You've come to the right place if you are looking for more answers. Here are the frequently asked questions:
Can you remove skirting boards without damaging them?
Want to know how to remove the skirting board without damage? The best thing you can do is read our guide and take your time. Trying to rush this process can lead to you doing unnecessary harm to your walls and boards. Always be as careful as possible.
Do skirting boards touch the floor?
Not always. Every skirting board is fitted differently. When you are about to change your skirting boards, make sure you check how yours is fitted. If it is plush to the floor, you may have to take extra care when removing the skirting board.
Should you fill under skirting boards?
If you want to save energy, you may want to fill in the gap under your skirting boards. According to the Energy Saving Trust, this is an excellent way to drought-proof your home. Ensure you read up on how to fill in the gaps before doing so.
What tools do I need to remove the skirting board?
If you are considering removing your skirting board, you need some tools first. Ensure you have a flathead screwdriver, crowbar, hammer, utility knife, goggles, and work gloves. You can get all of these from your local DIY shop or online.
Do you have any more questions? Leave a comment below!

Leave a Reply