Are you the type of person who loves applying makeup or loathes it? Either way, you need a few makeup hacks in your life.
Today we're sharing a bunch of makeup tips that will transform the way you get ready. These hacks are suitable for both daily and occasional use. Whether you want to create a glamorous eyeshadow look, or learn how to stop lipstick from getting on your teeth, these tricks are not to be missed!
Eye makeup tips
1. How to get the perfect winged eyeliner
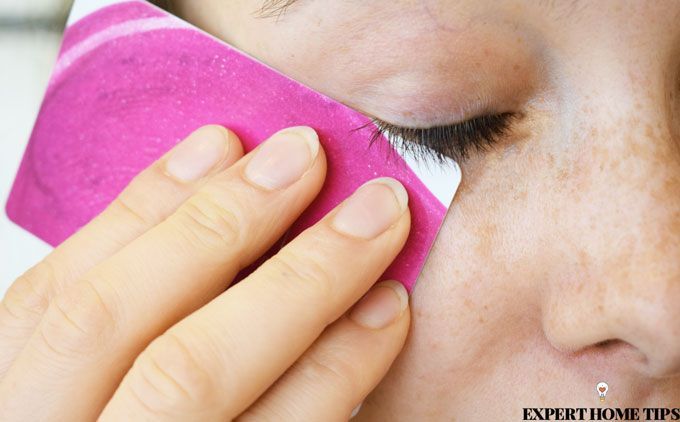
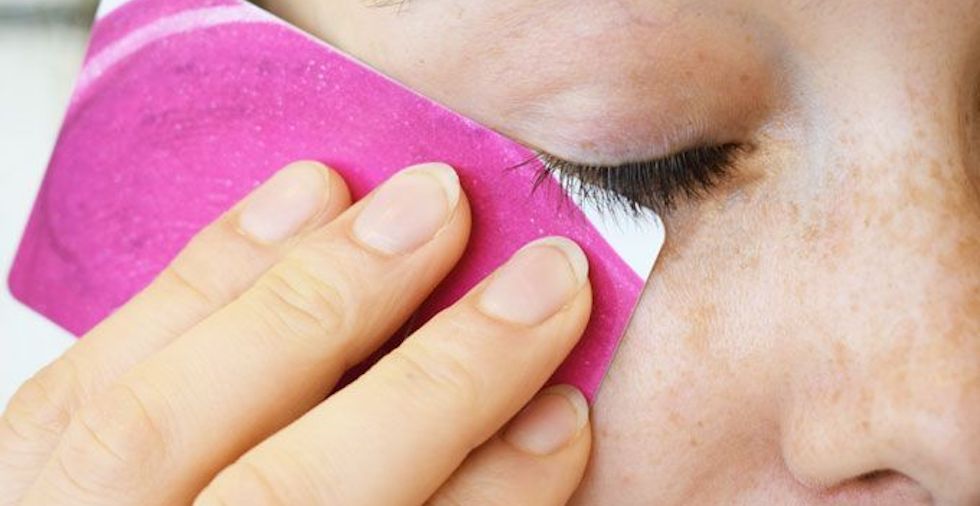
Applying eyeliner is no easy task. If we're honest, it sometimes seems like a superpower. That said, there are plenty of household objects you can use to hack it. Use either a pencil, an old loyalty card or the handle of a thin makeup brush to trace your liner out.
For a correctly angled flick, line the object up so that one end is touching the end corner of your nose and the other is touching the tail end of your eyebrow. This will ensure that both eyeliner wings are nearly identical.
TOP TIP: Use the handle of a spoon to trace the straight outer edge of the wing and the scooped end to get a neat curve.
2. How to apply mascara - the neat way!
It can be tricky to get a proper coat of mascara on your lashes without accidentally flicking some onto your eyelid. To make a barrier for your eyelids, place a small piece of paper behind the lash line.
3. Can you reuse false lashes?
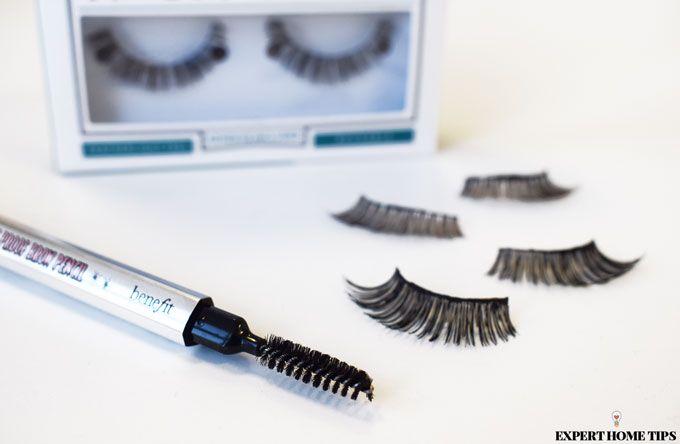
Given how expensive they can be, you'd be a fool to only use false lashes once! Carefully remove them after use and keep for the next time you need them.
If they're still in good condition, all you'll need to do is peel the glue adhesive off of the eyelash band.
You might need to give them a little bit more TLC if you've blended them with mascara. Take a spoolie brush and gently brush out each individual lash to remove excess glue and mascara. For a thorough clean, synthetic lashes can be soaked in makeup remover.
TOP TIP: Store spare lashes in surprise egg toy cases. They're an ideal size and robust enough to keep them protected in your evening clutch bag. You can even store spare glue with them!
4. Dot to dot eyeliner
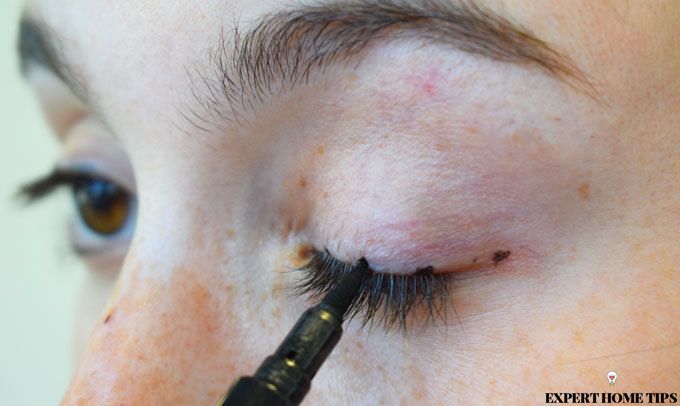
Another easy trick for mastering a cat eye is to draw small dots along where you want your eyeliner to go. Connect each dot until you have the perfect winged line.
This method works well because it gives you more control over the direction of the liner.
5. Reuse mascara wands
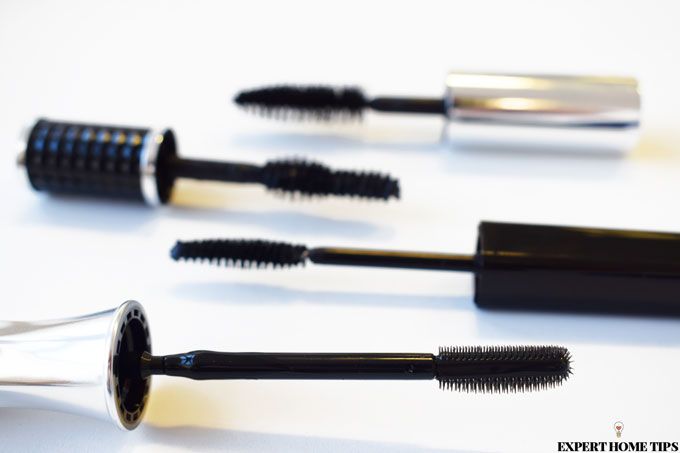
The best mascaras are normally costly, but did you know that most of the time it's all in the wand? When you've used up all of the product, save the wand and use it with a drugstore mascara. You'll be amazed by how similar it is!
6. Make your own gel eyeliner
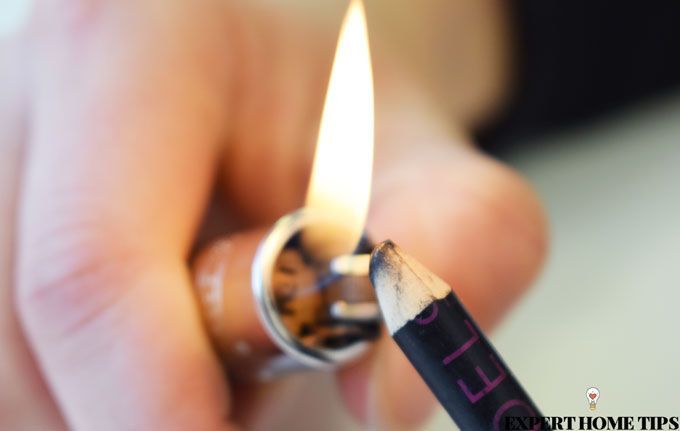
Instead of buying a new gel eyeliner, take a kohl eyeliner pencil and gently warm it up with a lighter. The product will soften to a gel consistency.
7. DIY lash lift
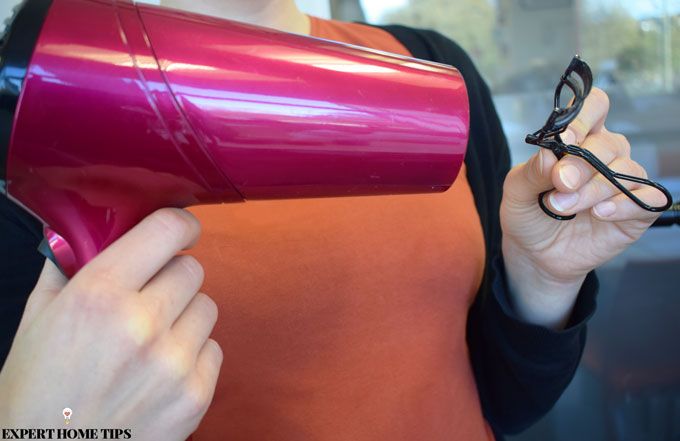
No time to get a lash lift? Warm up your eyelash curler with your hairdryer and curl your lashes as normal. The heat will help to achieve a better, tighter curl.
8. Winged eyeliner stamp
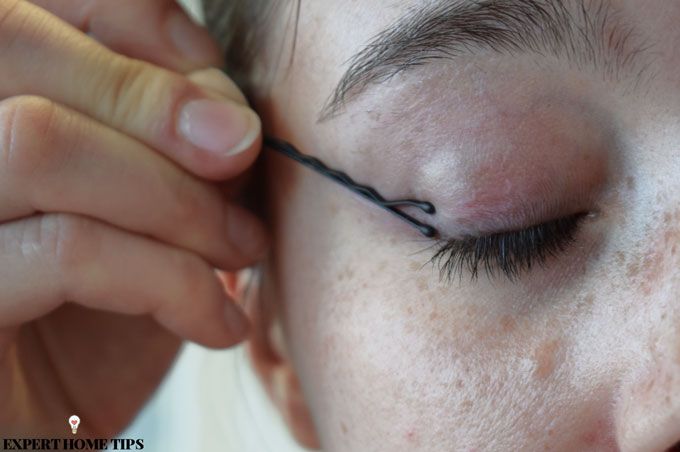
Achieving the right shape for a winged eyeliner look can be difficult. Hair grips have a curved shape that's great for stamping on a wing outline. Swipe the liner brush along the hair grip to load it with liquid and carefully press onto the eye where you'd like the wing to go.
9. Use a spoolie brush
Harsh brows are never a good look! Blend them out by taking an eyebrow spoolie brush and lightly brush the product through the hairs. Add a small spritz of hairspray to the brush for an easy setting spray.
10. Clean up fallout
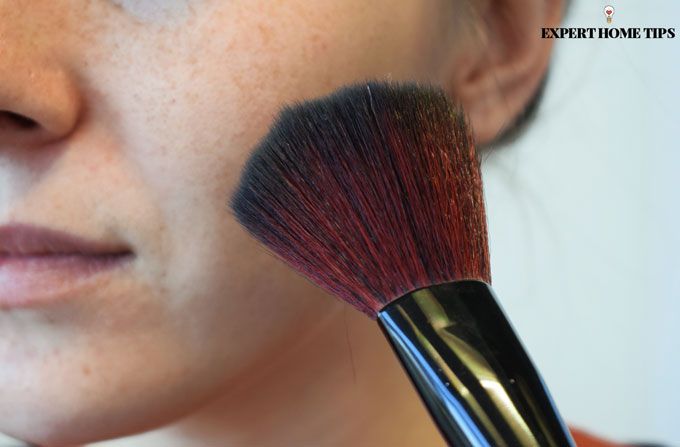
Even the most beautiful eyeshadows can cause a lot of fallout. If you've never heard of fallout, it's when loose eyeshadow falls off of the application brush and onto the face. It can be tricky to clean up without smudging and ruining your base layer of makeup.
Easily clean up fallout by taking a large, clean fluffy brush and lightly dusting off any excess eyeshadow away from the face.
11. Revive eyeliner
Has your liquid eyeliner dried up? It can be really difficult to achieve a slick look when your pen isn't playing ball.
Pull the nib of the eyeliner pen out with some tweezers and replace the other way around. The pen will be full of enough ink to get you through the week.
12. How to use mascara as eyeliner
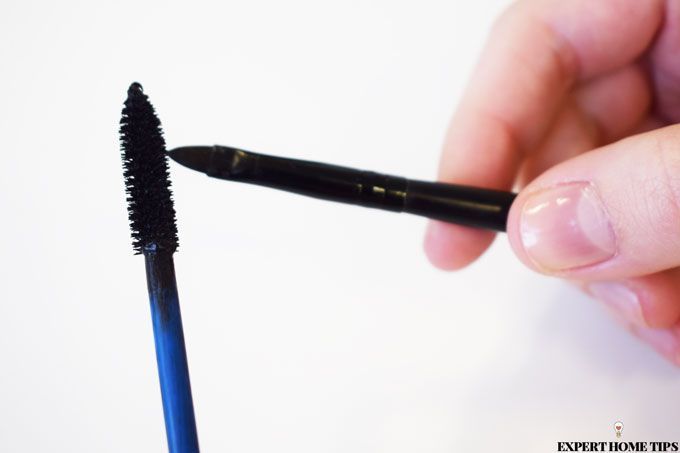
If you've not got an eyeliner to hand, you can use mascara to the same effect. Apply with an angled brush - no one will know the difference!
13. How to apply eyeshadow
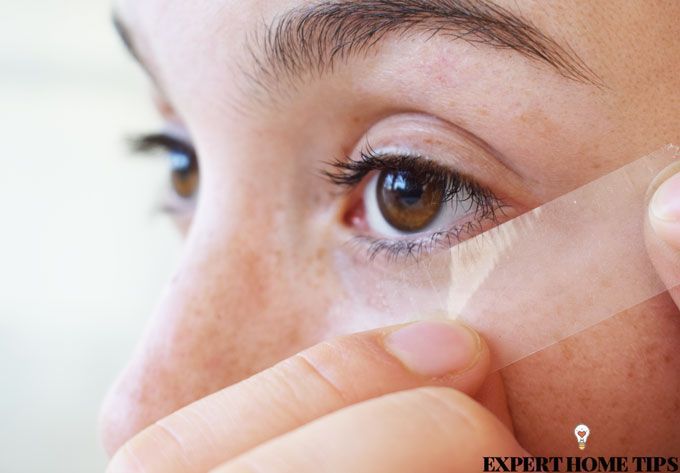
For a dramatic eyeshadow look, use sellotape to create a stencil. Line the tape up from the bottom corner of your nose to the tip of your brow. Apply eyeshadow as normal. You'll be able to build colour and definition, whilst keeping a sharp line.
If you've already applied base makeup, you will need to retouch the taped area. Use a clean fluffy brush to buff out harsh lines and add a winged liner look for best results.
14. How to fix dry mascara
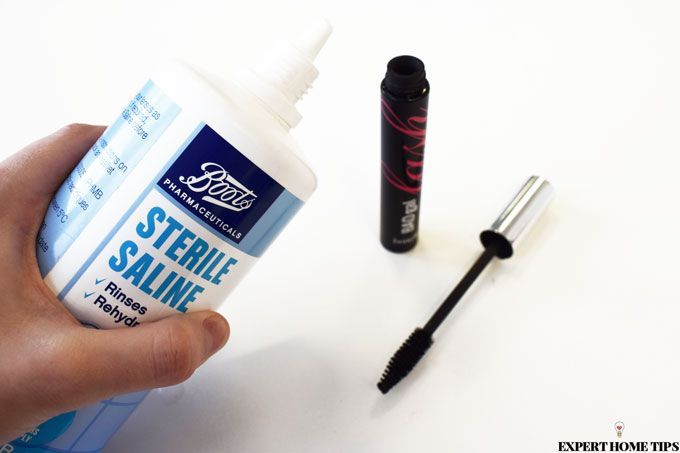
Dry and clumpy mascaras can be a real pain. Give yours a quick fix by adding in a couple of drops of saline solution. Another option is to place the sealed tube into a cup of warm water. This will help to loosen up the mascara.
NOTE: Remember that you shouldn't use mascaras for longer than 3 months for hygiene reasons.
15. Fake your false lashes
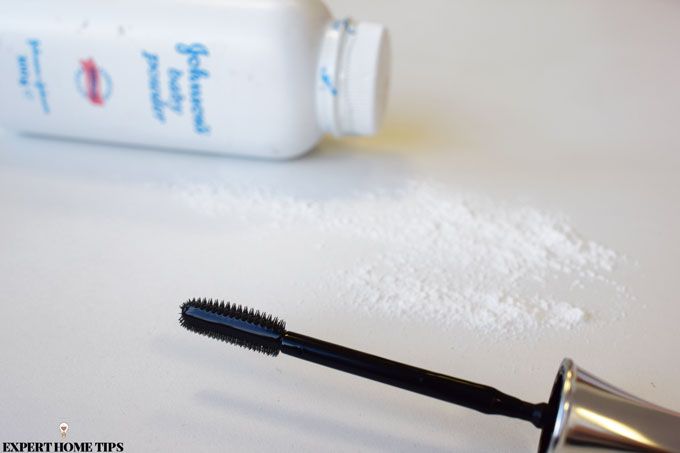
False lashes are costly and fiddly. Fake the look by dusting baby powder onto your lashes between coats of mascara. It costs virtually nothing and it'll thicken up the look of your natural lash.
Lipstick hacks
16. Keep your teeth lipstick-free!
There are few things more embarrassing than the realisation that you've had lipstick on your teeth all day. This easy trick will ensure your pearly whites stay nice and clean all day.
After applying your lipstick, wash your hands and then pop your index finger into your mouth. Suck your finger whilst pulling it out of your mouth. Any excess lipstick will be left on your finger.
You might look odd whilst doing it, but it's better than walking around with lipstick on your teeth!
17. Stop lipstick smears
Lipstick and gloss can easily bleed out into your foundation. Prevent this from happening by always applying a matching lip liner. Sharpen up edges with a concealer or the tip of a cotton bud.
18. Fix broken lipstick
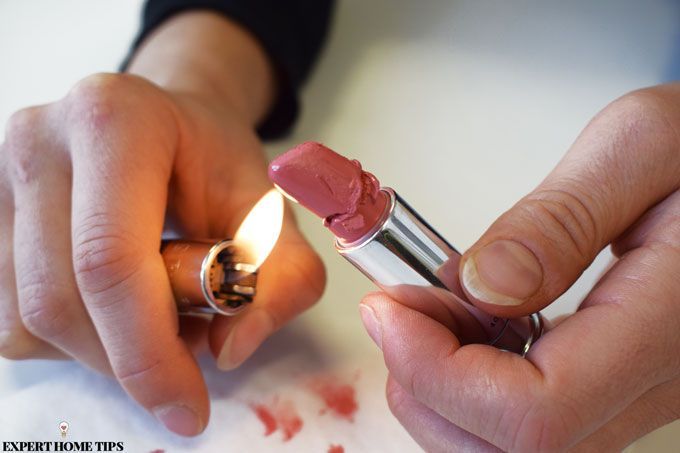
Don't throw away a broken lipstick. Simply warm up the snapped ends and hold together until it sets in place.
Pop it in the fridge so that it can harden completely before use.
If you made a mess in the process, check out our tips on how to remove lipstick from carpet.
19. Mattify a lipstick or gloss
Matte lip looks are taking the beauty world by storm. Don't let all of your old lipsticks and glosses become redundant. You can easily make any lipstick or gloss into a matte formula.
Apply your lip product as normal and blot any excess with a tissue. Take a cosmetic sponge and load it with a setting powder. Press the powder onto your lips and you've just created a matte lip look!
Base makeup tips
20. Fix a pressed powder
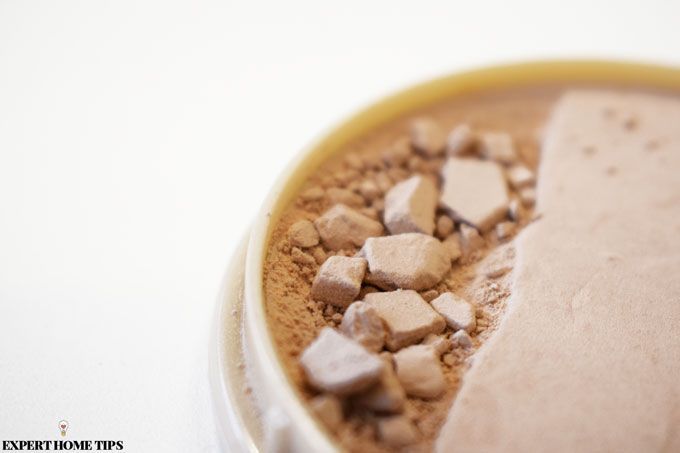
Smashed your favourite powder? Don't worry! It can easily be fixed.
To repress powder makeup:
- Break up the powder completely until there are no whole pieces left.
- Begin adding drops of rubbing alcohol to the powder. The amount you add will depend on how much product you're repressing. It's best to go for less is more, as you can always add more, but you can't take it away.
- Use a toothpick to mix the powder with the rubbing alcohol.
- Place a piece of clingfilm over the top of the powder. This will keep the eyeshadow hygienic for the next step.
- Use either your finger or a coin to smooth and press the powder back into the pan. Pack it down as much as you can.
- Leave the powder to dry out overnight. The rubbing alcohol will completely evaporate and you'll be left with the pressed powder.
- If there is any mess on the packaging, clean up the compact using makeup remover and cotton buds.
21. How to contour
If you want cleaner lines when applying a powder contour, take something with a flat, clean edge like a table knife or a pair of scissors. Hold it (carefully!) up to your cheek and apply the powder with a contour brush. Blend out with a normal powder brush.
22. Stop makeup from breaking
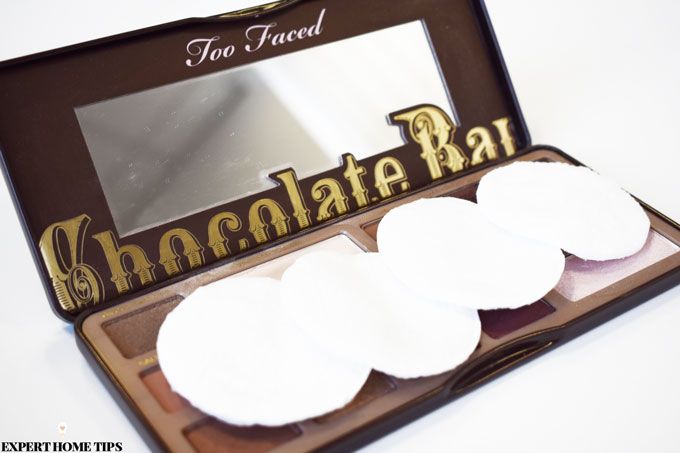
Next time you pack your powders for travel, pop a few cotton wool pads inside the casing. They'll hold the powder firmly in place.
23. 3 is the magic number
Applying contour is as simple as drawing a number 3. Starting from the forehead, drag the brush down to the cheek and then finish under the chin. This will make the contour look very natural and blend in with your bone structure.
24. Colour correct with lipstick
Lip products can be used on the face too! A red lipstick can be applied to the undereye area to cover dark circles. It works as a primer for your base makeup, cancelling out blue and green undertones. Blend out the lipstick in the undereye area and apply foundation and concealer over the top for best results.
TOP TIP: If you've not got a blush to hand, use a lipstick as a cream blush and blend out for a natural look.
25. How to find a foundation that matches your skin
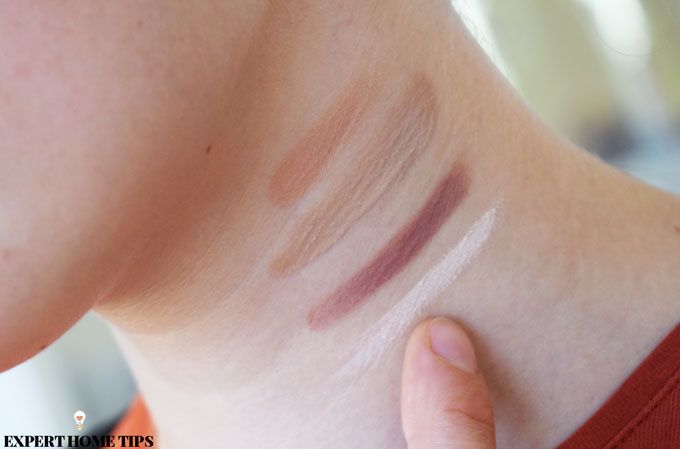
You've probably heard of testing a foundation on the back of your hand, but did you know that the best place to find your shade is on your neck and chest?
Be aware that if you're wearing any makeup or moisturisers, they may alter the colour of your face.
TOP TIP: Ask for free samples of makeup at beauty counters and shops. You can try the foundation for a few days without committing to a shade. They're also great for taking on your travels!
26. DIY concealer
Run out of concealer? Or perhaps you're struggling to find one that's a good match? Make your own by mixing together foundation and powder in roughly equal parts. You can vary the amount of each to get your desired consistency.
The powder will thicken up the formula of the foundation to give better coverage.
27. Fake freckles
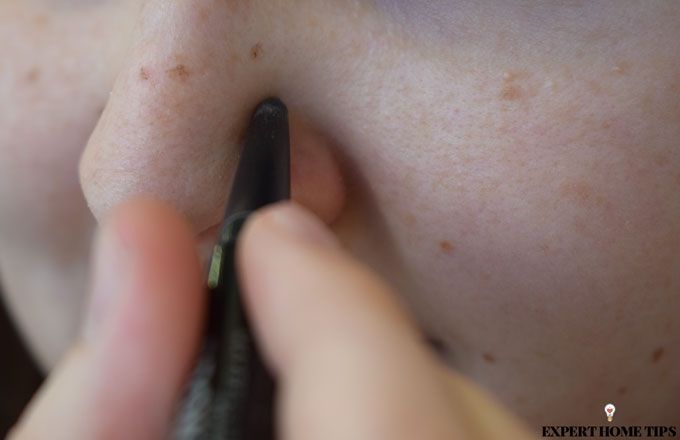
Make yourself look youthful by adding a few freckles to your face. You can use a subtle brown shade of lip liner, brow pencil or eyeliner and apply a few dots around your nose and cheeks for a super-cute look.
28. Check for makeup flashback with your phone's camera
Ever had a photo taken at an event that's made your makeup look unexpectantly pale? This is called makeup flashback. Don't let this happen again...
...use the flash on your phone to check how your makeup will look in different lighting. If your camera is showing flashback, check that you've followed these steps:
- Apply your makeup a few hours before photos are due to be taken.
- Avoid makeup with silica and SPF as they trigger a flashback.
- Make sure that your foundation matches your skin tone exactly - it will be exaggerated by the flash. If you can't get an exact match, go for the darker option.
- Opt for a foundation with a yellow undertone.
- Set your foundation with coloured powder - not transparent.
- Blend powders out with a damp sponge. The excess powder doesn't translate well in flash photography.
- Apply bronzer to make your skin look a bit darker.
- Have you blended the foundation down your neck and chest?
- Set with a makeup setting spray.
29. Make your brushes multitask
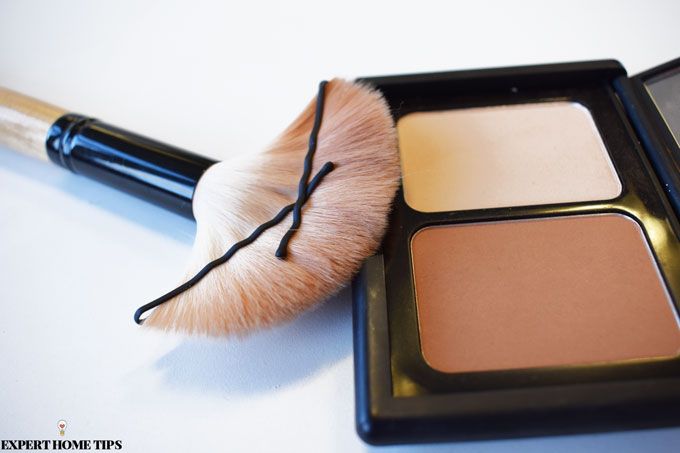
Brushes are expensive and take up space when travelling - it helps if you can make one brush multitask.
To turn a fluffy powder brush into a contour or fan brush, slide some hair grips onto the bristles so that they are compacted together. For smaller brushes, use tiny hair elastics and wrap them around the bristles to get a more defined brush.
Have you got any makeup hacks to share? Let us know in the comments section below. We can't wait to hear from you!
I admit, I have been waiting to see the pic where she finally drew that nice line on her eyelid :), but didn't come, too bad the end result can't be seen. I often admire the contrast of an elegant black eyeliner with little to no other makeup elsewhere on face.
Maybe we can include that at a later date. Thanks for the feedback!
You're welcome, but nevermind, if it hasn't been filmed for the same model in first place, it might be difficult to resume and rebuild the whole process just to show a fine pic with the final result, depends on who and how close she is, of course :). Have a lovely week btw.
We'd likely redo the images anyway at some point! It's always good to hear from our readers what they would be looking for in our articles, so thanks again. Have a good weekend!
After verious research I purchased eyelash growth dermalmd serum because my eyelashes on my left eye were more sparse than my right. I read the review, so thought I would try it. I followed the instructions. I am just so impressed with the results I have now got. So impressed am I, I purchased a second for when my first runs out. I will definitely be purchasing again. Score out of 5, I think a 10. Excellent product.
That's great!