- Why should you clean your brushes?
- How often should you clean them?
- How to clean your brushes
- Quick fixes
How many of us actually clean our makeup brushes on a regular basis? Some people go years without giving their brushes so much as a wipe.
You wouldn't use the same knife and fork over and over again without washing it up, so why do we use dirty brushes on our skin?
Today we're sharing our tips on how you should clean your beauty tools and how often you should do it.
Why should you clean your brushes?
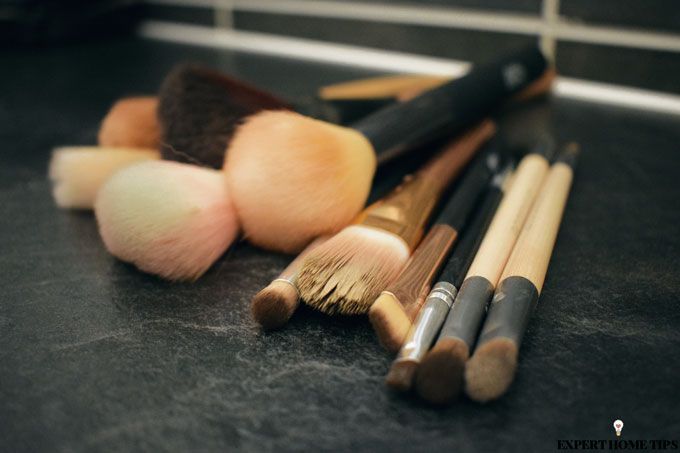
There's a couple of good reasons why you should treat your brushes to a spa day every once in a while.
For one, they won't perform nearly as well. If your brushes are covered in built up product and debris from your face and eyes, they won't be able to do their job. The product will dry up and might even flake off.
Most importantly though, your brushes are harbouring a dirty secret. If you are putting them into contact with your skin every single day, it's no surprise they'll be crawling with bacteria! Avoid eye infections and calm your acne by giving them a well deserved clean.
How often should you clean them?
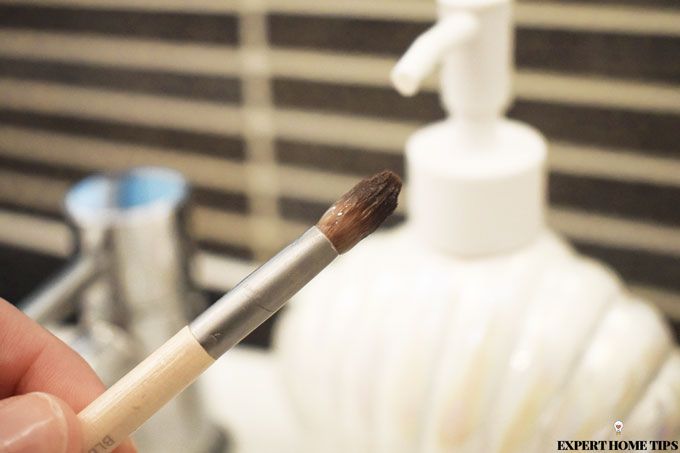
In a perfect world, you should be cleaning your make up brushes once a week, especially the brushes that come into contact with your eyes.
That said, it's not realistic to expect everyone to be that on top of their cleaning regimes. Aim to clean foundation and eye brushes every other week and powder brushes every month.
How to clean your brushes
1. Prepare your arsenal
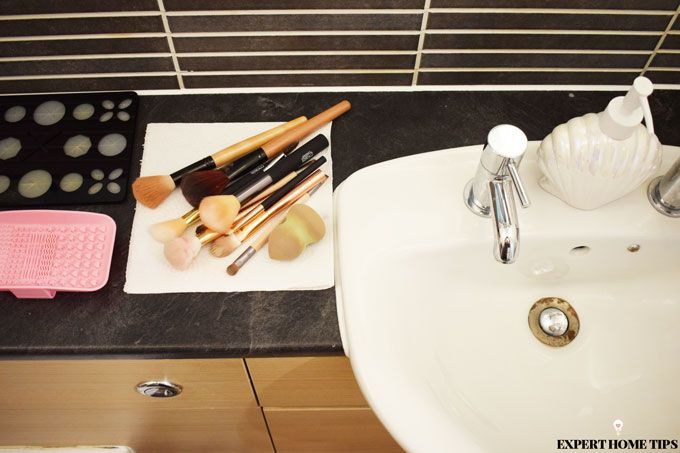
You'll want to gather everything you need so that you're not dripping water from your wet brushes all over the floor.
Make sure you have:
- Dirty brushes
- A drying rack (we'll come to that later)
- Running water
- A textured brush cleaning pad (or the palm of your hand works well too!)
- A mild soap, brush cleanser or shampoo
- A towel or kitchen roll
2. Wet your brush
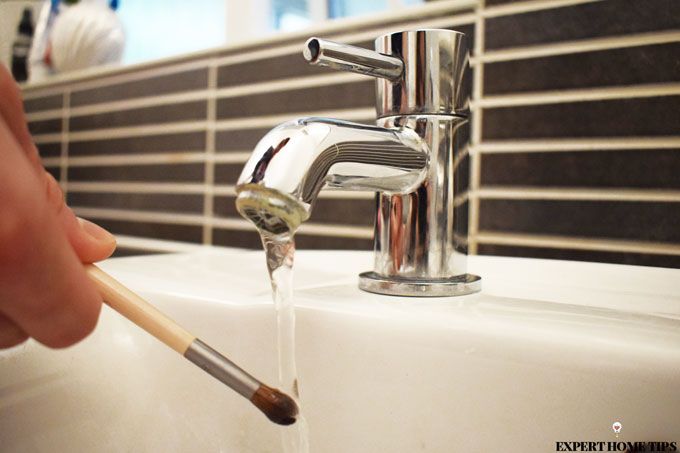
We recommend taking it slow and washing each brush one by one. Wet the brush with warm running water, keeping the brush bristles facing downwards at all times.
If water gets into the ferrule (the part where the bristles of hair are glued to the handle) the glue will disintegrate and the hairs will start to fall out.
3. Add soap
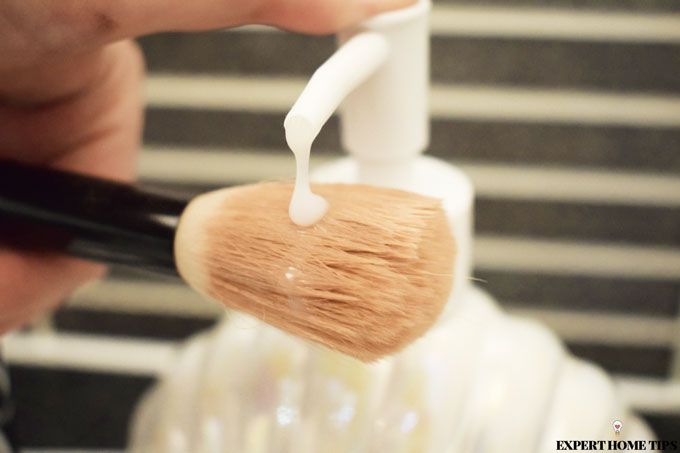
Dispense a small squirt of your chosen soap, shampoo or brush cleanser onto the bristles of the brush - again, keep the bristles pointing down at all times.
You can use soap, shampoo or brush cleanser - it doesn't really matter - but opt for something that is mild because these brushes will be coming into contact with your skin and eyes.
Use a baby shampoo for makeup brushes that are made from natural hair and not synthetic materials. This will keep them nice and soft.
4. Try a cleaning mat
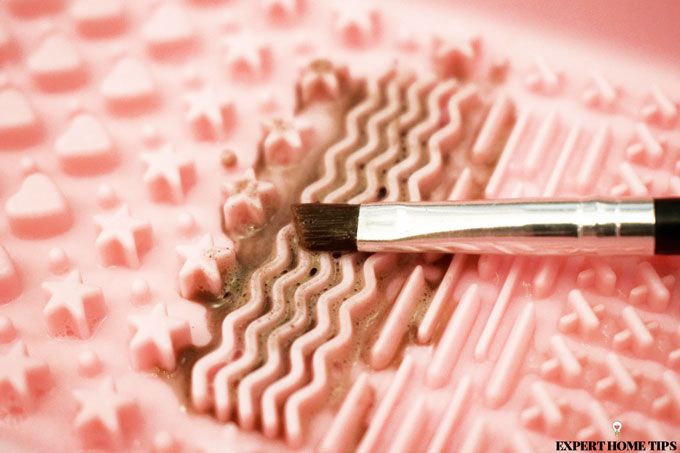
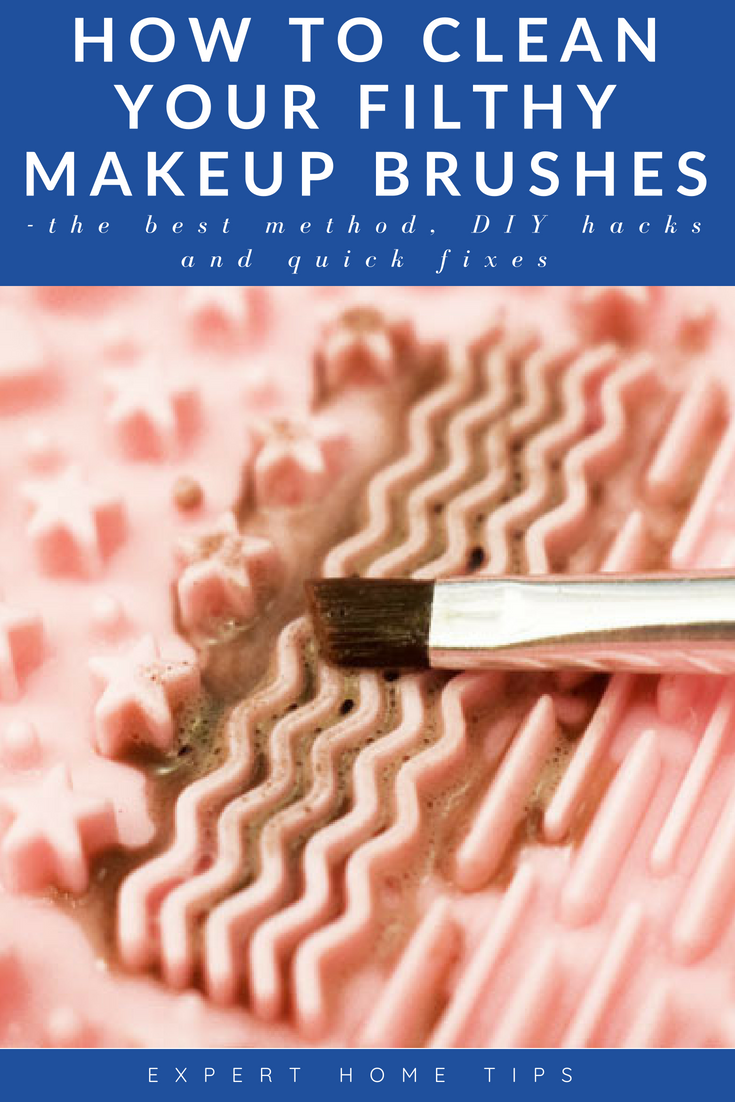
To clean the brush, you'll need some kind of surface to rub it against. We love this silicone cleaning pad from Primark that has various ridges for different sized brushes. The palm of your hand works well too.
TOP TIP: For a DIY alternative, why not take an old plastic Tupperware lid and hot glue your own ridges onto it. Wait for the glue to dry and you've got your very own makeup brush cleaning mat.
5. Move the brush in a circle
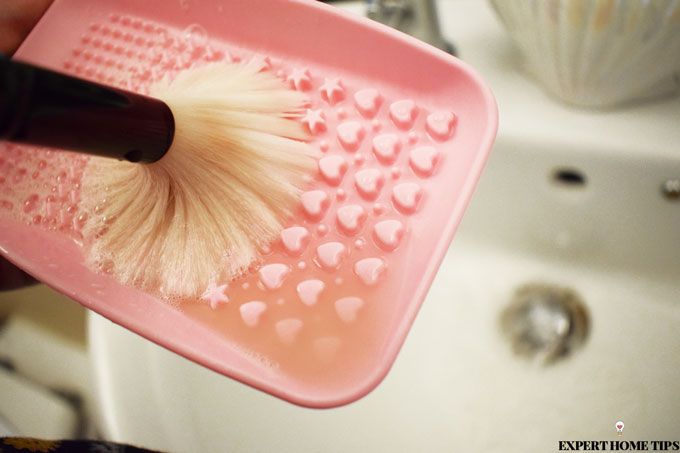
Use circular, downward motions to clean the brush. Be careful not to press down too hard. You'll find that you naturally use different strokes for bigger and smaller brushes.
6. Rinse
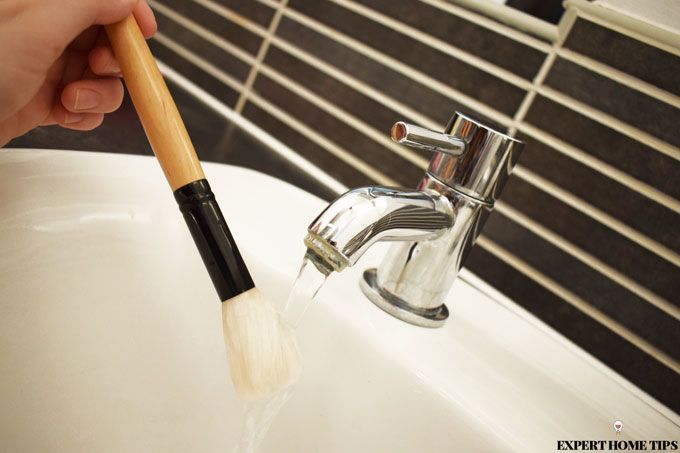
Rinse the bristles under running water until the liquid runs clear. If it's still a bit mucky, repeat steps 3 to 5.
7. Squeeze
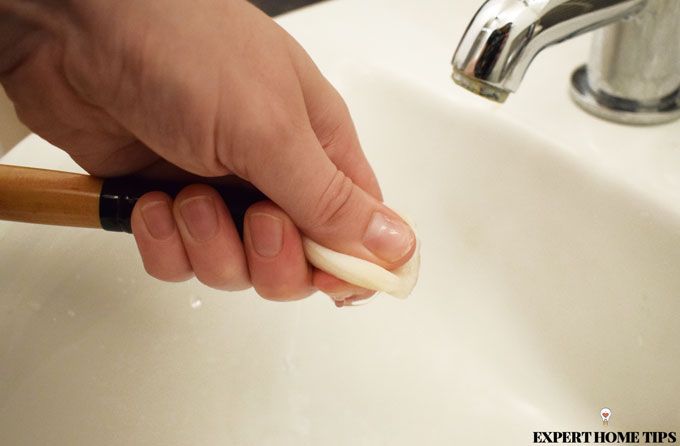
Give the brush head a gentle squeeze to get rid of any excess water. This will speed up the drying process a little bit.
8. Dry
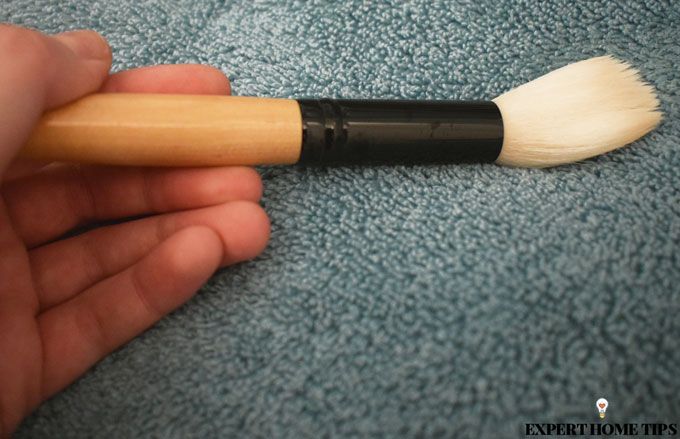
Give your brushes a slightly more thorough dry with a clean towel.
9. Reshape
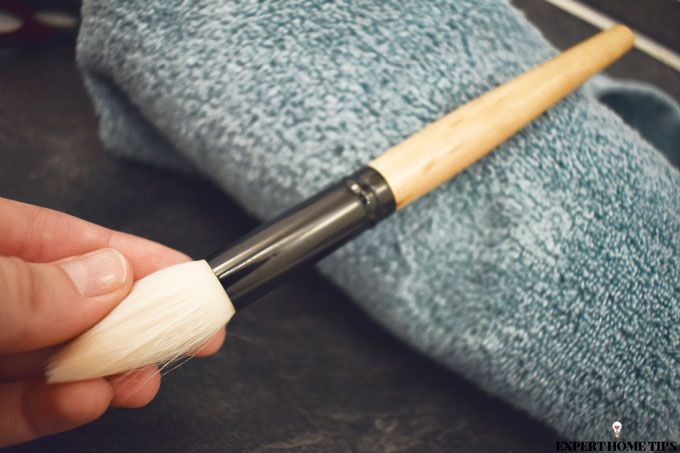
Cleaning and drying the bristles will cause the brush heads to change shape slightly. Make your tools look perfect by pinching the bristles back into shape.
10. Hang dry
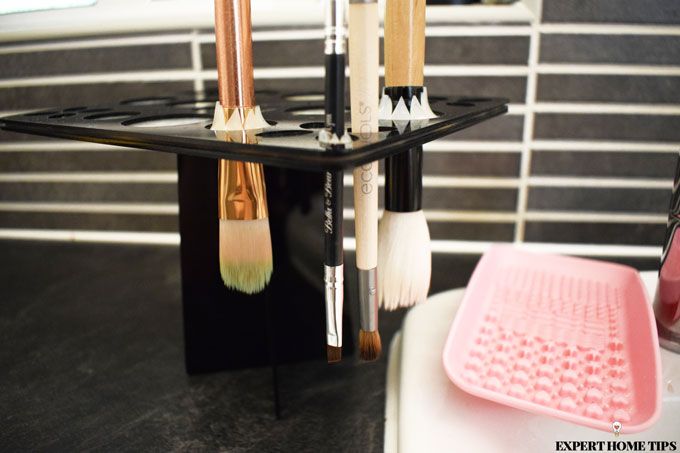
Remember what we said about always facing the bristles downwards? This can be especially difficult when it comes to air drying.
Normally we store our makeup brushes flat or upright in a pot. For air drying, however, we want to keep the brushes upside down so that the ferrule isn't damaged.
To make your life easier, you can purchase a makeup brush drying rack that suspends the brushes upside down.
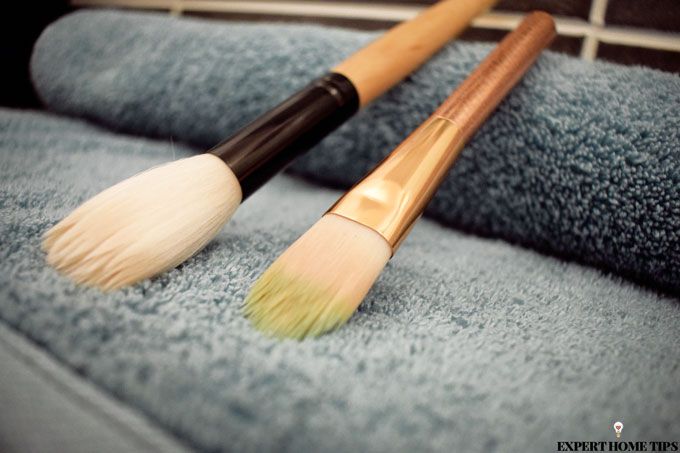
TOP TIP: Fashion your own makeup brush dryer with a rolled up towel. Lay one towel flat and find another smaller one to roll up in a long sausage. Lean the brushes up against the elevated towel.
Quick fixes
11. Spray them clean
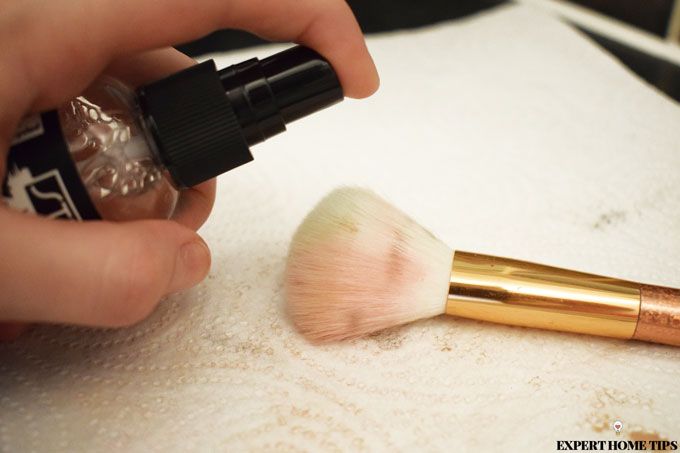
You can purchase antibacterial brush sprays that are perfect for a quick clean when you can't be bothered to go on a brush cleansing frenzy. Just spray the brush head and wipe any excess onto a paper towel.
This is the perfect solution if you are swapping between strongly pigmented colours on the same brush.
12. Use Wipes
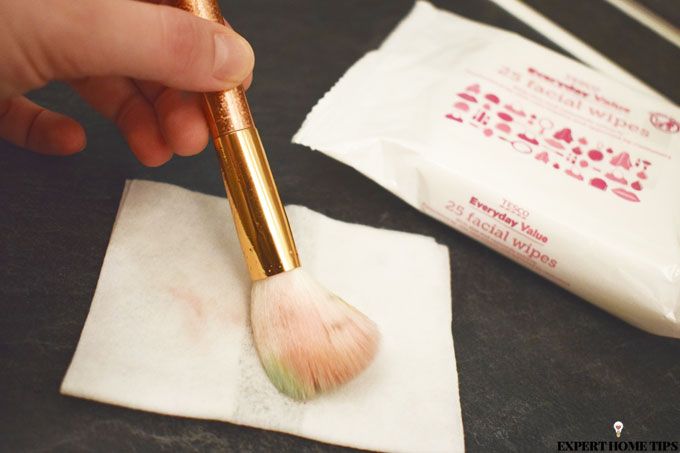
Not the most environmentally friendly option but, if you're in a pinch and need a solution on the go, makeup wipes can be a great idea.
There are brush wipes that you can buy to cleanse your brushes, but makeup wipes are just as good.
Give the bristles a quick wipe clean and you're good to go.
13. Blow dry
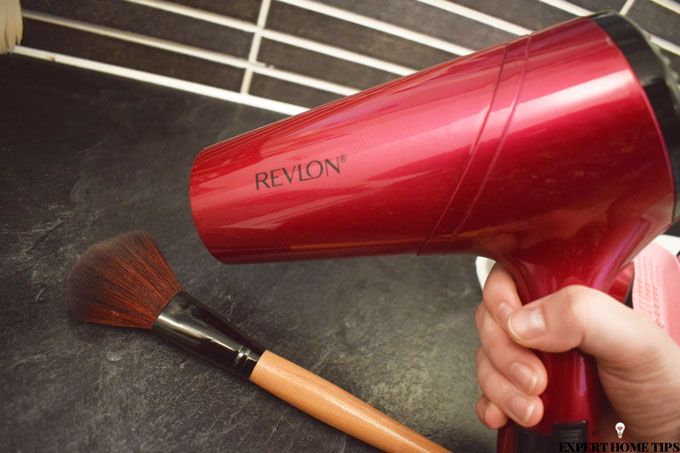
No time to wait for your brushes to air dry? Grab your hair dryer! Put it on a cool or medium setting and blow the air onto the bristles. As always, keep the brush pointed downwards.
Dry brushes in no time!
Speaking of cleaning, next, find out how to get lipstick out of the carpet.
How often do you clean your makeup brushes? We'd love to hear from you in the comments below!
Who has time to do all this? Only those who obsess about makeup in general. So either give up makeup, a positive step, or just stick all brushes in very hot water with washing up liquid and teatree oil once a month. I thought that wetwipes were not acceptable now.
Hi Christine! It is timely, but it's important to take care of your brushes as they come into contact with your skin every day. Be very careful if you stick your brushes in water to only have the water come up as high as the bristles. If water gets into the metal part (ferrule), the bristles will fall out.