
Setting off on a home renovation journey often involves a range of tasks, and one such task is the removal of radiators. While this prospect might initially seem a touch overwhelming, never fear! You can do this. Our comprehensive guide is here to equip you with the knowledge and confidence needed to master the art of removing radiators, including radiator covers and valves. Read on to learn everything you need to know here. Let's delve into the intricacies of radiator removal for your decorating needs.
Preparing for radiator removal
First up, you need to do some prep. Before you even lay your hands on the radiator, establishing a foundation for success is of utmost importance. Make sure you have a well-stocked toolkit containing all the necessary tools and materials for the task ahead:
- Adjustable spanner: This versatile tool will be your constant companion, assisting in the loosening of various connections with ease. Ensure it's the appropriate size for your valves to avoid causing damage during removal.
- Pipe wrench or grips: These tools are your most reliable allies when confronted with stubborn pipes and valves. The pipe wrench offers a firm grip and torque, which is essential when dealing with older or corroded pipes.
- Towels or buckets: Be prepared to manage any potential water spills with these everyday essentials. Keep several towels or buckets on hand to quickly catch leaks or spills.
- Container for draining water: A crucial element for capturing and controlling the water as you drain the radiator. Choose a container with a capacity larger than your radiator to accommodate the draining process.
- Dust sheets or old towels: These protective layers strategically protect your surroundings from spills and debris. Cover the floor, adjacent walls, and any furniture that might be nearby.
Turning off the heating system
Begin your journey with safety in mind. The last thing you want is to cause a home disaster. Turn off your central heating system to create a controlled environment before you get started. This step minimises the risk of unexpected water spills and places your well-being at the forefront. You can turn the heating system off at the mains now.
Step 1: Draining the radiator
Now that you have turned off your heating system, the next step is to drain your radiator. You might know how to bleed a radiator, but this is a little different. Once again, you don't need to be a pro to get this done. Follow these simple steps:
- Locate the drain valve: Find the drain valve situated at the bottom of the radiator. This valve acts as your gateway to a successful draining process. You'll typically find a small valve with a square or hexagonal head.
- Open the drain valve: Use your adjustable spanner to turn the drain valve counterclockwise. As you do so, a controlled flow of water will commence. Place a container beneath it to capture the released water. Applying gentle heat with a hair dryer can help if the valve is stubborn.
- Close the valve: Once the draining process is complete, securely close the drain valve. This proactive measure prevents any potential leaks from occurring. Use your adjustable spanner to ensure a snug seal.
Step 2: Removing the radiator
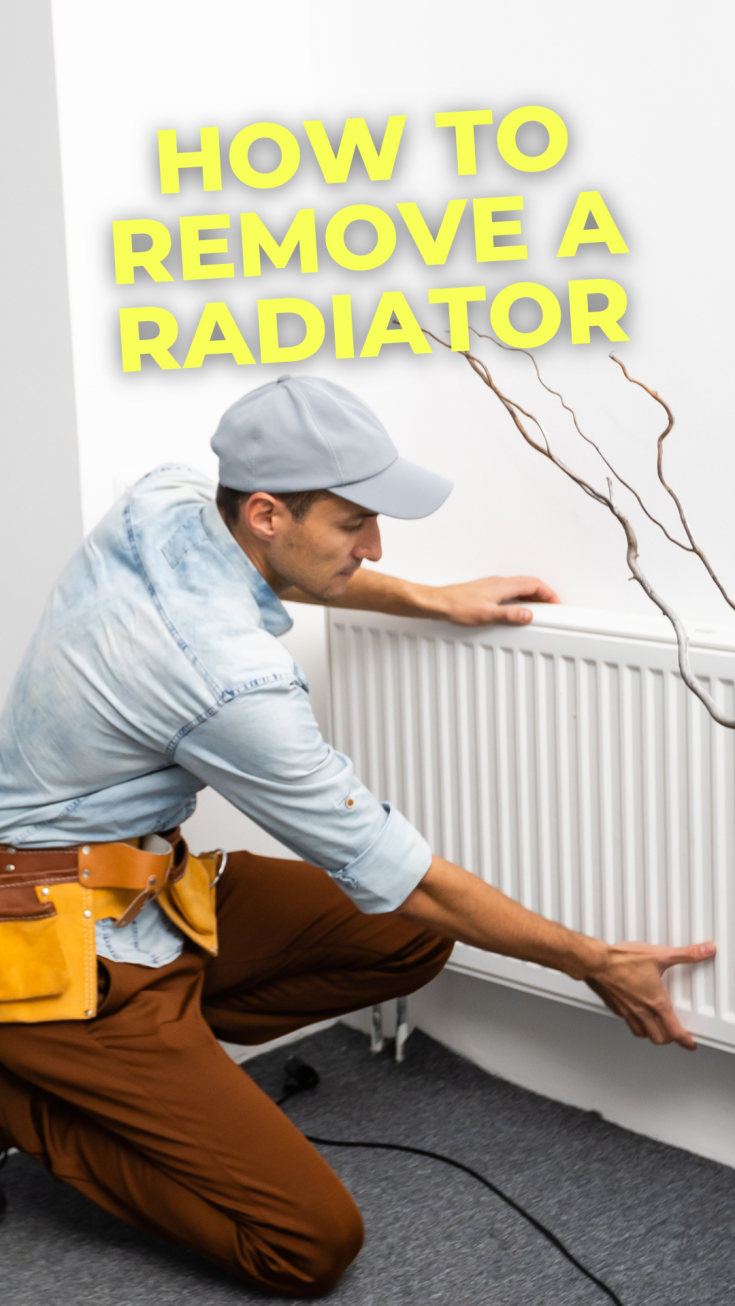
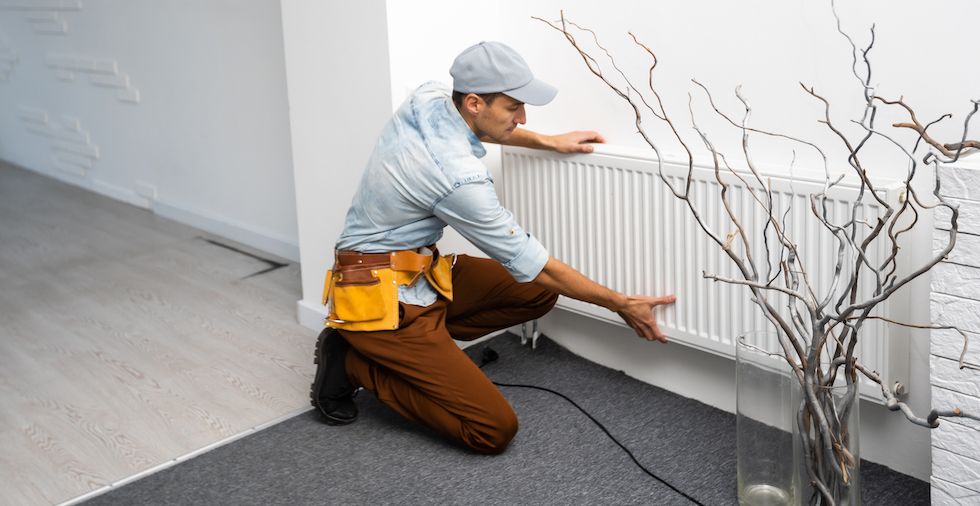
When you have completed the above steps, the next thing you need to do is remove the radiator. Learning how to remove a radiator doesn't have to be complicated. If you have never done this before, we have the steps that you need to take to get it right below:
- Loosen the lockshield valve: On the side opposite the control valve, carefully turn the lockshield valve counterclockwise using your adjustable spanner. Anticipate the controlled release of water as the valve is loosened. You might want to position a bucket or towels beneath to catch water.
- Loosen the control valve: Move to the other side of the radiator, where the control valve is situated. Utilise the adjustable spanner to turn the valve counterclockwise, loosening it. Prepare for a controlled discharge of water as the valve is loosened. Once again, have a container ready to catch any water.
- Gently lift the radiator: With both valves loosened, gently lift the radiator off the wall brackets. Be cautious not to damage the floor or the wall during this process. An extra pair of hands can make this step considerably more accessible and more manageable.
Step 3: Detaching radiator covers and valves
Of course, some radiators will include covers. Therefore, you must also learn how to remove radiator covers and valves. Here's a quick rundown of what you need to do:
- Removing Radiator Covers: If your radiator boasts a cover, consult the manufacturer's instructions. This step could involve unscrewing fasteners, unclipping panels, or removing screws. Some covers might have hidden latches that require careful inspection.
- Detaching Radiator Valves: The nature of the valves will dictate the removal process. Refer to the manufacturer's guidelines for the specific valve type. Some valves can be unscrewed directly from the radiator, while others require a more intricate approach. If the valves are stuck, oil can help loosen them.
Step 4: Properly handling the radiator
Now that you know how to remove a radiator, you need to learn how to handle it properly. Yes, there is a right and wrong way to do this. Follow our advice below:
- Cleaning and Maintenance: Before diving into your decorating plans, take the opportunity to clean your radiator. Over time, dust, debris, and even paint can accumulate, compromising the radiator's efficiency. Use a soft brush, vacuum cleaner, or a mixture of warm water and mild detergent to clean the radiator's fins and surfaces.
- Temporarily Plug the Pipes: Prevent unwanted dust and debris from entering exposed pipes by temporarily plugging them with old rags or towels. This simple yet effective step ensures the integrity of your heating system. Ensure the plugs are secure but not so tight that they damage the pipes.
Step 5: Reattaching the radiator
When you have removed your radiators and decorated behind them, you may be ready to put them back up. Don't panic — we have all the advice you need. Follow these steps:
- Attaching the radiator: As you near the completion of your decorating project, it's time to reattach the radiator. Follow the reverse sequence of steps, ensuring the brackets and valves align precisely. Pay attention to the radiator's orientation, ensuring it is level and flush against the wall.
- Opening the valves: Turn the lockshield and control valves to the open position. Don't forget to restart the central heating system, reintroducing warmth to your living space. Be patient; it might take some time for the radiator to heat up fully.
- Leak inspection: Once the heating system is operational, meticulously inspect the radiator and its connections for any signs of leaks. Address any issues promptly to prevent further complications. Keep an eye on the joints and valve connections, and tighten them if needed.
Having successfully navigated how to remove a radiator, you're now armed with a valuable DIY skill that can transform your home. Following the comprehensive step-by-step guide in this blog post, you've confidently tackled the world of radiator removal, covers, and valves. Your home renovation journey is now marked by newfound confidence and efficiency. Why not try removing your radiators yourself now?
Next, put your DIY skills to the test and learn how to disconnect a washing machine.
Q&A
Did we miss something along the way? If you're still looking for answers, you've come to the right place. Here are some of the frequently asked questions about radiators:
How do you bleed a radiator?
You will need a special key to bleed your radiator. Put the key in the bleed valve and twist. Before you do this, you must have a container under the radiator to catch any water. While it may be stiff initially, keep working at the valve to move it.
Can I remove a radiator myself?
As we have covered in this guide, you can remove a radiator yourself. However, getting a professional to do the job regarding more technical plumbing work is safer. For example, if you have a problem with your pipes, you must get an expert plumber to do the job for you.
Is removing a radiator a big job?
While removing a radiator may seem like a big job, you can do it at home. Now that you are armed with expert advice, you should have no problem with this home renovation task.
Do you have any tips to share? Let us know in the comments below.

Leave a Reply