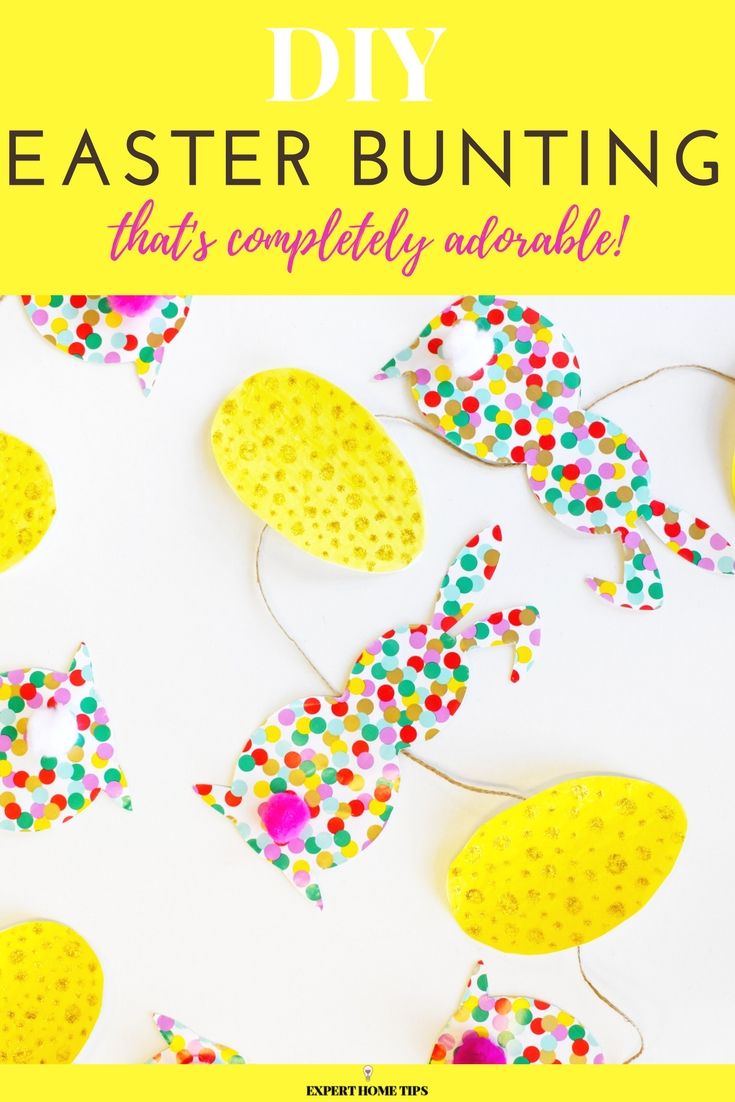

Looking for DIY Easter Crafts to do with the kids during the holidays? We've got you covered. Our adorable Easter Bunting, complete with free bunny template, glitter, pompoms and polkadot paper, is what dreams are made of.
Best of all?
It couldn't be easier to make.
This Easter craft is simple but effective, low-budget, and easy enough for even little hands to master.
Why not segregate up the jobs? You could even set up a sort of 'production line', giving the basic jobs to the littluns and the more complex cutting tasks to the older kids.
However you decide to do it, you won't regret it! Make our fabulous Easter Bunting today and adorn your home in time for the ultimate chocolate-eating season.
Easter bunting: What you need
- Polka dot wrapping paper
- Pink pompoms
- Yellow tissue paper (we used two shades)
- Gold glitter glue
- Brown parcel string
- White card
- UHU glue
- Sellotape
- Scissors (smaller may be better for little hands!)
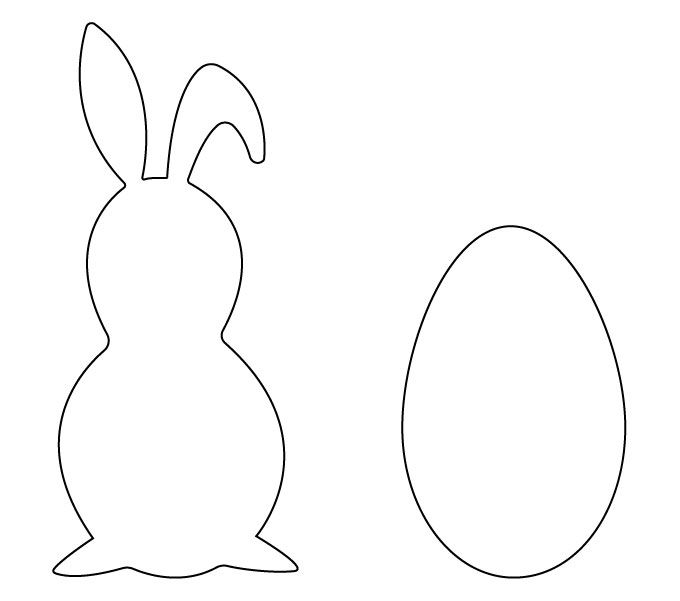
- Easter bunny template (printable below)
- Easter egg templates (printable below)
Easter Bunting: Tutorial
1. First thing's first - print your templates out. If it isn't possible to print them directly onto card, cut them out, then back them onto card to make them sturdier.
2. Take one of your sheets of card, and glue it onto the back of your wrapping paper using a glue stick.
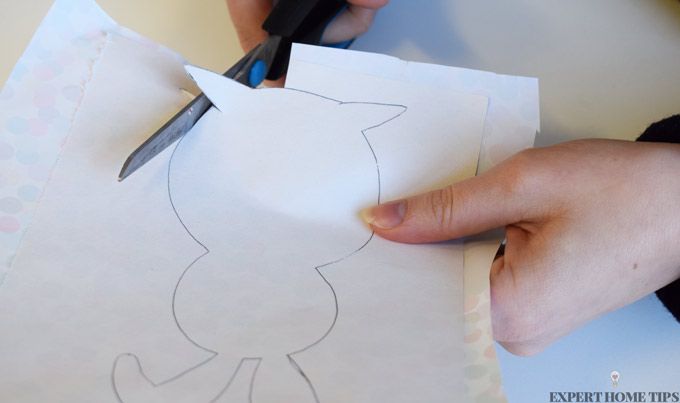
3. Trace your Easter bunny template onto the card until you have 9 copies.
4. Cut out your bunnies, and count out 9, smallish, pink pompoms in a variety of shades.
5. Apply a small blob of UHU glue just above the legs in the centre of the bunny, and stick the pompom on. Place your bunnies to one side.
6. Use a glue stick to attach your yellow tissue paper onto a new sheet of white card. Trace your egg template 8 times, and cut out.
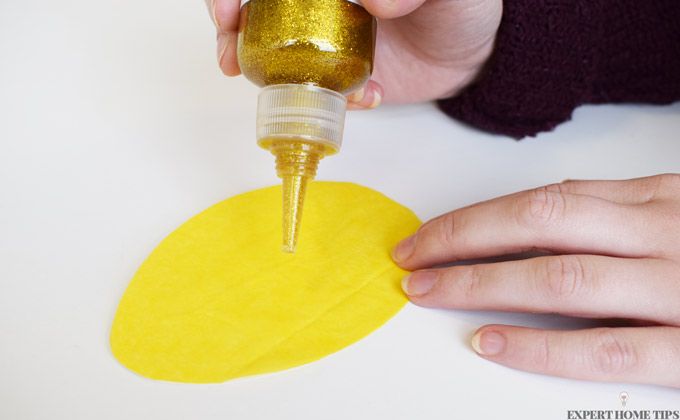
7. Take your gold glitter pen, and begin making dots at the top of the egg, slowly working your way towards the bottom. Vary the size of blob to give your eggs some pizazz! Set aside to dry.
8. Once your eggs are dry, it's assembly time. Take your brown parcel tape, and, about 10 inches from the end, attach it to back of a bunny, across the join between the head and the body, using sellotape.
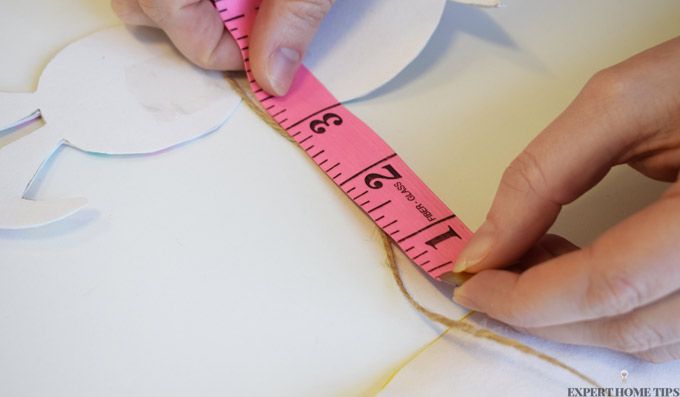
9. Measure approx 3 inches between the bunny, and stretch the parcel string across the back centre of an egg, and attach using Sellotape.
10. Repeat this process until you have attached all your bunnies and eggs. Leave another 10 inches of parcel string at the end and cut.
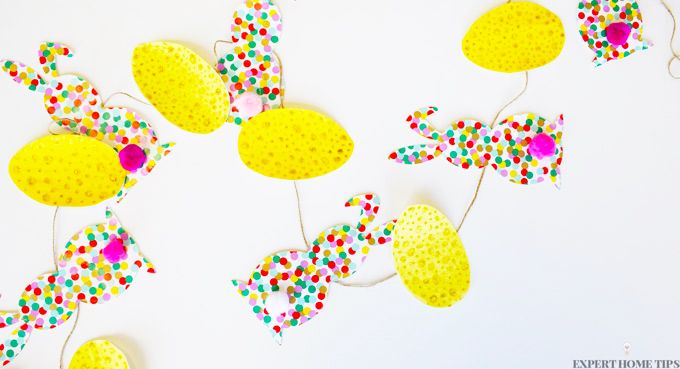
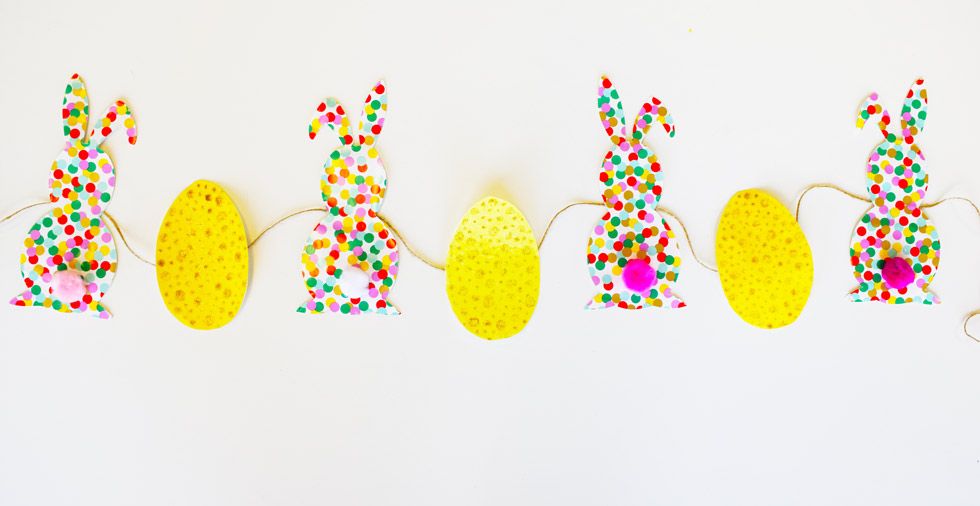
11. Your Easter bunting is now complete!
TOP TIP: Now you've got access to our Easter bunny template, why not play around and see what other crafts you can come up with? You could print out a selection and host a colouring competition for your kids this Easter.
If you like DIY Easter decorations, don't forget to check out our other Easter crafts. Our other Easter Bunny Bunting, Bunny Headband and Easter Cupcakes will definitely keep you and the kids busy during the holidays.
How do you keep busy with the kids during the holidays? Share your ideas with us in the comments below.

I can't find the link for the templates
Hi Jackie! The template is featured in the article body. It's the black outline image. You can copy and paste it into a word doc and then print it out, or print off the page from the website. Hope that helps!