Want to decorate your home in time for Easter? Then I have the perfect thing for you.
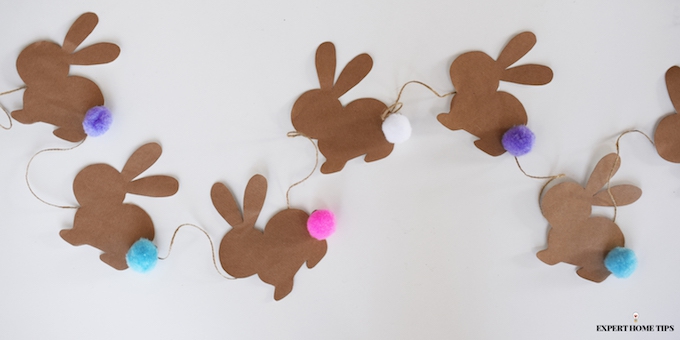
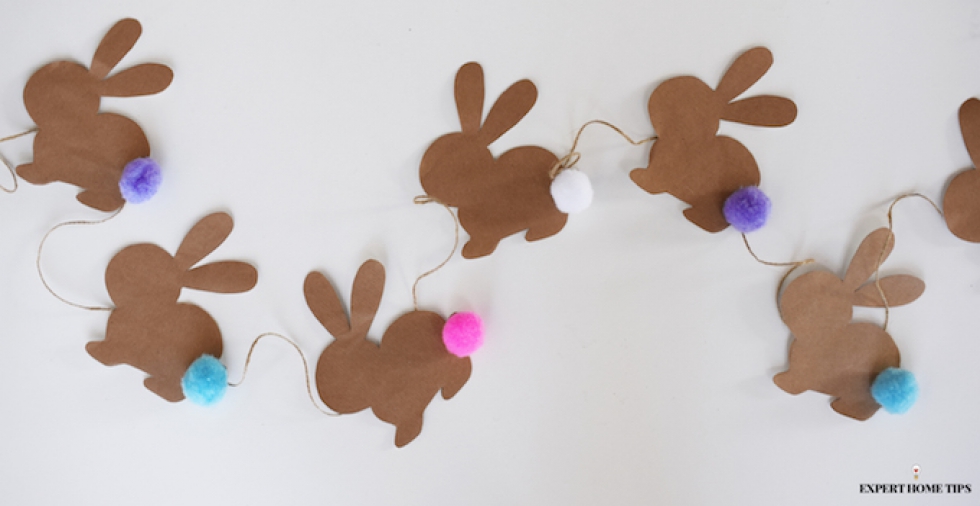
This easy peasy DIY bunny bunting is sure to impress. It's so simple to do - a perfect activity to get the kids involved with.
Requiring just a few simple materials, it certainly won't break the bank. Make sure your house is filled with nothing but happy bunnies this Easter holiday - make our DIY bunny garland now!
What you need:
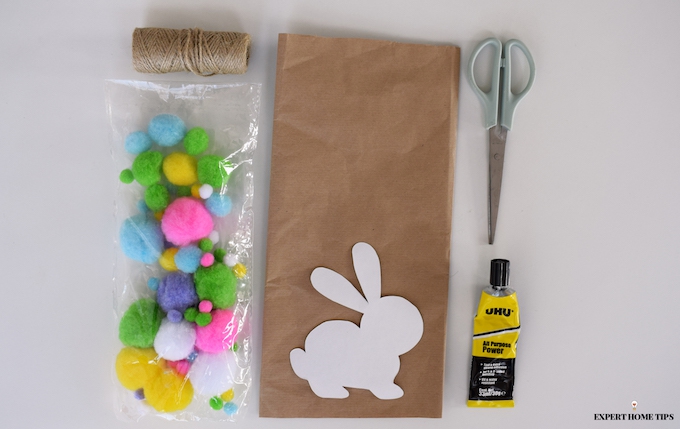
- Brown card - if you don't have this, glue packaging paper onto white card
- UHU glue
- Small scissors
- Pencil
- Pompoms
- Packaging string
- Bunny template (print out featured below)

How to DIY your Easter bunny bunting
- Cut out your template.
- Use this template a stencil for your bunnies. Place it on the card and draw around the shape using a pencil. Repeat 10 times.
- Cut out the bunnies with a pair of small scissors.
- Place a blob of glue onto a pompom, then stick over the tail of your card bunny. Press down. Repeat for all bunnies.
- Turn the bunnies over, and take your twine. Leave around 25cm of twine before sellotaping the twine to the first bunny. Try and sellotape through the centre to ensure the bunny hangs straight.
- Repeat for all 10 bunnies, leaving a gap of 6inches in between each one.
- Leave another 25cm at the end of the chain, then cut the twine.
Where are the templates for this activity?
Hi Jackie! The template is featured in the article body. It's the black outline image. You can copy and paste it into a word doc and then print it out, or print off the page from the website. Hope that helps!