
Calling all DIYers! Today we're sharing some seriously cracking life hacks to make all your home improvement projects easier and more mess-free than you ever thought possible.
We've got clever tips for everything from painting to drilling - you won't believe how simple but effective these 17 hacks are. Check them out now and up your DIY game today!
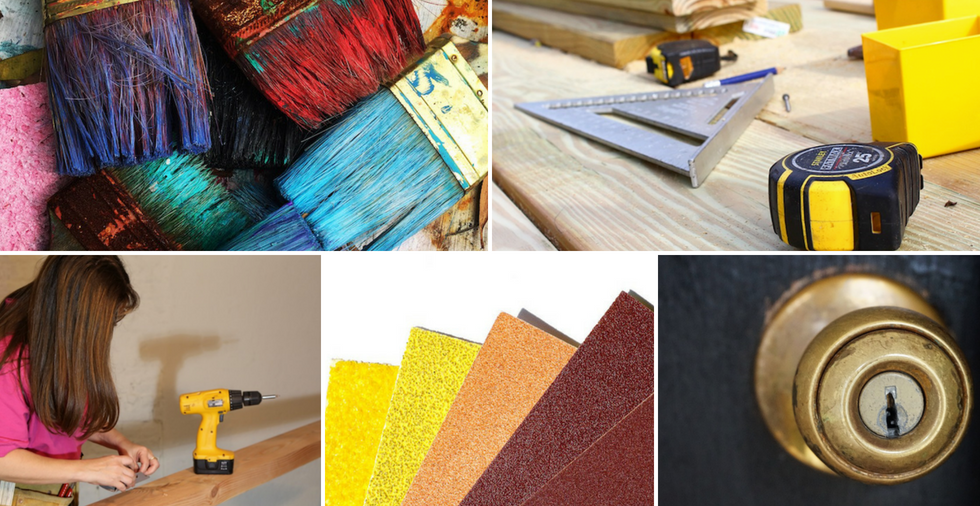
Painting hacks
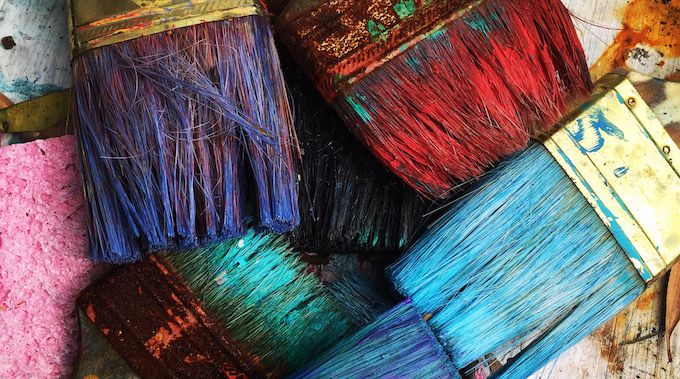
One of the main factors that puts many of us off of painting is the mess it causes. Well, with our DIY life hacks, it's never been less-messy!
1. Pop an elastic band over the paint tin
A simple elastic band is all you need to provide a ledge on which you can remove excess paint from your brush. Stretch a large band over the bottom and top of the open tin, and gently glide your brush over it after each dip.
This hack will prevent any paint from running off of the brush, or paint can, thereby reducing waste and mess in one swift sweep.
Discover more great uses for elastic bands in our other article.
2. Cling film your paint tray
Still got a lot of paint left in your paint tray? There's no need to choose between messily trying to pour it back into the tin or throwing it away - we have a life hack that's a much better option.
Cling film your paint tray and brushes and the lack of air will prevent them from drying, meaning they're wet and ready for your next spurt of work.
3. This life hack will prevent paint drips
Worried about getting paint all over the floor? We recommend, of course, covering the ground with a sheet, however, an additional step you can take is to use a large plastic lid (something like an old paint or large coffee-tin top) and cut a rectangular hole in it to that will fit your paintbrush hadle. Pull it down over the paintbrush handle and it will catch any drips, leaving your with a clean floor.
This is a great hack for anyone who's planning on redecorating sometime soon!
4. How to cover door handles when painting
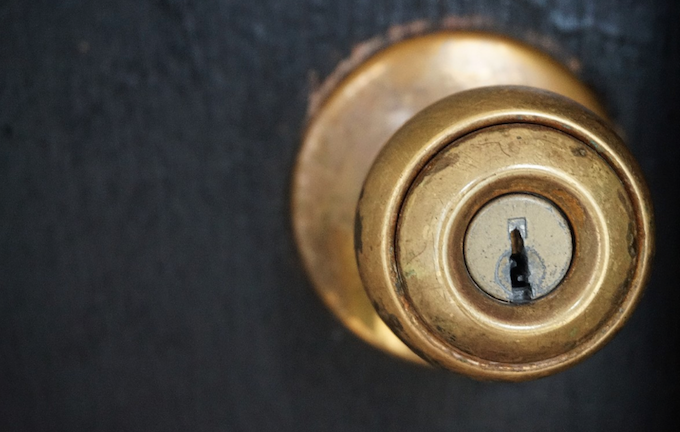
Painting a door? Or perhaps around the edge of a light fitting?
An alternative to lining the edges with tape is wrapping the whole thing in aluminium foil. Unlike tape, you can scrunch it over the entire object, preventing paint flicks from causing any damage.
5. Use baby oil to remove paint
You DIYers will know that getting paint on your skin can be uncomfortable and unsightly. A great life hack to know is using baby oil to remove paint.
Apply in a circular motion to gently remove any coloured paint, leaving your hands clean, supple and soft.
Life hacks to make drilling & hammering easier

Drilling - an essential and basic skill in many DIY projects. Check out our life hacks below to get more confident with your drill than ever!
6. Pop a sticky note under the drill
Want to hang something up super fast? If it's just a small picture frame you're putting up, there's no need to put a protective layer down, or even get the vacuum out - if you know of our clever DIY life hack, that is.
Attach the sticky strip of a sticky note to the wall under the drill, and it will catch all of the debris from the wall - pretty clever, huh?
7. Remove stripped screws with a balloon
Stripped screws can be extremely tricky hard to remove - well, no longer!
Watch the video above to see how a balloon can solve this problem in a matter of seconds.
8. Use a comb to hold nails
Don't run the risk of a wonky nail. All you need to keep your nail perfectly straight is a comb. Slip the nail in between two of the teeth, then hammer away.
9. How to keep screws handy when hammering
Ew - don't put those dirty screws in your mouth! We have a handy life hack to keep screws accessible at all times.
Get yourself a small, but powerful, circular stick-on magnet and attach it to the base of your hammer handle. It will hold the screws so you can grab them when needed.
10. Attach a pencil to your tapemeasure
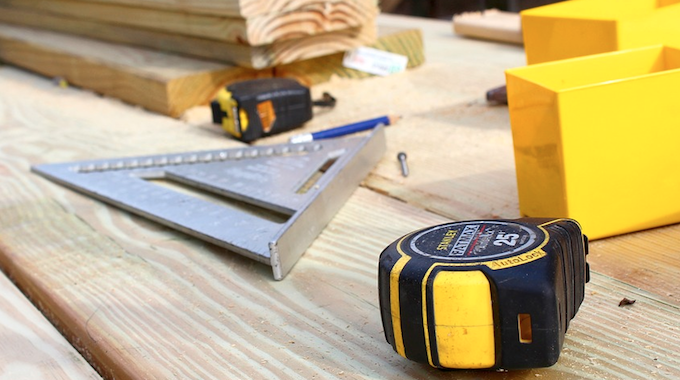
Find marking and measuring at the same tame rather tricky? Us too!
The solution?
Clip a pencil into a binder clip then onto your tape measure. Now, you'll be able to measure and draw at the same time, making your drilling and hammering more accurate than ever before!
Upcycling & decorating life hacks
Looking to make more aesthetic alterations to your home? We have tips for that! Check them out below to make your life SO much easier...
11. Back your sandpaper with masking tape
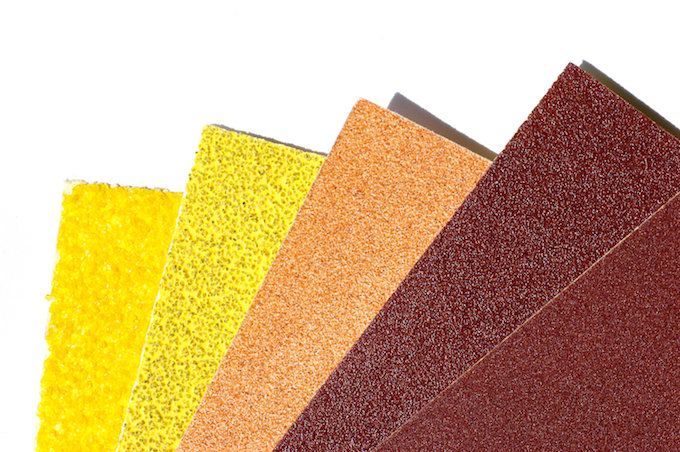
Sandpaper may look strong, but it can soon wear down. If you've got a big project to work on, consider backing your sandpaper with masking tape - it'll increase its durability no end!
12. Use velcro to hand frames
Not feeling confident enough to use the drill? This Velcro life hack is about to become your best friend.
Extra-strong Velcro is amazing for loads of things, including putting up pictures. Attach strips to both the back of the frame and the wall for the easiest interior update ever.
Don't forget to check out some other uses for Velcro you probably never thought of too!
13. Use nail polish to prevent rust
Sometimes rust can give a lovely, vintage look. If that's not something you're going for, a coat of clear nail varnish on small, metal items will keep them from rusting.
Want more uses for nail polish? Check out our other blog post!
14. Remove wood scratches with a walnut

Yes, you heard that right! The oil in walnuts is amazing at nourishing and buffing out scratches in wood. Give it a go on the table you want to upcycle, and you may not need to get out the wood varnish at all.
15. DIY the shabby chic look
Shabby chic furniture is all the rage, but it sure can be expensive. Why not try DIYing instead?
A home improvement hack absolutely everyone should know is using sandpaper to give furniture a 'distressed' look. This is particularly effective on painted wooden pieces of furniture.
If you want to take your upcycling projects one step further, learn how to make chalk paint.
TOP TIP: to upcycle smaller pieces using this technique, use an emery board instead of sandpaper. Don't forget to check out our many other uses for nail files while you're at it!
16. Remove superglue with an emery board
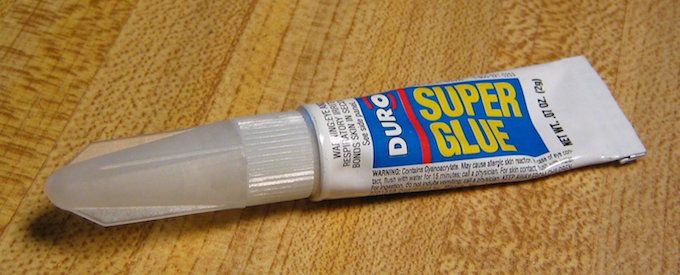
Whilst you've got your nail file to hand, you can use it to remove and superglue that may have gotten on your fingers during your upcycling project.
DIYers and non-DIYers alike should all know this handy hack!
Are you a DIY pro? Share any tips you have with us in the comments belwo - we'd love to hear them!

Hi Stephanie, just a couple of experienced based thoughts: 6. Pop a sticky note under the drill Another option and one I have used for many years is to recycle a used envelope, simply stick it to the wall with a length of masking tape, just below where you intend to drill, open it out and it will catch the detritus, you can reuse it as often as you need to, assuming you are drilling more than one hole and, if necessary, replace or supplement the masking tape as required. The thing about masking tape is that it doesn't (usually) damage existing paintwork. When you have finished, just seal up the envelope and bin it. I was helping my grandson to put up a shelf in his bedroom just the other day and I showed him this tip (he did most of the work - I just advised!!). Another tip, when hanging a mirror or a picture, using more than one attachment point, mark, drill and plug one point on the wall where you want to hang it, screw that one side to the wall but not too firmly, then holding a spirit level to the top of the mirror/picture, swing it into position until it is level and mark where the second attachment goes, let the mirror swing back down (under control of course), then drill and plug the second position then, when you secure the mirror/picture, you can be certain that it is perfectly level - much more accurate than trying to measure the attachment points with a steel rule and MUCH easier. Paint tins. To store paint so that it doesn't develop a skin, ensure that the lid is FIRMLY secured and store the tin upside down, this may seem counter intuitive but, like the cling film over a paint tray, it keeps the air out, in fact it creates a partial vacuum (essentially a "Torricellian vacuum") and any skin the does happen to form, due to air already in the tin, will be at the bottom of the tin when you next need to use it. Yet again, lots of good tips, keep up the good work.
Hi Donatello - good to see you. Some great tips here, as always. I particularly enjoyed the paint tin idea! It's also great to hear you're passing your knowledge onto your Grandson. Please keep coming back and visiting us - we love your tips :)
One more tip regarding shelves. My grandson's shelf was held up by wooden brackets which I had previously stained and varnished (more on that in a mo!). With metal brackets, it's quite easy to mark screw positions wit a pencil, or even a fibre tipped pen but with wooden brackets, the holes are usually too deep for a pencil to reach the wall. Solution? I told my grandson to position the screws in the pre-drilled holes in the bracket, leaving about 2mm of the sharp end exposed, position and level where the bracket was to go, then give each screw a smart whack with a tack hammer. Lo and behold, when he removed the bracket, there was a series of neat indentations in the wall guiding him as to where he needed to drill. Then, once he had drilled and plugged the placement, I suggested the he screw each of the screws into the bracket leaving about 1cm exposed at the back so he could see where he had to position the screws to match up with the centre of each of the plugs, he did as I suggested - et voila everything matched perfectly. Next stage, screw each screw (there were three per bracket) half way in, then go round again screwing them in completely, this avoids one screw pulling another out of alignment. Now, as promised, my way for varnishing the shelf and brackets, I used a sponge scouring pad, dirt cheap from most discount stores, dip the sponge side in the varnish/stain and spread it evenly across the item concerned, no brush, no brush strokes and it's easy to mop up any accumulations - simples! (Oh and it might pay you to wear disposable gloves!!) In fact, if you use sponge scourers for many small painting/varnishing jobs you can achieve some interesting effects by swirling or dabbing the sponge side or the scourer side. Take care my friend.
Hello Donatello46. Such detailed advice! Thank you so much for sharing.
This is a very useful content. Every household should learn it. Thank you for sharing
Thank you, Mike!
That was a really informative roof guide. thank you. Will def keep this in mind. And this could give me more knowledge about roofing
You're welcome, Jerry!
When screwing into wood, particularly hard wood such as oak or teak, smear a dab of Vaseline or grease over the screw tip. It'll make it easier to screw in. On hard wood, it's also easier if you drill a small pilot hole into the wood too.
Smear Vaseline or grease on the screw tip to reduce friction when screwing into hardwood such as oak or teak. Additionally, drilling a pilot hole using a drill bit slightly smaller than the screw diameter will help guide the screw and prevent the wood from splitting.
Hi, when decorating, I always used to lose my pencil. Now I make small grooves in the blunt end and tie a length of string around it. Doing that I don't lose the pencil as there is an end of string to follow.
Lovely idea!
Such a useful guide for DIYers, Impressive effort. I will share it with my clients