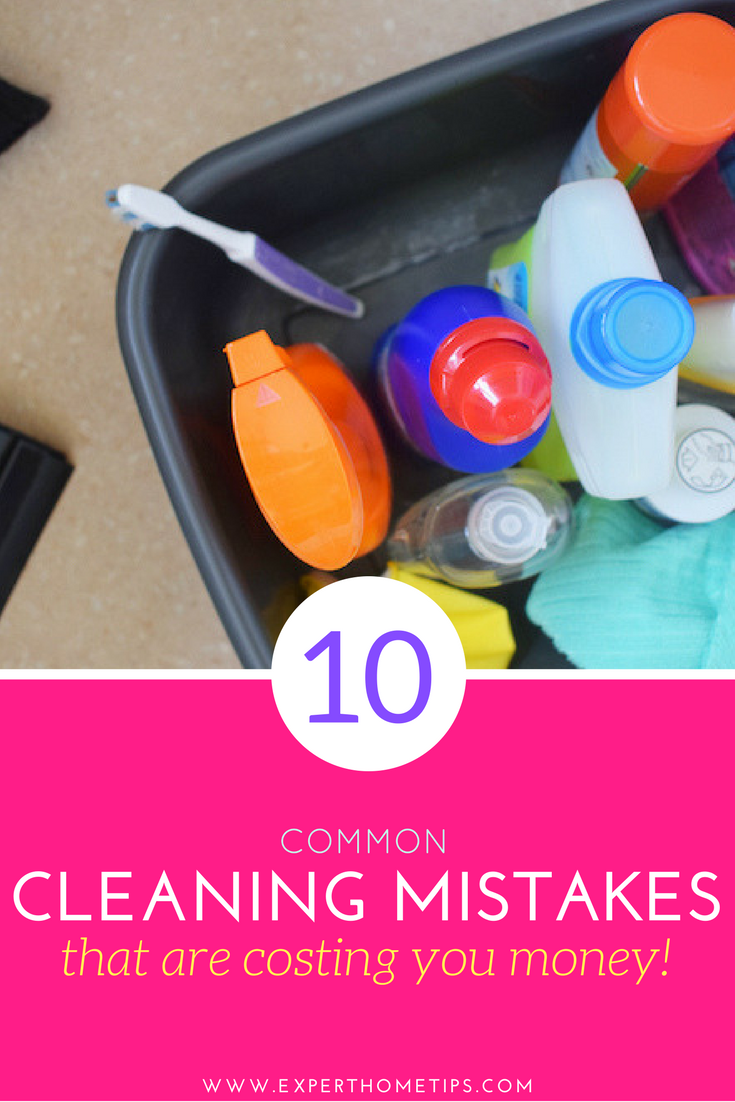

Want to cut down on cleaning time? Today we're sharing 10 common cleaning mistakes that could be costing you time and money.
These mistakes are simple and easy to make, but luckily they're also easily remedied. Don't spend more time doing household chores than you have to - make sure you avoid making these costly cleaning errors today!
Cleaning Mistake #1: Not deep cleaning
Are you strict with your yearly Spring Clean?
Here at Expert Home Tips, we recommend doing a deep clean at least twice a year - one in Spring and one in Autumn.
Deep cleans can seem like an intimidating amount of work, but they're paramount in making cleaning easier for the rest of the year.
If you do a thorough, deep clean and get into all the nooks, crannies and crevices of your home, you'll only need to perform light cleans for the rest of the year, saving you heaps of time in the long run.
Mistake #2: Not moving everything out of the way
Cleaning is hard enough work without bumping into furniture or having to stop to move bits and bobs around every two minutes.
Don't make things harder for yourself.
Spending a few minutes clearing surfaces and floors before you start cleaning will save you time and energy. Plus, with no stuff in the way, do a much better job.
Mistake #3: Not playing music
Even us cleaning fanatics here at Expert Home Tips find household tasks dull from time-to-time.
Our secret weapon?
Music. Whenever you're tackling a cleaning job, put your favourite radio station, CD or Spotify playlist on loud before you begin.
Not only will singing along to your favourite tunes serve as a distraction, but the music will motivate you and make cleaning fun - yes, we said it!
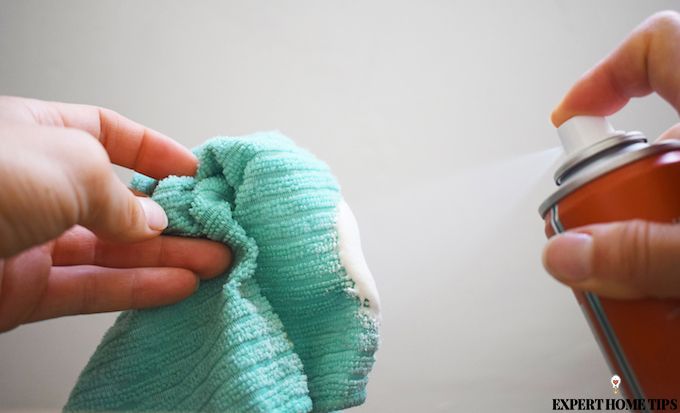
Mistake #4: Not wearing rubber gloves
We are rubber glove advocates here at Expert Home Tips, and here's why:
Not only do rubber gloves protect your skin from harsh chemicals and conditions like dermatitis, but they allow you to get the job done faster.
With no harmful substances or disgusting messes to deal with directly, you're able to tackle the job in hand confidently and with ease.
Mistake #5: Not working from high to low
We can't emphasise this enough: starting high and working your way down is a rule to always abide by when cleaning.
By starting with your highest surfaces (such as ceiling lights, the tops of cabinets and curtain poles), any dust and debris will fall down at the beginning of your clean, collecting on the already dirty surfaces below.
This makes your cleaning efforts much more effective and means you won't have to 'go over' surfaces lower down later on.
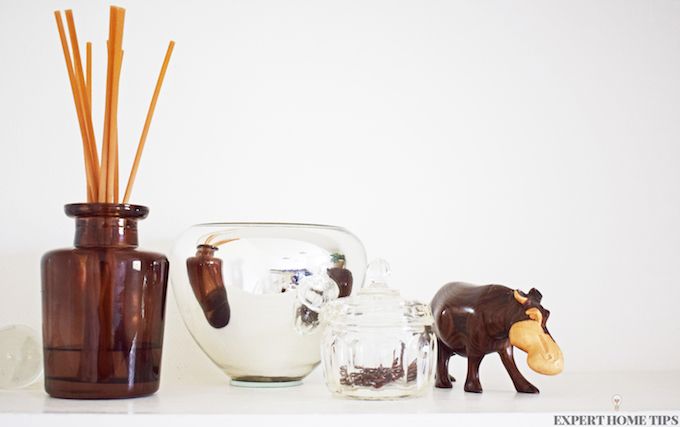
Mistake #6: Not using a variety of products & cleaning tools
When it comes to cleaning, one size certainly does not fit all.
Some rags perform better on certain surfaces, similarly to the varying effect of products.
That's why it's so important to have a variety of products and cleaning tools for every situation, area and room in your house.
For example, the tough water stains on your shower screen will require completely different treatment to the grease on your extractor fan.
Learn what works best for each cleaning task, and utilise your tools and products accordingly.
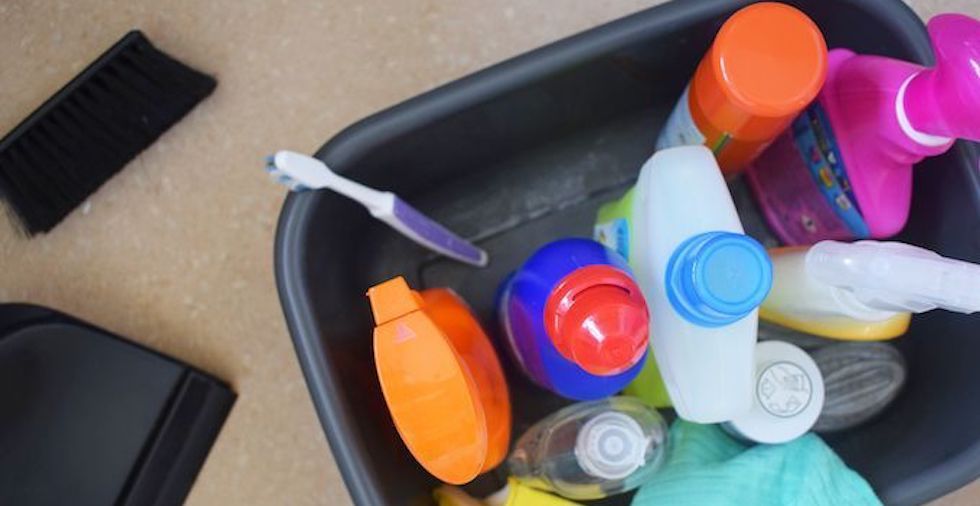
Mistake #7: Not having a cleaning kit to hand
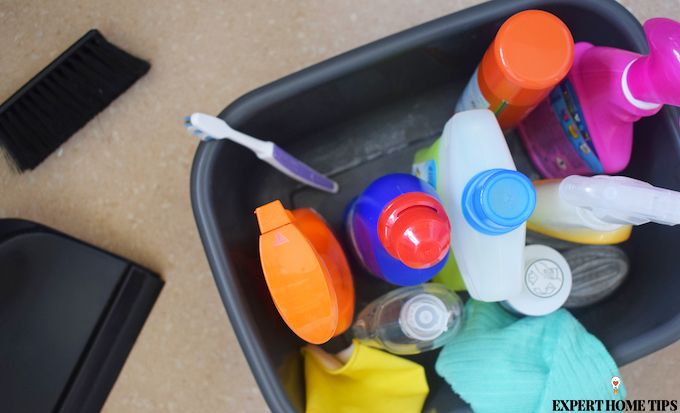
You've now got a variety of cleaning products and tools available to you, and that's great!
But to really save time, you'll want to have them accessible to you at all times when carrying out your clean.
The trick?
A cleaning caddy. You can pick these up for just a few quid, and they really do make transporting all your cloths, toothbrushes, polishes and sprays around much easier. Not to mention they're great for organising too!
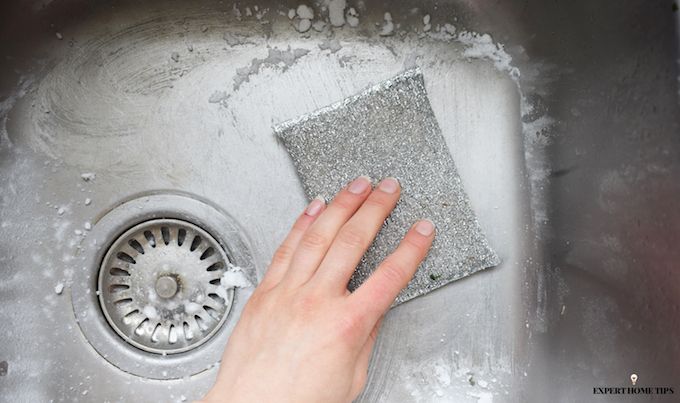
Cleaning Mistake #8: Not letting products sit
There's nothing more frustrating for us than seeing someone spending hours scrubbing away at surfaces.
You're doing a job your products can do for you!
Most cleaning products are extremely effective, given the chance. Always make sure to give your products a few minutes to break down dirt, grime and grease before attempting to clean yourself.
Just two minutes of waiting time could spend you tens of minutes on scrubbing later on!
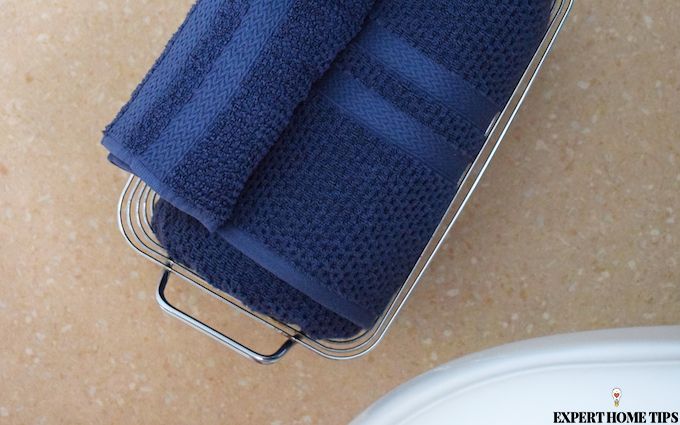
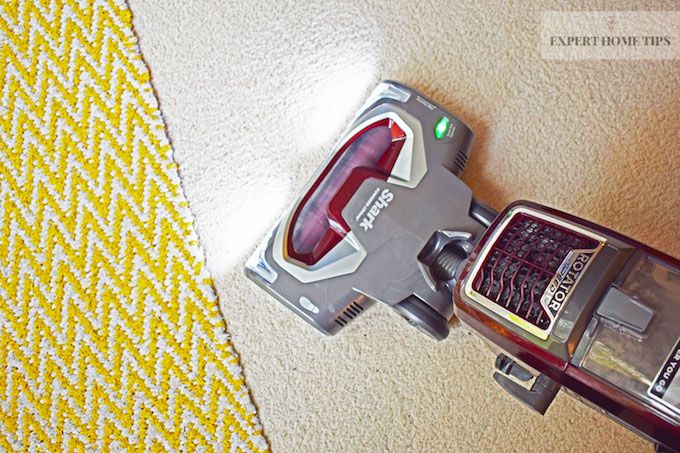
Mistake #9: Using dirty cleaning tools
Just because you're putting cleaning products on your cleaning tools, doesn't mean they won't get dirty, too.
All that product will soon build up, making removing debris from surfaces very tricky indeed.
Not only that, but imagine some of the germs your cleaning cloths come into contact with - yikes!
We recommend a thorough washing at 60ºC after every clean, and replacing worn down and dirty cloths and sponges every few months or so.
Mistake #10: Not maintaining in between
Your weekly clean will be much harder and take much longer if you get lazy in between cleans.
Simply taking a few minutes every day to do small things such as wipe the sink after use, remove crumbs from the toaster, and sweep up kitchen messes will really help you save time in the long run.
A little bit of effort will dramatically reduce the build-up of mess throughout the week, and cut your cleaning time down dramatically.
If you can, encourage your whole household to take a more proactive approach in keeping the house tidy every day too.
Are there any specific cleaning rules you live by? Share your secrets with us in the comments below!

A vast array of chemicals is not required - baking soda, white vinegar and water in various combinations is all that's needed - kinder to your house, to you and to the environment. All those chemicals have to go somewhere: down the drain and ultimately into the water table. I was recently sent a container of a well known fabric freshener - you know the ones, those little coloured beads you toss in the washing machine. I was sent it to test and review. To my horror there is a statement on the label which declares they are dangerous to aquatic animals! It is outrageous that this sort of product is not only available to buy, but we are encouraged to use it! Think about what you use because eventually it will affect our planet.
Hi Jay. Thanks for stopping by. Luckily, our water is filtered and cleaned before entering the environment, however, you are right - it's much safer to use natural products! Again, though, even if you are using natural products, one ingredient will not work for all areas. Lemons are great for removing limescale, but white vinegar is much better as an antibacterial cleaner.
I let products sit for around 5 -10 minutes depending on what the product is and what is being cleaned. As your article states, it saves a lot of scrubbing. Thanks for the tips.
Hi Lesley. That's a great idea - why scrub when the products can do the work for you I say. Thanks for stopping by :)
This is going to save myself a lot of time. Thankyou.
I find that when cleaning glass the best way is to use basin of hot water with a drop of washing-up liquid and 2 clothes one to wash and 1 to dry which you do immediately after you wash or if your lucky enough to have a window vac still wash window then use the vac to remove water and dry edges this does defo cut down the time great on mirrors also.
Sounds like a great method, Linda!
I always enjoy reading your tips. This time I have a question. How do I de-scale a coffee machine? Distilled white vinegar indicated on the internet. I have a Bosch Tasssimo with the red de-scale light showing. I live abroad and do not have easy access to the Tassimo tablets. Thanks in advance for your help.
Hi Sue! Thank you for your kind words. I've used white vinegar to descale a kettle before and the results were excellent. I poured it in and then boiled the kettle. Leave it to sit for a few hours for best results. Hope that helps you to de-scale your coffee machine!
Many thanks for your reply. i will give the white vinegar a try.
I had a Tassimo machine. The instructions were rubbish for descaling. I had to look online for how to do it. I think when the red light shows it needs descaling. If I remember rightly I put the yellow disc in the machine to tell it it's a cleaning cycle, filled the tank with white vinegar and pressed the button that was red. The cycle took longer than the normal function, about 10-15 mins I think. I just did that a couple of times then rinsed it out and did it again with clean water to save my drinks tasting of vinegar. Hope it's useful.
"Spending a few minutes clearing surfaces and floors before you start cleaning will save you time and energy. " OR "Always work from top to bottom" Contradictory information here. Well, which is it? Everyone knows that the floor is the last thing you clean.
Hi Frances! I believe there is some confusion over the wording here. You should clear the surfaces and the floor first. This step is the tidying phase. Without tidying away clutter, you can't clean properly. After this, you want to clean from top to bottom. This is the cleaning phase. For me, cleaning and tidying are very different things!
Hi. I use a colour code system for my cloths I use for cleaning. Generally I throw them away quite often (depending on the quality and use) but I use the following guide.. which also prevents any cross-contamination.., Yellow for the kitchen, Green for the general bathroom, Pink for the toilet and immediate area above, and a white for any other areas that need a wipe down in the house. In addition to the above, I use a scouring pad for the sinks and a duster for the furniture. I just find that doing this makes it a lot safer and it sounds a lot more effort than it actually is, you soon remember which colour goes where :)
I do this too! It's a great method.
For my furniture i prefer using a damp clothes to clean and a dry clothes to dry off works for me far better than furniture polish which just builds up n up.Also i never make my bed in the morning i much prefer to fold duvet back and let my bed air during day then make it after lunch xxx
Great tips! Thanks for sharing.
Joanne that info on descaling your kettle has helped me a lot now I know exactly what to do? I got too much differing information from the internet? So hearing yours I’m definitely going to try that tonight? I have bicarbonate of soda also? Should I add some of this? I got the kettle from my brother who lives in Inverness right at the top? Apparently they get hard water up there and where I am in Dundee we don’t so I’ve never had this issue before? Thank you ?
I'm so glad to hear that, Cheryl! You can try both methods if the limescale doesn't budge with one.
I love reading all the tips. I’m always finding something handy. Thank you and keep on sharing
We will keep them coming, Pam!
I use baby wipes to apply the pledge - and then buff off with a nice soft cloth if necessary. I put the baby wipes in the landfill bin of course!
Thanks for sharing! Instead, consider using a reusable microfiber cloth to apply the polish and buff it off. Microfiber cloths can be washed and reused multiple times, making them a more sustainable option.
The best glass cleaner I have ever tried is cold black tea. I put it in a spray bottle and spray lightly on glass then wipe off. Brilliant, no streak cleaner .
Great idea! The tannins in the tea can help remove dirt and grime from the surface. You can also add some vinegar for extra cleaning power.
Personally, I don't recommend playing music. When i a smooth texture is actually clean, you can hear the difference in sound (my eyesight is not perfect). It's not really necessary if you stick to maintaining in between which makes a more pleasant environment to live in. I also don't recommend using a variety of products if what is meant by that is using chemicals that are harmful to aquatic life. Whether you and your child eat fish or only things that grow from the soil, those chemicals are going to be absorbed. It was shocking the forst time I read that on the back of a toilet product. There are a variety of safer ingredients which you can use as needed depending on the task at hand. It would also save on producing more single use plastic. Finally, as important as it is to have a home that's clean for guests, you and your household deserve to live in such a state too. I mean, what are some parents regularly teaching their children when they only do good things for show?
Thanks for sharing your perspective. Everyone has their own routine, and the best cleaning method is the one that's effective, practical and suits your household.