
- How to choose the right paint for different doors
- Extra tips for specific door types
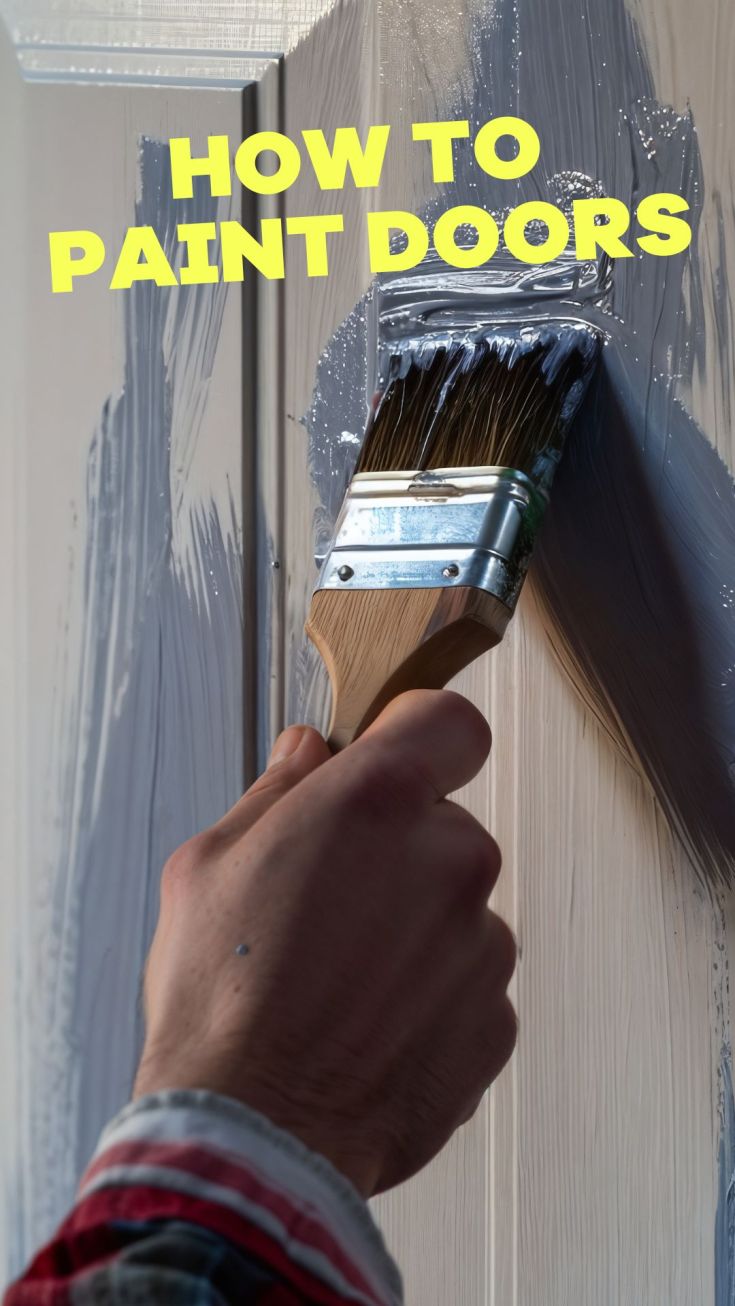
- How to paint a door: Simple steps
- Common mistakes to avoid when painting doors
Painting doors can be a fun home improvement project. Whether you’re going for an Instagram-worthy interior door or sprucing up your front door, you want to know that you can create a stylish finish no matter what. So, how should you begin this task?
With oh-so-many paints out there and loads of style to choose from, you might have no clue where to get started. The truth is that it can be overwhelming to choose the right type of paint and learn how to paint a door from start to finish. That’s where we come in.
This guide covers everything you need to know about painting doors, including preparation, best paint types, and step-by-step instructions for different door materials. Let’s get started.
How to choose the right paint for different doors
Before we take a look at how you should paint your doors, let’s talk about the type of paint you’ll need. This is the most important part of the puzzle. Different door materials need different types of paint. Here’s a rundown of which you should choose based on your door:
Wooden doors
For wooden doors, such as interior doors, use water-based or oil-based paint for added durability. You can opt for either a satin or semi-gloss finish, as they are the most suitable options.
Composite and uPVC Doors
Spoiler: You can’t paint composite or uPVC doors with standard paint. Since this is a glossy material, you will need to use specialist UPVC or composite door paint. The good news is that you can find a wide range of uPVC paint online, and so you should have no problem.
Tip: Before applying paint, lightly sand and prime the surface to ensure a smooth finish. This will help the material of the door better take on the paint.
Metal garage doors
Looking to upgrade your garage door? You need to choose an exterior-grade metal paint. You will also need to remove rust and debris before painting. If you don’t have a commercial rust remover product, you can use a combination of white vinegar and salt to remove it.
Extra tips for specific door types
Of course, different doors take different approaches. Let’s take a look at some additional tips, depending on the type of door you’re planning to paint.
Front doors
Always use exterior paint for weather resistance. If in doubt, read the online reviews to ensure the paint is durable for outdoor use.
Garage doors
You’ll want to choose paint specifically designed for metal or wood. Don’t make the mistake of using interior paint and hoping for the best.
Interior doors
When painting interior doors, opt for a water-based paint. These are ideal for easy cleaning and look great.
Glass panel doors
If your doors have glass panels, be sure to use painter’s tape to protect the glass while painting. That way, you won’t damage the glass by getting paint all over it.
How to paint a door: Simple steps
While the idea of painting a door might sound challenging, it doesn't have to be. The truth is that even novices can accomplish this task — and make it look amazing. To get started, follow our simple steps below:
Step 1: Gather your materials
Before you do anything else, ensure that you gather all the necessary items. Now, you may already have some of these items, but you will likely need to purchase others as well. Here’s a quick rundown of the main things that you need:
- Sandpaper (go for 120- and 220-grit)
- Primer (if needed)
- Plastic covering
- Paint
- Paintbrush and roller
- Painter’s tape
- Drop cloth
- Screwdriver (to remove any hardware)
You should also make sure that you wear suitable clothing. Some people find it helpful to wear safety goggles, a mask, and gloves as well.
Step 2: Prepare the door
Now you have all that you need, you should prep the door for painting. The first thing you need to do is remove the door from its hinges, if that is possible. You can then lay it flat on a covered surface. You can place a piece of plastic covering below the door to protect the surface.
Next, clean the door with a damp cloth to remove any leftover dust and grime. You can then sand the door lightly for a smooth finish. When you’ve done all of the above, you just need to use painter’s tape to protect edges and hardware.
Step 3: Prime the door
helps paint to stick properly — especially when you’re dealing with bare wood, metal, or UPVC doors. To get started, apply a thin, even coat of primer.
Once you’ve finished your layer, let it dry completely. You can then proceed to sand lightly with fine-grit sandpaper. Don’t go in too hard here, as it only needs a gentle sanding down.
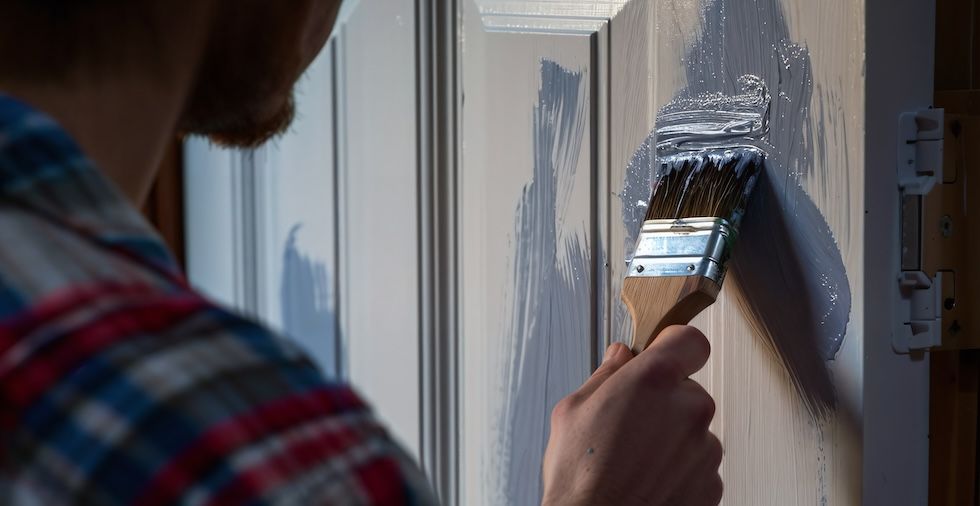
Step 4: Apply the paint
It’s time for the fun part — get painting. Use a high-quality brush for edges and a roller for flat surfaces. Ideally, you want to apply multiple thin coats rather than one thick coat.
Apply one coat to the door and let it dry completely before proceeding to the next step. Check the paint to determine the recommended interval between layers, as specified by the manufacturer. Repeat this process several times until you are happy with the coverage of the door.
Step 5: Leave it to dry
Ensure that the paint dries completely. If you have the time, you might want to leave your door open overnight. Of course, this is not always possible. In the case of your front door, for example, you will likely need to reinstall the door the same night before you go to bed.
Step 5: Reinstall the door
When the paint is completely dry, it’s time to reattach any hardware and reinstall the door. Ensure that you are meticulous when reinstalling the door. There’s no room for error!
Common mistakes to avoid when painting doors
You’ve already got the basics down. However, we have some final tips for you. Here are some of the common mistakes that you want to avoid at all costs:
Skipping primer
Many people want to skip the primer altogether and get to painting. However, when it comes to certain surfaces, this is a bad move. You may find that the paint doesn’t stick well.
Applying one thick coat
You can’t cheat the system. Applying one thick coat of paint instead of multiple thin coats is always a bad idea. The paint will end up sticky and won’t dry well at all.
Not allowing drying time
If you don’t allow enough drying time between coats, the same thing will happen. Ensure that you allow each layer to dry for a sufficient amount of time before adding the next.
Ready, steady, paint!
Painting doors is a straightforward DIY project that can instantly upgrade your home’s look and feel. In this guide, we’ve outlined everything that you need to know about getting started with this task. Follow our advice, and you should have no problem painting your door.
Q&A
Did we miss something along the way? Take a look at our frequently asked questions below:
Can you paint a composite door?
Yes, you can. However, you shouldn’t use a regular water-based paint for this job. Instead, you’ll need to use specialist composite door paint and primer.
Can you paint a UPVC door?
Yes, however, you’ll want to use UPVC-specific paint. You should also make sure that you sand down the material and use a primer.
What’s the best way to paint a door without brush marks?
Worried about brush marks? You don’t need to be. You can overcome this problem by using a high-quality roller and applying thin coats to achieve a smooth finish.
Can you spray paint a door?
Yes, spray painting provides an even finish. However, it’s not as easy as it might look. Try a few practice runs first to get the hang of it. You will also need to wear a mask and keep windows open.
How long does door paint take to dry?
Drying time varies by paint type, so it's best to consult your manufacturer’s guidelines. However, most require 4-6 hours between coats and 24 hours to cure and dry fully.
Should you paint doors with a brush or roller?
You can use both! A brush works well for the edges, while a roller offers smooth surfaces.
What kind of door are you painting? Let us know in the comments below!

Leave a Reply