
Are you in need of a trim? Or maybe you want to experiment with a new style?
Before you pick up the scissors, you need to know how you cut your own hair at home. It's easy to get it wrong, so be sure to read through our handy guide before you get snipping!
Is it bad to cut your own hair?
That depends! Many hairstylists will tell you that it’s bad to cut your own hair, but there are plenty of benefits:
- Regular trims can help your hair grow faster
- You'll save money
- It's a useful skill to have
- You can have more control over the finished haircut
- You won't need to worry if you can't get an appointment
- You don't have to leave the house
Of course, cutting your own hair comes with its risks. If you don't know what you're doing, it's all too easy to end up with a dodgy hairdo! It's really important that you use the right equipment and have a good technique. Mishaps aside, hair does grow back, so we don't see too much harm in experimenting.
Is it an emergency?
Got something stuck in your hair? Whether you need to know how to get slime out of your hair, or even chewing gum, we've got some tips that could help. Before you get the scissors out, see if there's a solution. If you've exhausted all options, read on and prepare for the chop!
To help build your confidence, we've got some super simple tutorials that will make it easier than ever.
How to cut your own hair at home
1. How to cut your own hair short
First up, let’s talk about how to cut your own hair short. One of the most popular bob-style cuts is an A-line cut. Essentially, that means that your hair is slightly longer at the front and shorter at the back. If you’re wondering how to cut your own hair shoulder-length, this technique will work for you too. Here’s how you can cut your hair in this style.
Step 1: Spray your hair with water and brush it out. Find your natural parting with a comb. Smooth everything out. Part your hair into two sections and tie piggy-tails. You should make sure that the hair is angled down from your neck (not sticking outward).
Step 2: Use two more rubber bands to choose a length for your hair. Tie one each side of your hair and make sure that they are even. Take a pair of scissors and cut directly across your hair above the bands. You can then take your hair out of the bands and check it.
Step 3: Section the top part of your hair and tie it up. With the remaining part of your hair at the back, use two straight clips to mark the length you want. Then, take a pair of scissors and cut directly above the clips all the way across.
Step 4: Next, bring some more hair out of the top section and comb it down. Use the clips to keep everything stable. Cut along the line where the rest of your hair ends so that it is even. You can repeat this action, bringing more hair down and then cutting again.
Step 5: If you don’t want an A-line cut, you can continue with step four until all your hair is even. However, if you want to jazz things up, leave the top-front part of your hair until last. Comb it out and make sure the parting is right. Start with one side first. Use your fingers to mark a diagonal line going forward and cut along it. Repeat the same with the other side.
TOP TIP: Choose the length that you want! You can use this guide to cut your hair short, shoulder-length or long, depending on what suits your style!
2. How to cut layers in your own hair
Fancy getting some layers in your hair? Believe it or not, you can cut layers in your own hair at home. Be aware that it takes a while to get your head around this next tutorial. Here’s what you need to know before you get started.
Step 1: Wash, dry, and straighten your hair. Decide how much length you want off. Flip your head upside down and brush thoroughly. Tie it in a ponytail on top of your head, making sure that your hair is leaning forward, close to your hairline.
Step 2: Next, bring your ponytail to the front of your face and use another hairband to tie it very tightly to where you want the length to be. Cut just above the hairband all the way across. Keep your hair in that ponytail. Use your fingers to keep it straight and cut up into the ends of it in a jagged way. Doing so will give it texture and even it out.
Step 3: Section out the top of your hair (on the crown of your head) and tie the rest of your hair to the back in a ponytail. Bring the top of your hair forward and use your fingers to secure it. Angle the scissors and chop into your hair to create an even layer.
Step 4: Finally, brush your hair out into its regular parting. Section it at the back and bring your hair to the front at each side. Measure the length of each side to make sure that it’s as even as possible. If it doesn’t look the same length, snip the ends to rectify that.
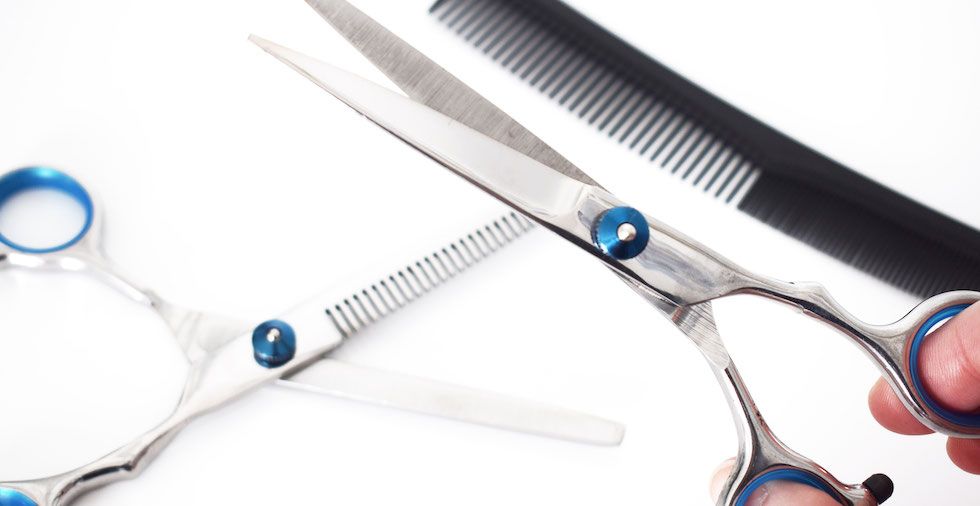
TOP TIP: Make sure that your scissors are very sharp before cutting your hair at home! If you can get your hands on hairdresser scissors, you get bonus points too.
3. How to cut a fringe easily
Does your fringe need a trim? If you happen to have this particular hairstyle, when it starts to grow out, it can look messy and unkempt. Luckily, you can cut a fringe for yourself quickly and easily. Here’s what you need to know to do it like a pro.
Step 1: Comb out your fringe area and tie the rest of your hair back. If you’ve never had a fringe before, measure about an inch and a half from each side and bring it forward. Use water or hair mist to dampen your fringe area.
Step 2: Section your fringe into a top and bottom layer. The bottom layer will be slightly longer than the top one, giving the fringe a faded effect. Clip the top layer back. Use a pair of scissors to cut your fringe. Make sure that the length is below the arch of your brow.
Step 3: Turn your scissors up and cut into your fringe. Use the same technique to fade your fringe into the sides of your hair too. You should have longer areas at each side of your fringe that fade naturally into the rest of your hair.
Step 4: Next, bring the top section of your fringe forward and brush it out. Cut into this section so that it’s slightly shorter than the rest of your fringe. (We’re talking millimeters… the difference should be very small!)
Step 5: Blow-dry the front of your hair and see how your fringe looks. At this point, you can make any final snips with the scissors. However, if it looks even enough, you’re done!
Regret the fringe already? Don't fret! We have some tips on how to grow out a fringe FAST!
4.: How to cut your own hair for men
While all of the above work for the ladies out there, what about the men? Have you ever wondered how to cut your own hair with clippers? You’ve come to the right place. Here’s what you need to know about how to cut your own hair for men.
Step 1: Dampen your hair and use a comb to part it. On the other side, use a comb to find the natural line in your hair. Most men tend to have it longer on top with a fade each side. Section your hair so that the top section and sides are divided.
Step 2: Choose a guard for your clippers, depending on the length you want. Start with one side at your temple and clip upwards to the hairline. As you reach the top of your hair, move the clippers outward to give it a proper fade. Repeat the same action on both sides!
Step 3: Next, grab your hand-held mirror and do the back. You should use the same technique (up and out!) you were using on the sides of your hair. If you want a closer cut when you’ve completed these steps, do the whole thing again with a lower-grade guard.
Step 4: Comb the top of your hair and bring a small front section up. Hold it with your fingers and then use some scissors to trim off the ends. You should decide how much length you want to take off ahead of time.
Step 5: Next, take a section slightly behind the first one and repeat this action. As you move backward, your hair should get slightly shorter. Keep going until the top of your hair is trimmed. Wash and blow-dry your hair to finish!
TOP TIP: Style your hair to perfection! When you have completed your home haircut, it’s time to get styling. Use a product, such as hair clay, to give your hair texture and show off your new look.
Messed up your haircut?
Don't worry! We're sharing our hair growth secrets. If you found our tips helpful, don't forget to subscribe to our YouTube channel for more exclusive advice.
Q&As
Can you cut your own hair with regular scissors?
No! When you’re cutting your own hair at home, you need to use super sharp scissors, just like the professionals do. Finding hairdressing scissors online isn’t as hard as you might imagine. Check Amazon or supermarkets for this affordable and useful product.
Is it safe to cut your own hair?
It is safe to cut your own hair, so long as you are careful. If you're under 18, make sure to get a parent or guardian's permission first! To be on the safe side, it may be wise to ask someone to oversee this activity. That way, they can help you to reach the bits at the back.
How can I cut hair evenly by myself?
One of the biggest challenges when cutting your own hair is ensuring that it’s even! Sectioning your hair into different layers will help. Make sure that you only cut a little hair at a time so that you have some wriggle room. That way, you will be able to even it up as you go without going too short.
Have you ever cut your own hair? Let us know your tips and tricks below!

I have a grown out short pixie cut, have you any ideas to cut it please. It’s the back more than anything, it seems to be bushy if thamakes sense. I have fine straigh but I’m told a lot of it!
Consider a graduated bob or layered pixie cut to add volume and reduce the bushy look of your grown-out pixie cut, and choose a style that adds volume and texture without weighing down your fine hair.
Just cut mine last week,its a short style so had grown out,I cut my husbands hair with the clippers so in for a penny in for a pound,he did me a number 4,looks very good actually and feels great,saved myself £15 on a dry cut,might let him do it again.Drastic times need Drastic Action,posted pics to friends on whatsapp and they all like it
That's great, Beverley! As you say, needs must. I think it's a great skill to have, because you never know when you'll be without a hairdresser.
During Covid when we were locked down, my husband and I cut each others hair. Risky but who was gonna see us anyway, His was easier we used clippers, I have naturally curly hair nightmare. I still do his but I’m back to the hairdressers.
We suspect quite a few people became unexpected home hairdressers during lockdown! Thanks for sharing, and we're glad your trips to the hairdresser are back on the agenda.