
I strongly believe that every girl should own a hip flask. Festivals, Winter walks or perhaps an underground rave - you never know when you might just fancy a tipple.
With one of my non-hip flask-owning friend's birthday's coming up, I decided an ultra-girly hip flask would be an ideal present. The problem? Search 'hip flask' in Google and you're met with a rather masculine affair of products.
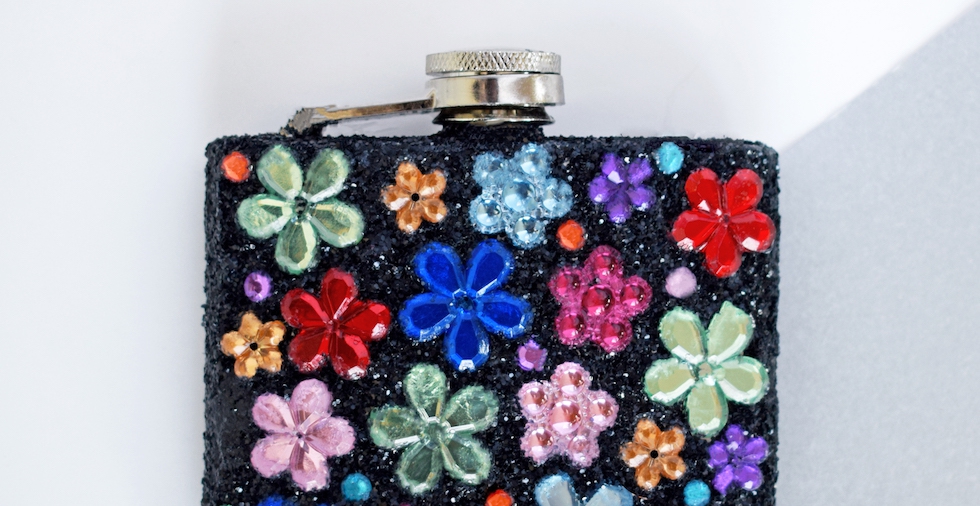
I decided to recreate something Urban Outfitters had been selling a while back - a glitter and gem covered hip flask - what more could you want?! It flew off the shelves, and I hope my DIY tutorial does too!
I already had some craft staples, UHU glue, and black glitter, so the only added costs were the hip flask and gems, both of which I bought from Flying Tiger Copenhagen.
It's a very simple project, but highly effective - glitter has a habit of making that happen. So whether you're hip flask-less or know someone who is, give my DIY glitter and gem hip flask tutorial a go today!
What you need to make your DIY glitter & gem hip flask:
- Hip flask - I got mine from Flying Tiger Copenhagen for £4 - bargain!
- Flower & dotty gems - also from Flying Tiger Copenhagen, £2 this time
- Black glitter
- Uhu glue
- Paintbrush
- Newspaper
- Hairspray
- A few cotton buds
How to make your DIY glitter & gem hip flask
- Create a 'craft area' using your newspaper to prevent any accidents.
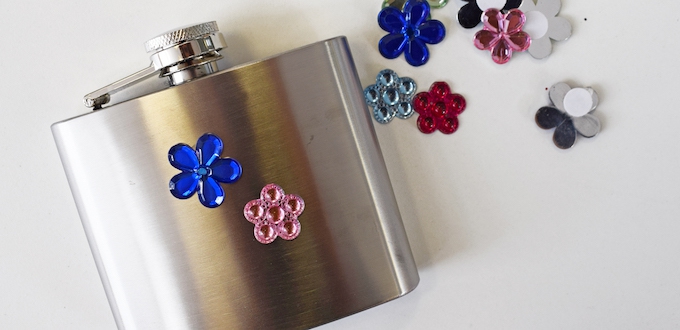
- Cover the entire cylinder of your hip flask in a thin layer of UHU glue using the paint brush.
- Stick on a mix of flower and circular gems. I chose to use gems on only the front of the hip flask, but you could also do the back.
3. Sprinkle glitter onto the areas of hip flask still showing, not forgetting the back, bottom and top of your hip flask.
4. Press clean fingers over the glitter to compress it into place.
5. Gently shake your customised hip flask to remove any excess glitter.

6. Spray a cotton bud with hairspray and use to pick up any glitter that's settled on the gems.
7. When you're happy with the final result, spray a layer of hairspray over the hip flask to stick everything solidly into place.
8. Leave to try, then immediately fill it with your favourite tipple to congratulate yourself on your success.
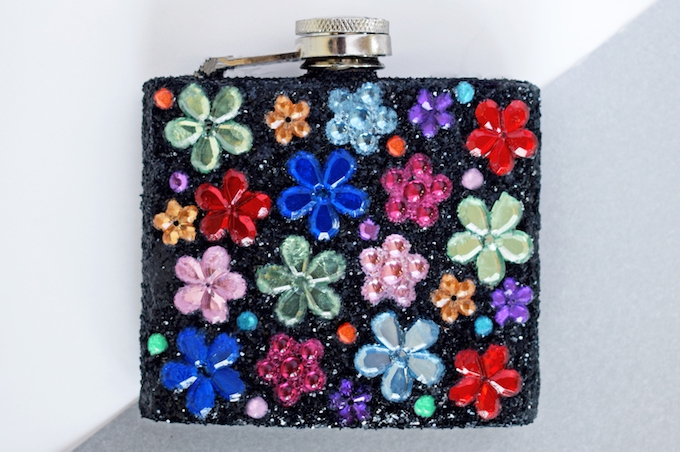
I hope you like my DIY gem & glitter hip flask - my friend certainly did!

Leave a Reply