

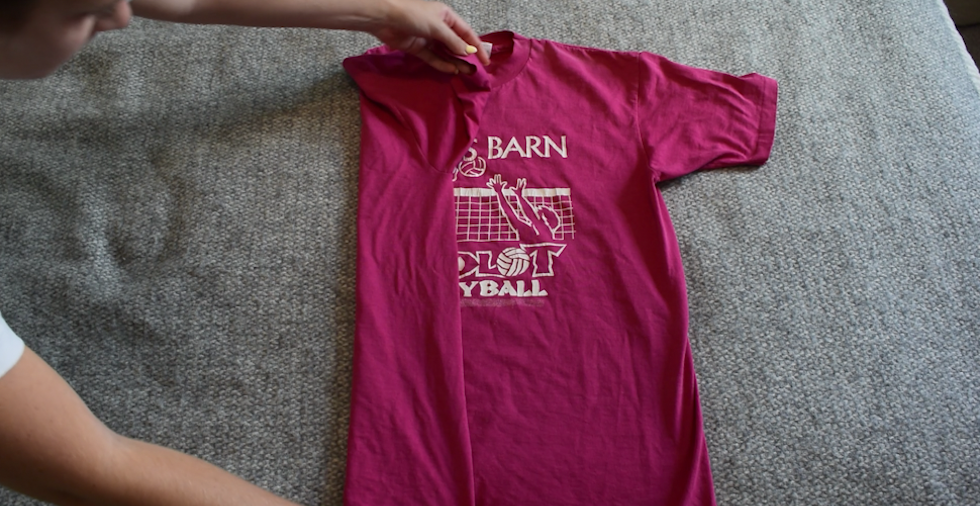

- Classic T-shirt fold
- 3-second fold
- Using a shirt folding board
- How to fold a long-sleeved shirt
- How to fold a dress shirt
- Storing T-shirts in a drawer
- Is it better to roll or fold shirts for travel?
There isn't just one right way to fold a shirt.
If you're putting T-shirts away on a shelf, you probably want them stacked neatly. If you're short on drawer space, you want them compact. And if you're packing a dress shirt for a trip, avoiding a suitcase full of creases suddenly becomes much more important.
So today, we'll show you how to fold shirts for all those situations.
We'll start with the easiest everyday technique, then try the Japanese fold, which you can do in just a few seconds. We'll show you a simple tool to get every shirt to the same size, how to handle long sleeves and dress shirts, and, finally, whether you should fold or roll your shirts for travel.
Grab a shirt and follow along.
Watch the video
Let's start with the classic T-shirt fold
This is the one to learn if you just want your T-shirts to look tidy when you put them away. Start by laying your shirt face down on a clean, flat surface.
Run your hands over the fabric to remove any bunching or wrinkles before you begin. It's much easier to get a crisp finish if everything lies flat from the start.
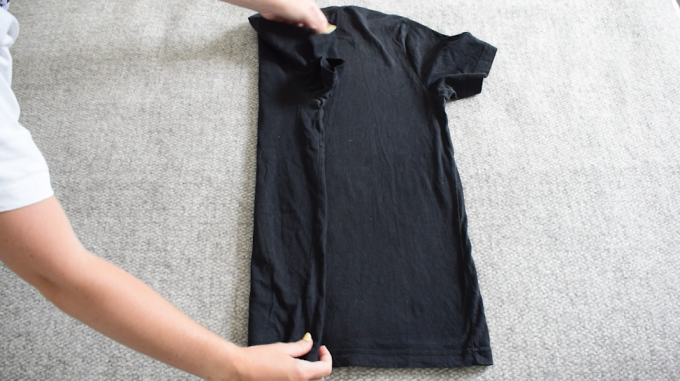
Take one side of the shirt and fold it inward toward the centre. Bring the sleeve back over itself so it sits within the edge you've just created. Then repeat on the other side.
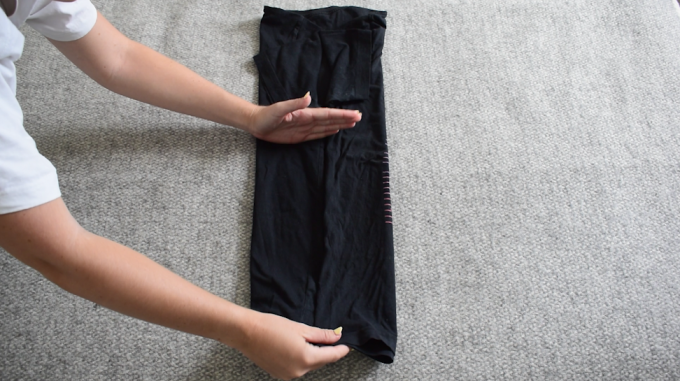
Try to make both sides roughly equal so you end up with one long rectangle. Now bring the bottom of the shirt upwards. For a larger fold, simply bring the bottom up towards the shoulders.
If you need something smaller, especially for a shallow shelf or drawer, fold the bottom up by about a third, then fold it over again.
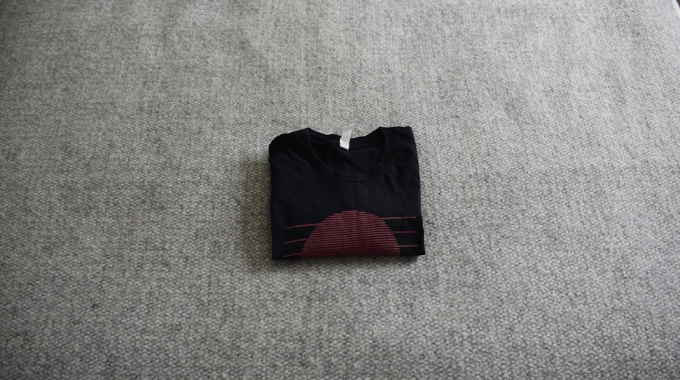
Turn it around, and you've got a simple, tidy T-shirt.
Once you've done this a few times, you won't need to think about it. But if even that sounds like too much effort, there's a much quicker way.
Can we fold it in three seconds?
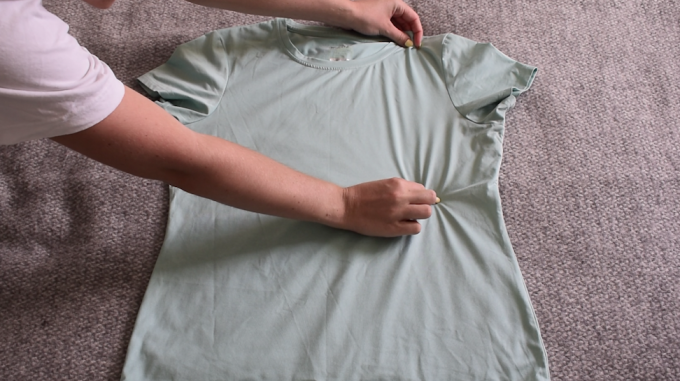
This is often called the Japanese folding method, and the finished move looks a little like magic. The good news is that it's much easier when you break it down.
We'll use three points on the shirt. Lay your T-shirt face up and sideways, with the neckline on your right and the bottom hem on your left. Now imagine a line running down the shirt from the shoulder to the bottom hem.
With your right hand, pinch the fabric at the shoulder, somewhere between the neckline and the end of the sleeve. Follow that imaginary line down to about halfway and pinch the fabric there with your left hand. That's points one and two. Keep hold with both hands.
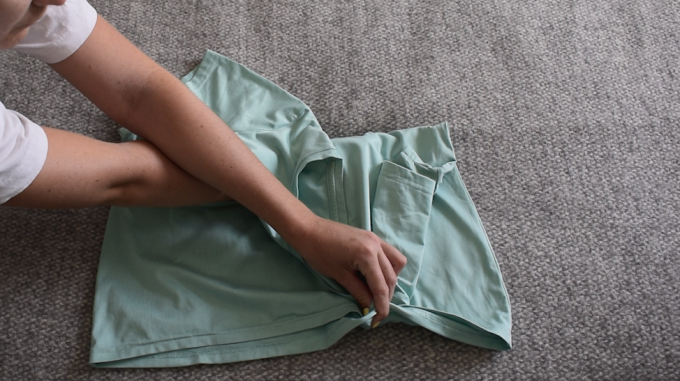
Now cross your right arm over your left and grab the bottom hem of the shirt, directly in line with that first pinch at the shoulder. That's your third point. Without letting go, lift the shirt from the table and pull your left hand through so your arms uncross.
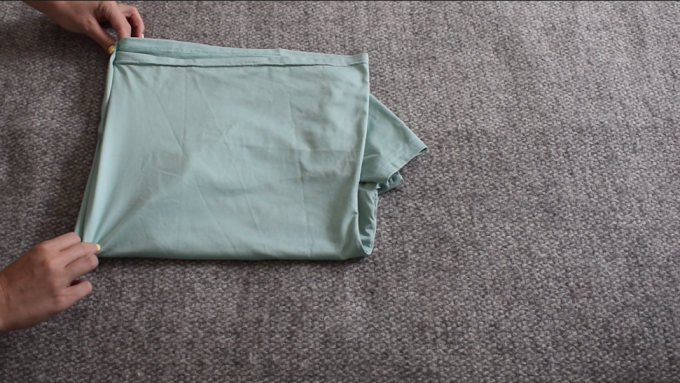
Give the shirt a little shake, and you'll see most of the fold has already happened. Place the loose sleeve down onto the table and fold the rest of the shirt over it. Done.
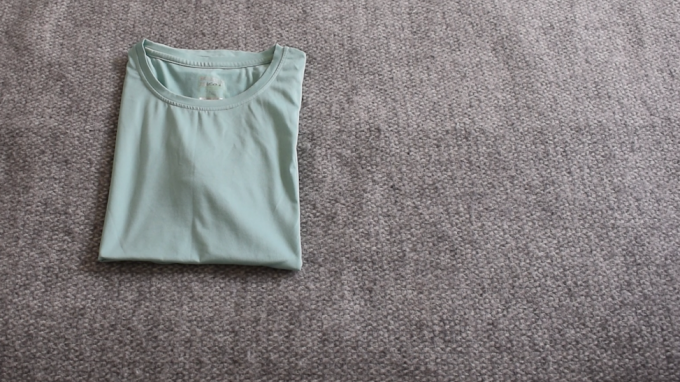
Once the movement becomes muscle memory, it's incredibly quick. Getting it down to three seconds might take a little practice, but if you've got a big pile of T-shirts to put away, this can make surprisingly quick work of them.
There is one catch. If you want every shirt in your wardrobe to look exactly the same, speed isn't necessarily what you need. For that, there's a tool that can help.
Using a shirt folding board
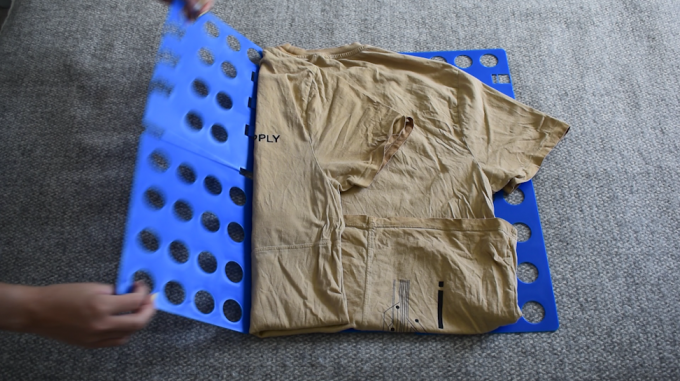
You've probably seen these in clothes shops, and you can buy versions designed specifically for folding laundry at home. A shirt folding board gives you a guide, so instead of guessing where each fold should go, every shirt comes out roughly the same width. Some versions have hinged panels that actually do the folding for you. Others are simply a flat template. We're using the hinged style, with panels that fold inward to do most of the work for you.
Start by laying your T-shirt face down across the board, with the neckline towards the top. If the shirt extends beyond the sides of the board, that's absolutely fine. First, flip one side panel in and back out again. Then do the same on the other side.
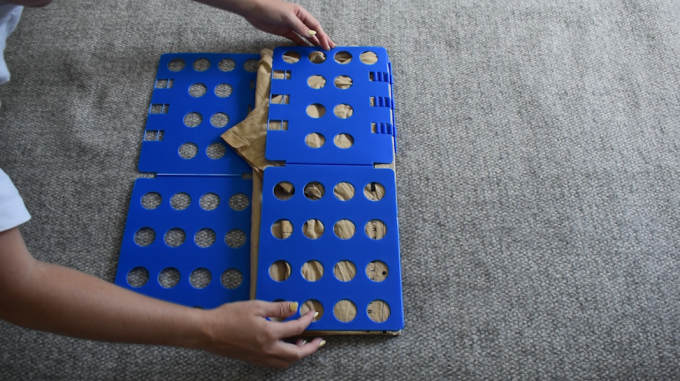
Those two movements bring the sides and sleeves neatly into the middle without having to judge the width yourself. If any fabric hangs below the bottom of the board, fold it upwards. Then flip the bottom panel up and back down to finish the fold.
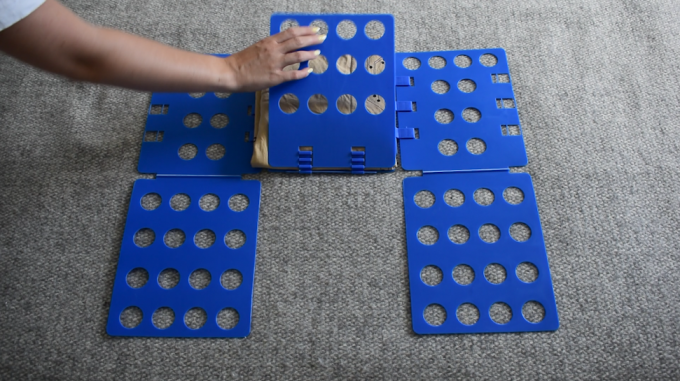
And there we have it. A really neat, uniform T-shirt, with hardly any effort. You certainly don't need a folding board to fold a shirt properly, but if you want to make the job quicker and more consistent, it's a useful little tool.
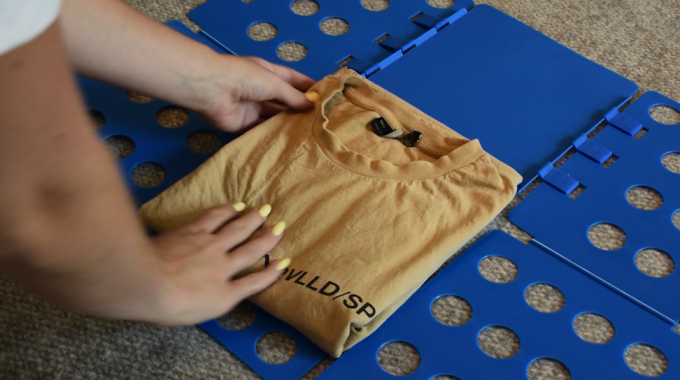
We'll link the folding board we're using if you want to try it. Alternatively, a sturdy piece of cardboard, cut to the right size, can also serve as a simple folding template. Just make sure there are no rough or sharp edges that could catch delicate fabric.
These methods are fairly straightforward when we've got short sleeves. Long sleeves make things slightly more interesting.
How to fold a long-sleeved shirt
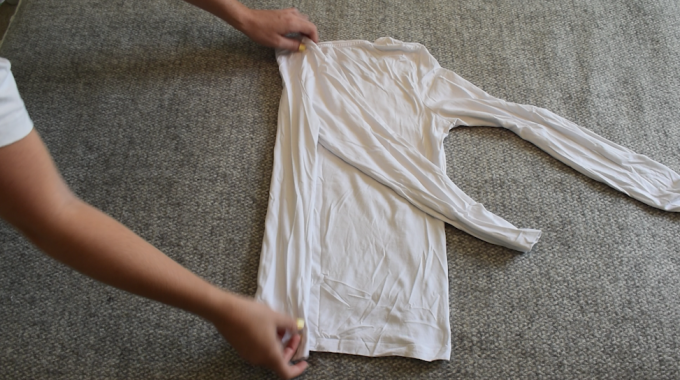
The easy mistake here is letting the sleeves bunch up in the middle. That creates a bulky fold and can leave you with more creasing when you come back to the shirt.
Start with your long-sleeved top face down and flatten out the body and sleeves. Fold one side of the shirt towards the centre, just as we did with the T-shirt. Now take the sleeve and bring it diagonally across the back. If the sleeve extends outside the shape of the shirt, fold it back on itself so the cuff stays inside your rectangle. Then do the same on the other side.
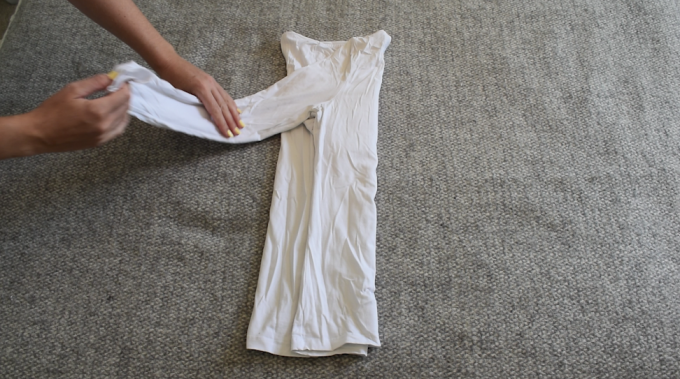
Fold the body towards the centre, bring the sleeve across and fold back any excess. Before you finish, run your hands over the shirt again to make sure you haven't trapped any large creases inside. Now fold the bottom upwards. You can fold it once for a larger shape, or into thirds if you need it to be more compact.
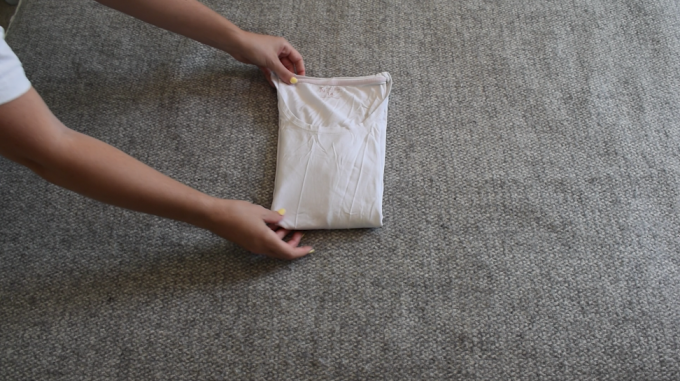
This gives you a nice flat result without a tangle of sleeves hiding in the middle. That works brilliantly for casual long-sleeved tops, but for a button-down or dress shirt, we want to be a little more careful.
How to fold a dress shirt
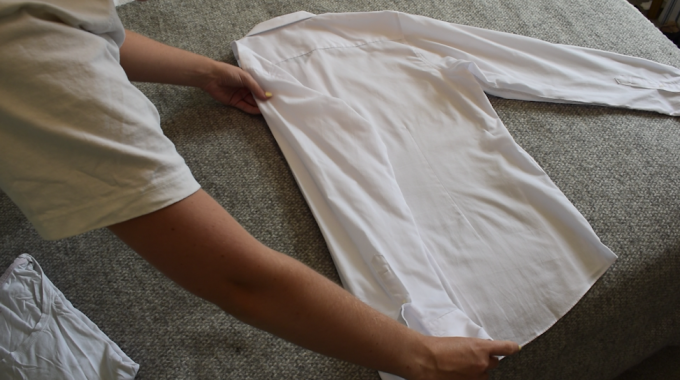
If you've got room to hang your dress shirts, that's generally the simplest way to store them. But if you're putting one in a drawer or packing it into a suitcase, you need a fold that keeps the shirt tidy without squashing the collar.
First, do up some of the buttons. You don't need to spend ages fastening every single one, but buttoning the top, bottom and a few through the middle will help keep the two sides aligned while you work.
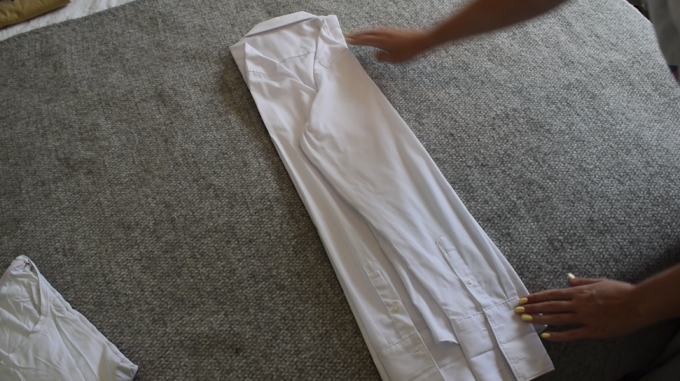
Lay the shirt button-side down with the collar sitting naturally, and flatten out the sleeves and body. Take one side and fold it in towards the centre. You're aiming for a straight line running down from the shoulder.
Now deal with the sleeve. Bring it diagonally across the back of the shirt, then fold it back down so the sleeve sits neatly within the section you've just created. Do the same on the other side. Fold the body in towards the centre, bring the sleeve across, then fold it back down. At this point, the shirt should look like one long rectangle.
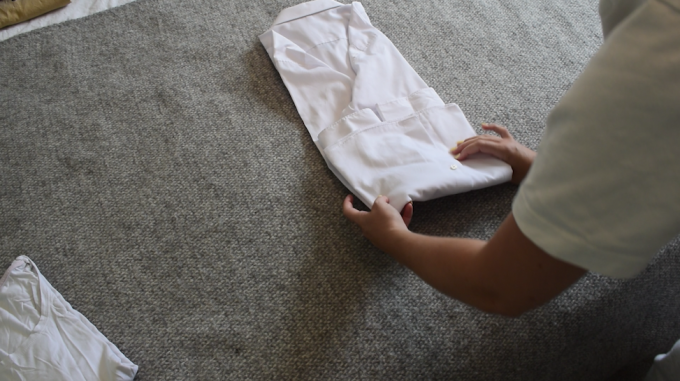
Fold a small section of the bottom hem upwards, then bring the bottom of the shirt up towards the shoulders. Don't fold directly over the collar. Leave a little space so the fold doesn't crush it. Turn the shirt over and straighten the collar if needed. That's ready for a drawer or suitcase.
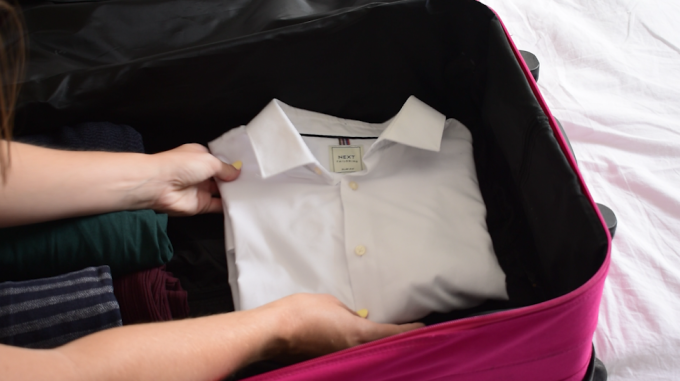
And if you're struggling to get both sides even, here's another use for that folding-board trick. You can place a flat template centrally beneath the collar before folding the sides in. It gives you a clear width guide, which is particularly handy with a larger dress shirt. Just slide it out carefully before making your final fold.
The best way to store T-shirts in a drawer
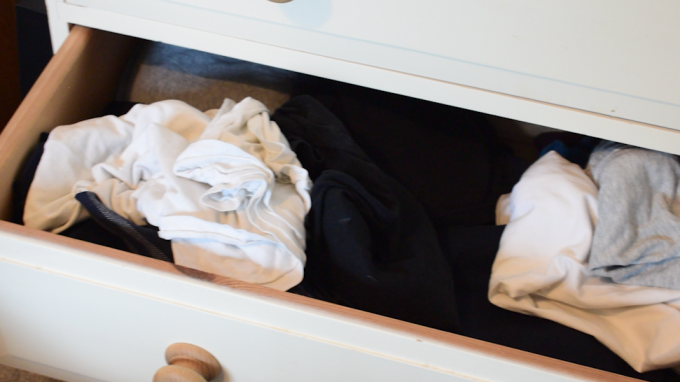
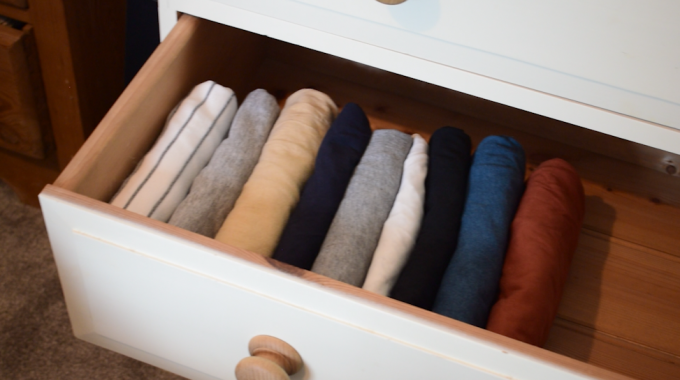
So far, most of our finished shirts have been designed to stack. There's another way. File folding means making each T-shirt compact enough to store vertically, rather than laying one on top of another.
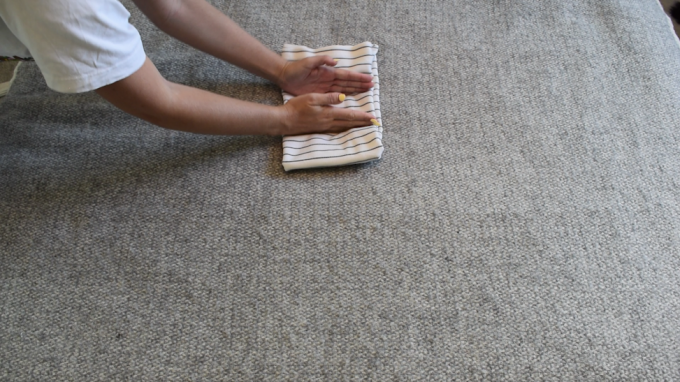
Start with the basic T-shirt fold. Lay it face down, bring both sides towards the centre and tuck in the sleeves. Now take the bottom and fold it upwards by roughly a third. Fold it over again to create a small rectangle. Depending on your shirt size and drawer depth, you might need to adjust those folds slightly.
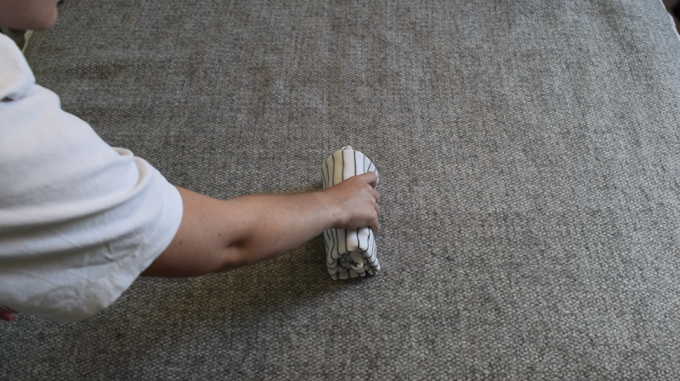
What we're looking for is a compact parcel that holds its shape well enough to sit upright. Now place the shirts side by side in your drawer rather than stacking them. The advantage becomes obvious as soon as you open it. You can see your shirts instead of having your favourite one buried at the bottom of a pile. And when you pull one out, you don't have to disturb everything sitting on top of it.
It's particularly useful for kids' clothes too, because smaller tops can easily disappear underneath one another in a traditional stack. Just remember that file folding doesn't magically create more physical drawer space. Its real strength is keeping everything visible, accessible and organised.
But if space is at a premium because you're packing a suitcase, we need to answer another question.
Is it better to roll or fold shirts for travel?
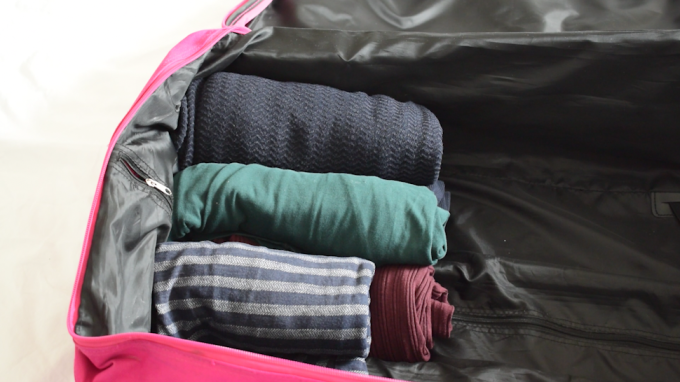
Both can work, but we wouldn't use the same technique for every shirt.
Let's start with a T-shirt. To roll it, lay it flat, fold the sides and sleeves towards the centre to create a long rectangle, then roll tightly but smoothly from the bottom towards the neckline. That gives you a compact shape that's easy to fit around other items in a suitcase.
It's particularly handy for casual clothes and filling awkward spaces. Now compare that with our folded T-shirt.
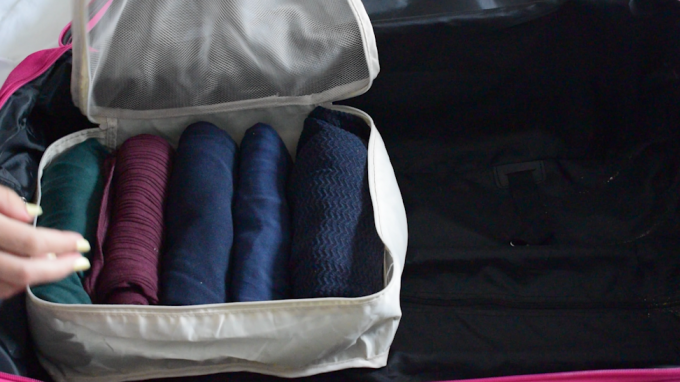
The folded version is flatter and easier to stack in layers or organise inside a packing cube. So which saves more space?
That can depend on the clothes, the fabric and how you arrange everything in your luggage. Rolling isn't automatically going to give you loads of extra room. We'd be more careful with a dress shirt.
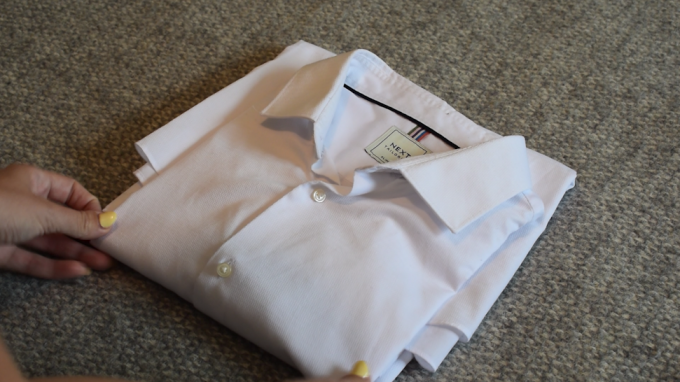
If keeping it looking smart is the priority, I'd use the flat dress-shirt fold rather than tightly rolling it. Whichever method you choose, start with the fabric as smooth as possible and avoid cramming your suitcase so tightly that every item is heavily compressed.
No folding technique can guarantee a completely wrinkle-free shirt, especially after hours spent in a packed case, but taking a little care before it goes in can help reduce unnecessary creasing. For extra protection, packing cubes can also help keep your carefully folded clothes together rather than letting them shift around your suitcase.
So, for casual T-shirts, rolling or folding can both work. For a suitcase or packing cube where you want neat layers, folding is convenient. For little gaps, rolling can be really useful. And for a smart dress shirt, I'd stick with a careful flat fold.
Which shirt folding method is best?
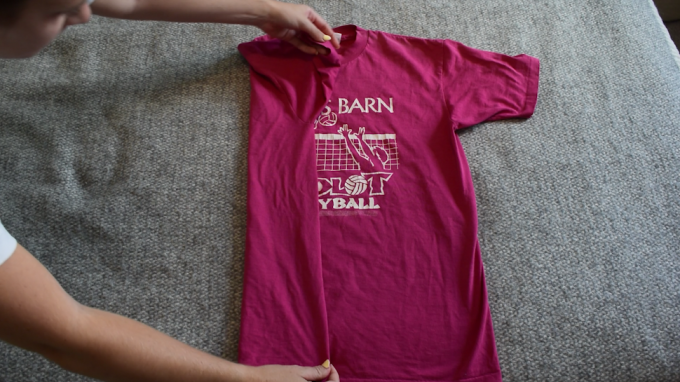
It really comes down to what you need.
For an everyday T-shirt, the classic fold is simple and reliable. If speed matters, learn the Japanese fold. Once you've got the hand movement down, you'll fly through a pile of T-shirts. For perfectly uniform stacks, a folding board makes the job much easier. For drawers, try file folding so you can actually see what you've got. And when you're travelling, choose between rolling and folding depending on the shirt and the space you have.
There's no need to use one technique for absolutely everything. And that's it - now you know how to fold every shirt in your wardrobe!
Let us know in the comments which method you normally use, and if you try the Japanese fold, tell us how quickly you manage to do it.
Comment below what you'd like to learn to fold next!

Leave a Reply