


Spring has officially sprung so why not see in the new season with this home-made tulip wreath? It's cheap and easy to make yet lasts a lifetime. The perfect gift or addition to your home.
You will need:
- 1 x 25cm polystyrene half-ring
- 6 metres of ribbon
- 5 x bunches of artificial tulips
- 2 pins
- sharp scissors
How to:
Start by wrapping ribbon around the polystyrene ring making sure you overlap as you go. You might want to do this in two parts.
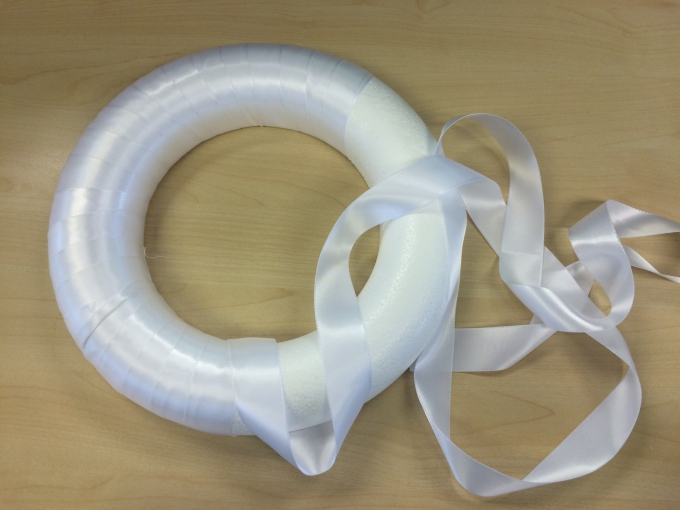
You don't want the ribbon to be too tight or too loose - just snug enough to slide the flowers in. It might be worth testing as you go to make sure you have a good fit all the way around. Pin the end of the ribbon using the pins.

Select your flowers. You can pick whichever colours or flowers that take your fancy, but we've gone for cerise, light pink and cream tulips.

We bought these bunches with 6 tulip heads each from Permabloom. They have a huge range of flowers at competitive prices and offer fast delivery.

Cut the stems of the flowers into different lengths. Start with 4-5 inches and you can always trim them down even more if need be. Snip a few leaves too.

Start slotting in 1-2 flowers into each layer of ribbon. Stick to one direction and adding a leaf in with every 4-5 flowers.
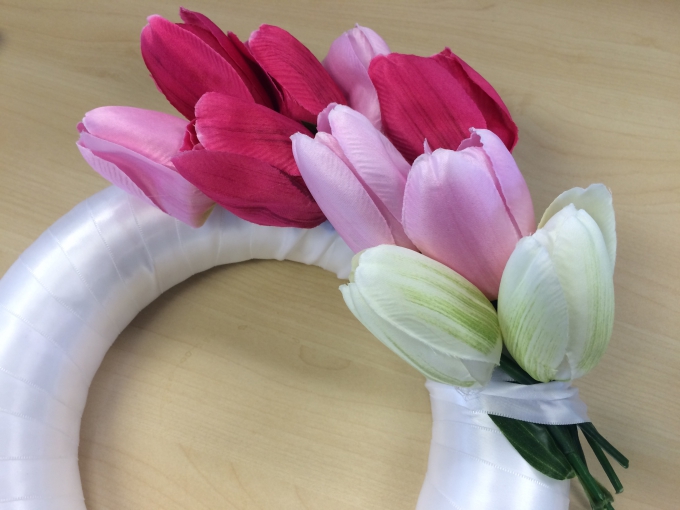

Secure any loose bits with extra ribbon or pins. Keep going around until the wreath looks nice and full. You can fill in any gaps with leaves....
and you're done!


Thanks for reading! Do you have any crafty ideas for Spring?
Let us know in the comments section below.

Leave a Reply