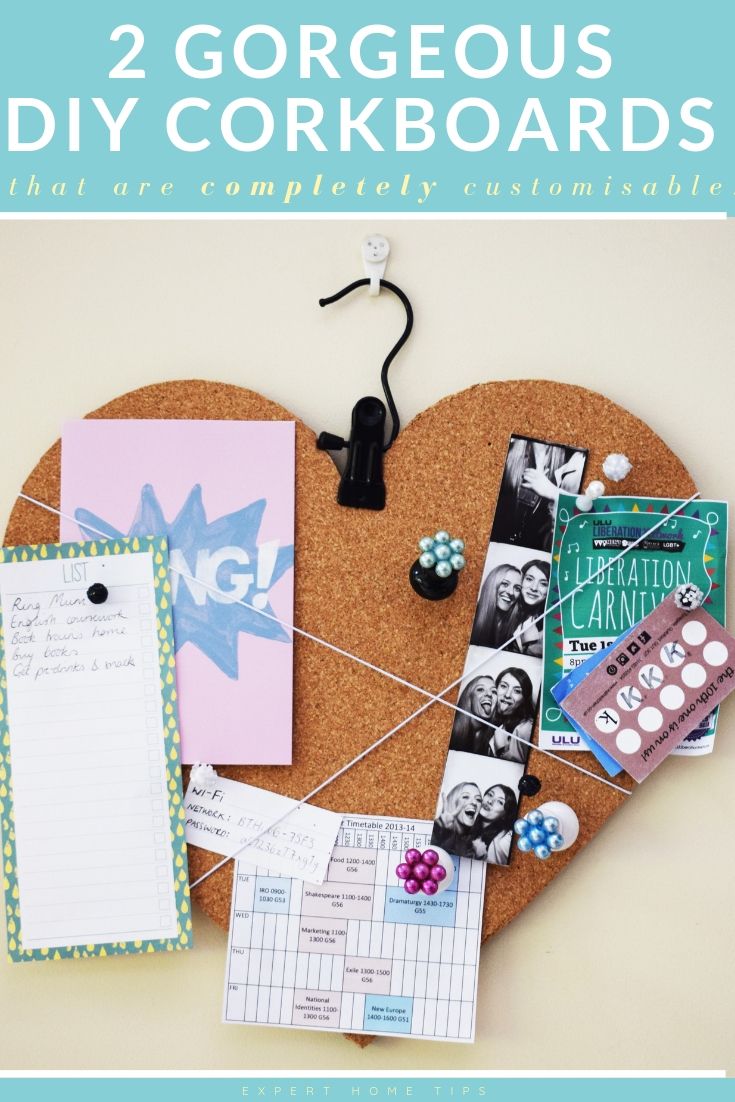

In our opinion, no organised home is complete without a notice board (or two!) In fact, we think they're so useful that we'd advocate having one in every room.
It's this theory that inspired us to make our very own DIY Cork Board. With some cork, frames, glitter, glue, string and beads, we created two funky designs perfect for your modern kitchen, teenager's messy bedroom, or even to kit out your young adult's new student digs.
Forget messy floors covered in receipts, train tickets, leaflets and photobooth snaps - a noticeboard is the perfect way to aesthetically display all kinds of clutter and keep your other surfaces, floors and coat pockets clear.
Ready to make your very own DIY Cork Board? Grab your craft supplies and let's get started!
1. DIY Love Heart Corkboard
Shabby chic is all the rage, and a DIY Love Heart Cork Board is just the thing to fit into your feminine theme. You can keep this basic to go into an elegant kitchen or hallway, or go all out with glitter, beads and sparkles to make a statement in a girly bedroom.
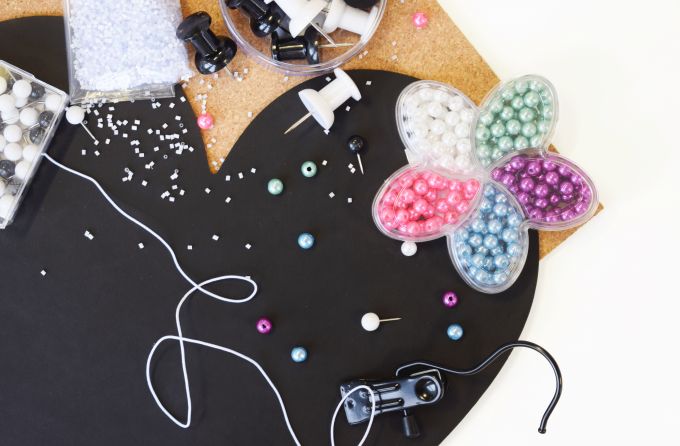
We particularly love this DIY as the heart can actually be flipped over and used as a chalkboard - how genius is that!
We got all of our products from Flying Tiger Copenhagen, which stocks amazing products at breathtakingly affordable prices!
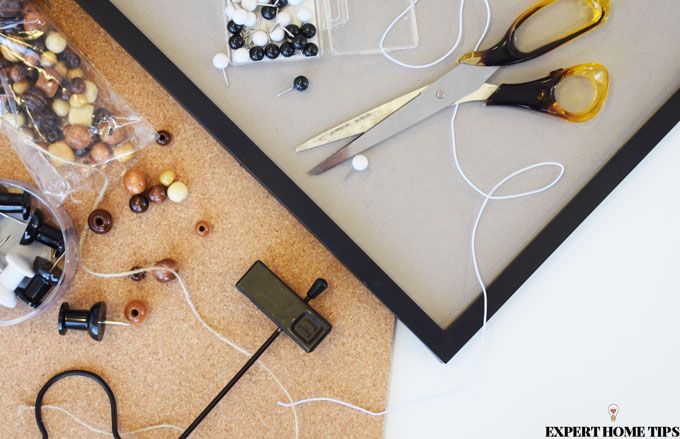
Here's what you need:
- Cork sheet(larger than your template of choice)
- Black slate love heart
- Large black and white pins
- Small black and white pins
- White elasticated string
- Multicoloured beads
- Small glass beads
- Black glitter
- UHU glue
- Clip-on hanger
Method:
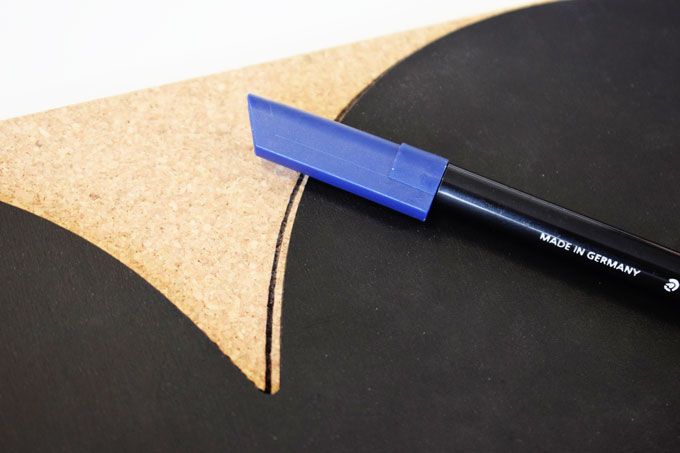
1. Begin by tracing around the edge of your love heart. Use a thick black liner on the back of the cork (this is the rougher side), making sure to position it carefully so that the entire love heart fits onto the cork sheet.

2. Carefully cut around the black marked line using sharp scissors, being as accurate as possible. If you can, use a sharp craft or Stanley knife instead.
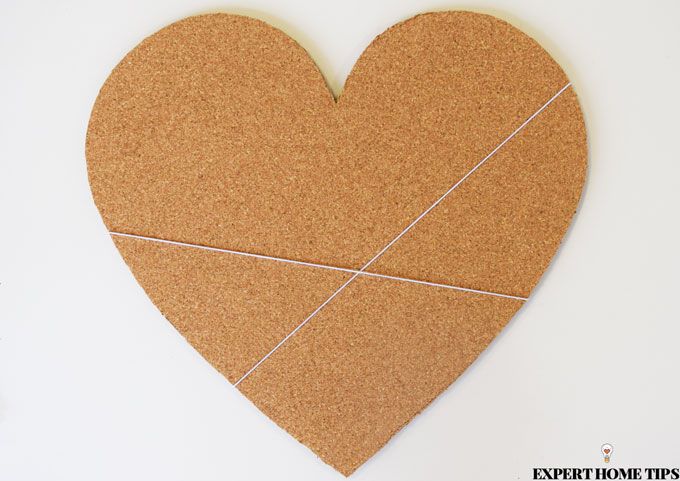
3. Take your cork love heart, and tightly stretch the white elasticated string across it so that it forms a cross at the front. Tie it in place at the back.
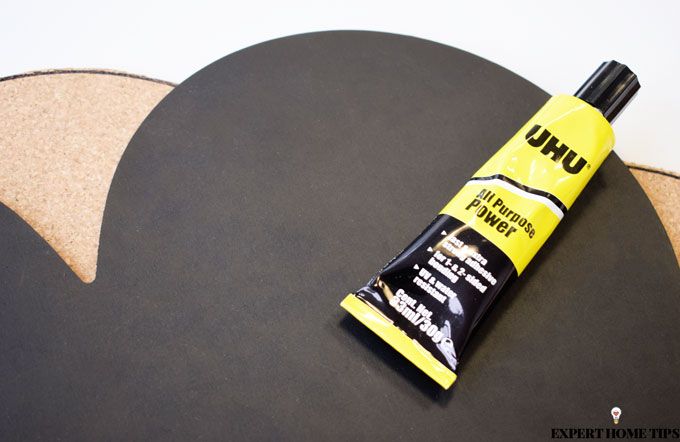
4. Generously glue around the edge and centre the chalkboard, and press the back of the cork love heart (the side on which you've tied the string) onto it, making sure the edges align. Apply pressure to the cork board using heavy books or similar to help the glue stick, and set to one side.
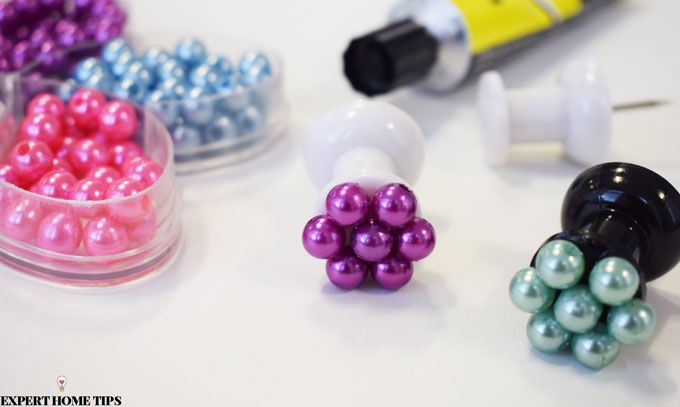
5. Now it's time to get to work bringing those plain old pins to life! Grab your pot of circular beads and decide which colours to use (we chose purple, minty green and sky blue) - and count out 7 of each. Apply some UHU glue to the top of the large pins, then begin pressing on your beads, starting in the centre, then building a circle around them. Repeat with 2 other pins in 2 other colours. Set aside to dry.
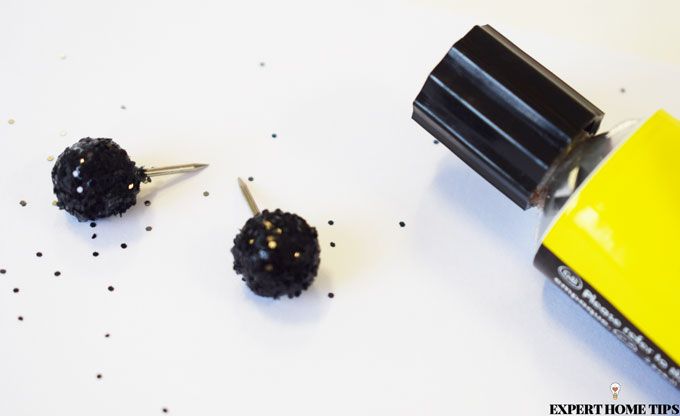
6. Now it's time to pimp your little pins. Pour black glitter into a small deep bowl or container, and coat the bulb of your pin in a thin layer of UHU glue. Then, dip the pin into the glitter and set aside. Repeat with other pins.
7. Repeat this process with more small pins and the glass beads, pressing them down slightly once dipped.
7. One all the pins have dried, it's time to secure their adornments. Apply UHU in the gaps and over the top of the large beaded pins to make them less delicate. For the glitter and glass beaded pins, coat them in another layer of glue, and dip them in glitter/beads once more to make sure they're truly covered and bits won't flake off when they're used.
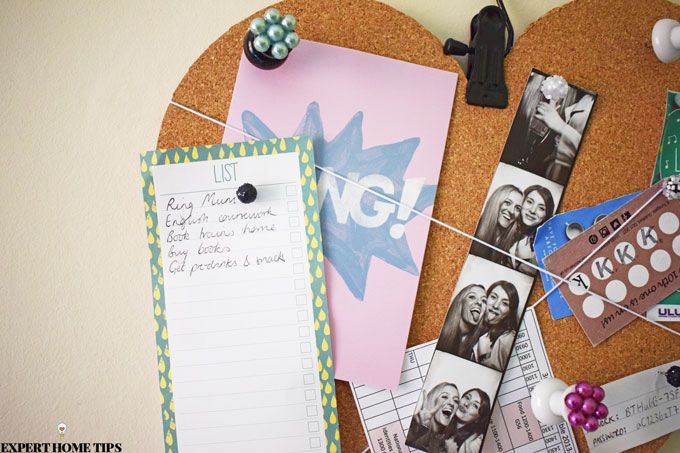
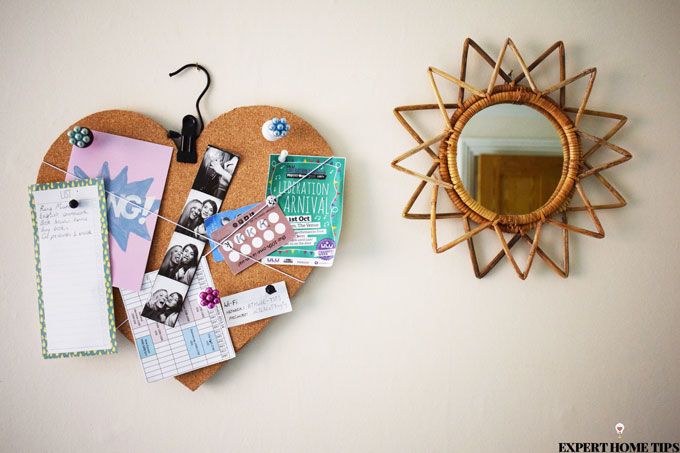
8. Adorn your new noticeboard with all your bits and bobs, using both the pins and the string to keep them in place.
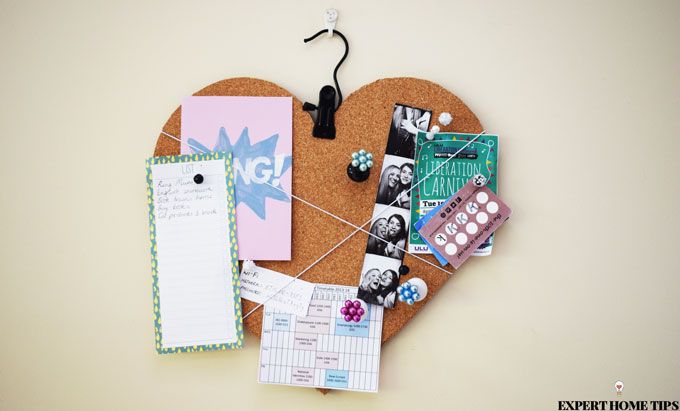
9. Clip the hanger on top of the love heart in the centre, and hang it either on a hook, handle or other surface.
9. Sit back, relax and admire your creation!
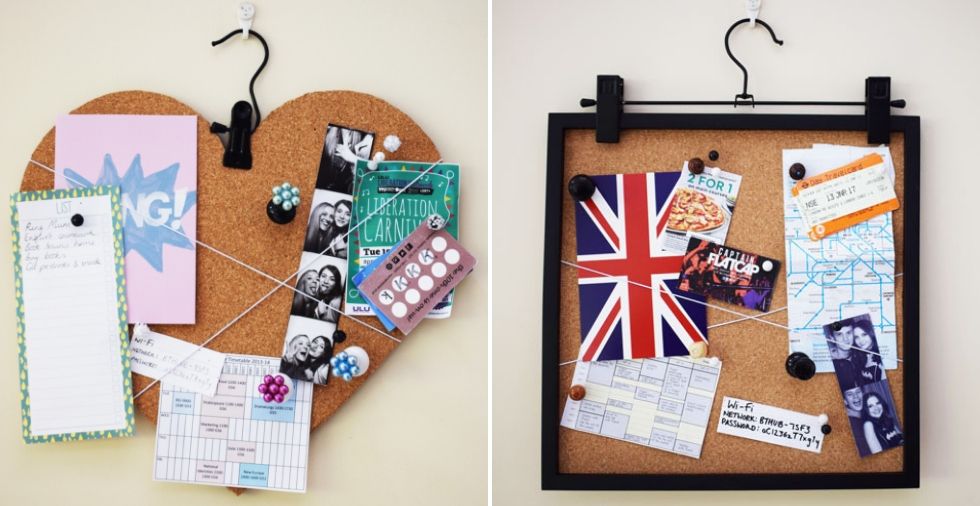
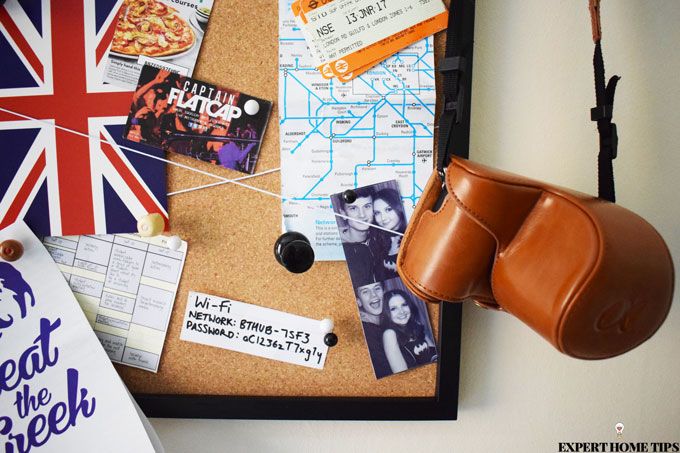
2. DIY Framed Corkboard
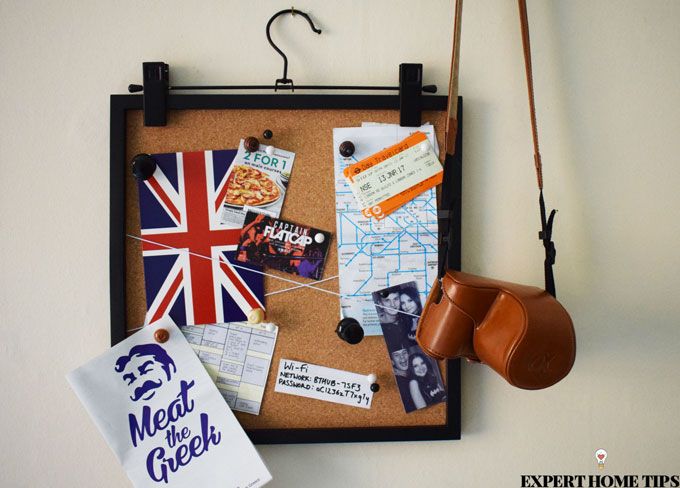
For something a little edgier, why not upcycle one of your old picture frames and fill it with cork instead? This simple idea is really versatile, and depending on how you choose to customise your pins, will look great just about anywhere in your home.
We chose to give our a laid-back, make-shift, boy-ish vibe that wouldn't look amiss in a wannabe rock star's room.
What you need:
- Old photo frame
- Cork (this needs to be thin enough to slot in between the frame and the wooden backing
- Large black and white pins
- Small black and white pins
- White elasticated string
- Wooden beads
- UHU glue
- Clip-on trouser hanger
- Map/clothesmaking pins
Method:
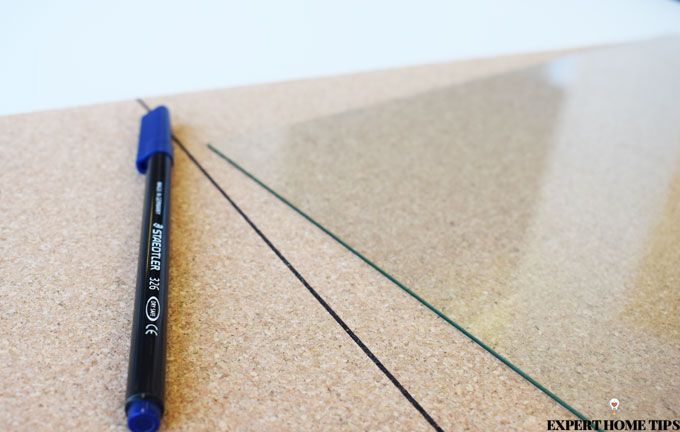
- First thing's first - it's time to trace around the glass that the cork will be replacing. Just as with the love heart shape, make sure the glass is positioned fully on the cork, then trace around it using a thick black pen.
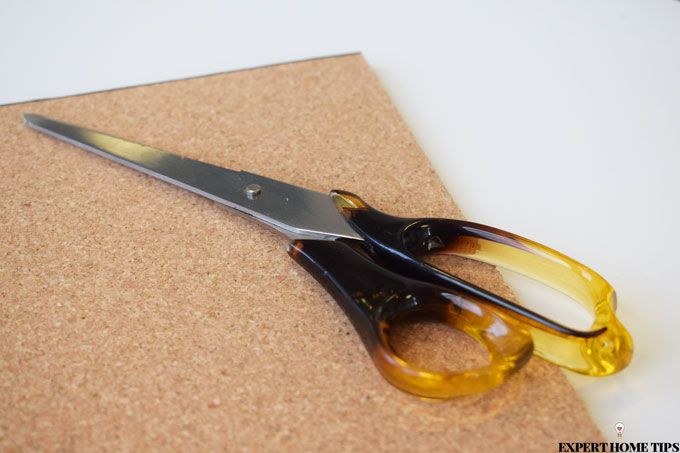
2. Cut around the traced line using sharp scissors, taking care to be as accurate as possible. If you have one, a Stanley knife or craft knife is prefered to get super-neat results.
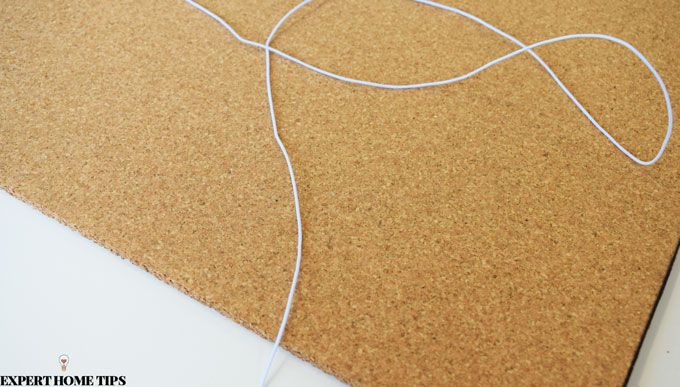
3. Again, use the string to form a cross across the front of the corkboard to provide extra storage for leaflets and other items. Tie it at the back to secure it.
4. Fit the cork inside the frame where the glass previously sat, and place the backing on top. Fasten it down to keep everything secure.
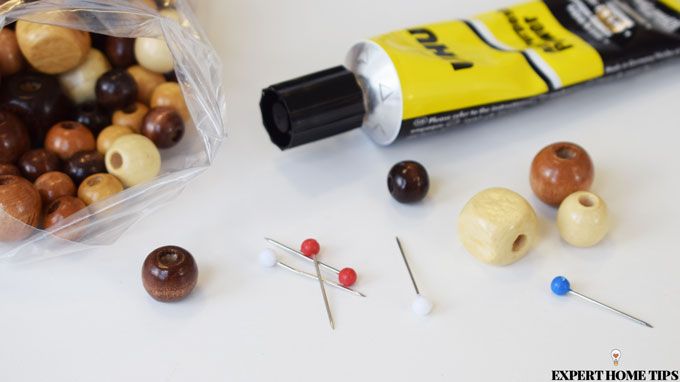
5. Now it's time to bring some life to those pins. Glue the head of a map/clothesmaking pin, then push a wooden bead down over it. Set aside to dry.

6. Use the wooden pins and small and large black and white pins to secure all your papers to the board. Use a variety of colours and objects to keep it looking interesting!
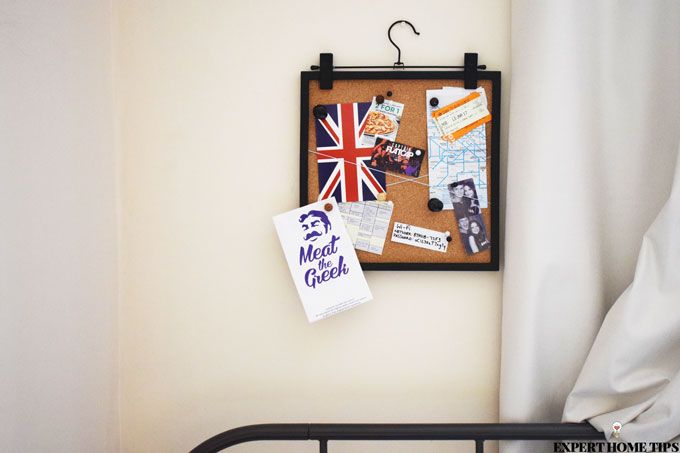
7. Clip the hanger onto the top of the frame, and hang on a hook, handle or other surface.
8. Sit back and enjoy your creation.
Which one will you make? Let us know your thoughts in the comments below!

Leave a Reply