Recycling is a great start, but it's such a shame to throw some things away when they still hold so much potential. That's where upcycling comes in - one of our favourite words here at Expert Home Tips.
Upcycling is all about taking something old or used, and turning it into something new - usually something with a purpose. It's about giving a new lease of life to objects that would otherwise end up in the bottom of our bins.
Cans are a prime contender for upcycling projects. Every minute of every day, an average of 113,200 aluminium cans are recycled, which, whilst better than being thrown into landfill, requires a tremendous amount of resources. This seems like such a shame, as most cans these days feature some really cracking designs that are art in themselves.
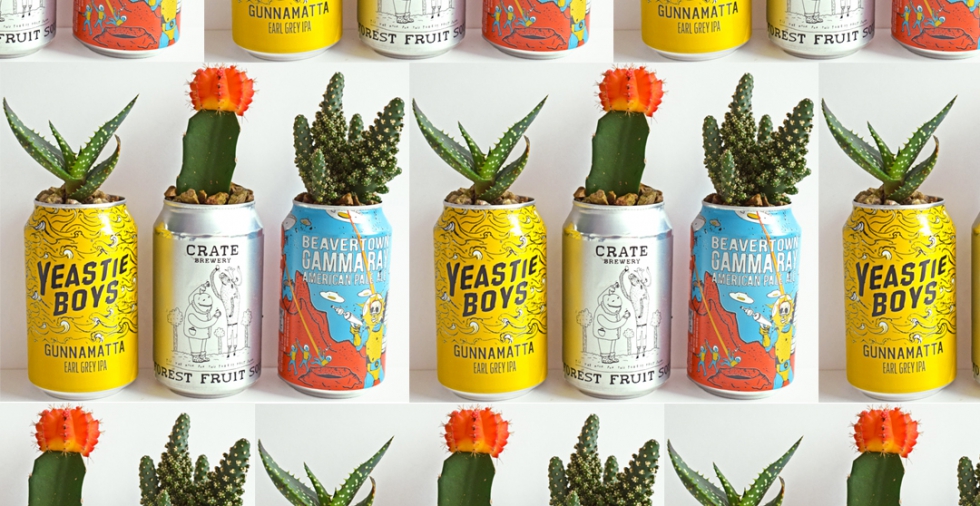
I saved some of my favourite beer cans from our local craft beer shop, Inn at Home, and, once the beer had all been drunk - and thoroughly enjoyed - I came up with a simple way of upcycling them in a way that showcased their amazing designs.
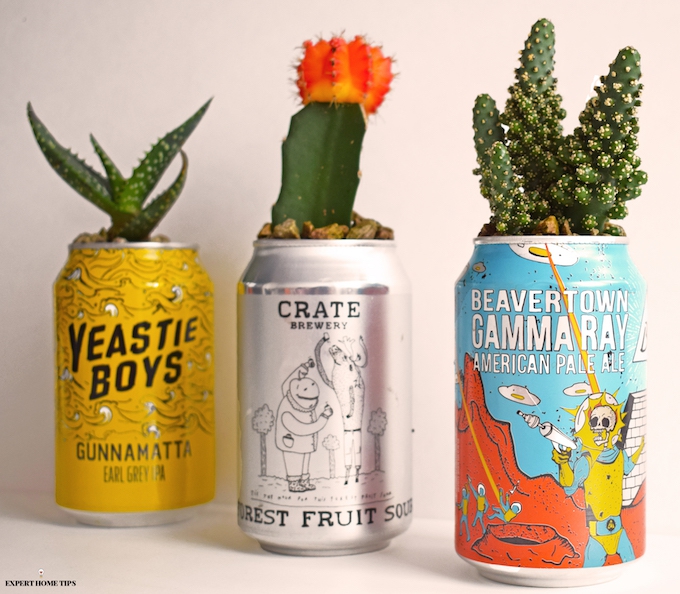
Cacti and craft beer cans? Have you ever seen a cooler pairing?
If you needed any convincing that upcycling is the way to go, this tutorial is it. It's quick, simple, customisable and, best of all, uses bits and bobs most of us will have lying around our home or garden.
Here's what you need:
- Cool cans (soda/beer - anything goes)
- Soil
- Small stones/gravel (the fancy type you fill your fish tank with, or those found in your garden are perfectly adequate)
- Small cactus/succulent (you can also opt for artificial plants if you're worried about caring for them)
- can opener
- beer glass
Instructions:
- Empty your chosen beverage into a clean, cool glass and set aside for afters.
- Rinse the can out under the tap.
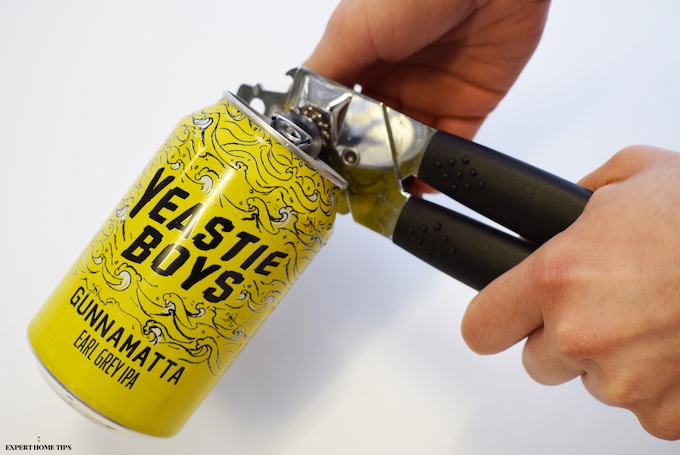
- Use your can opener to cut around the inner section of the can. This should come away smoothly.
- Fill the empty can half full with soil.
- Place in your cactus or succulent.
- Fill the gaps around the edge of the plant with more soil until packed tightly.
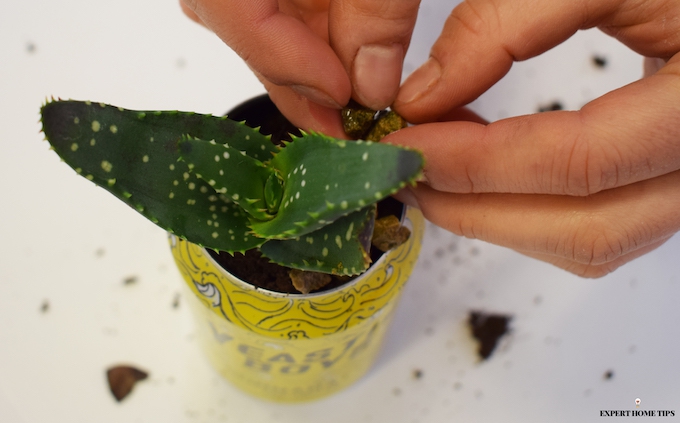
- Top up with small pebbles, arranging them evenly around the circumference of the plant.
- Great job! Now, time for that drink!
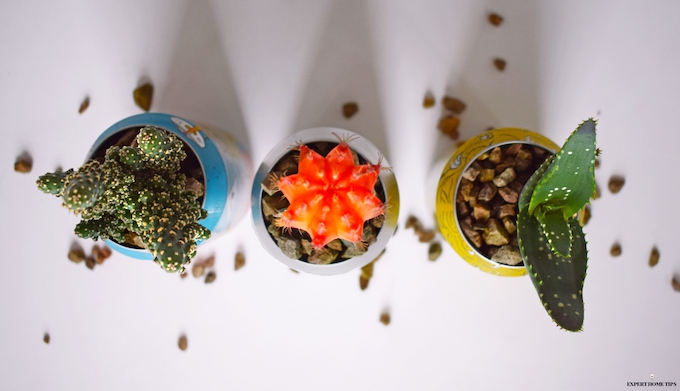
As you can see, the tutorial is insanely easy! It's one of the most simple but effective projects you can do, and so cheap too.
Thanks for visiting! If you try this tutorial at home, I'd love to see your results - share them with me on our Facebook, Twitter & Instagram accounts.
I suggest that you fill the can with multi purpose compost (found in any garden centre or DIY store) rather than soil from the garden. Otherwise you are bringing in all types of bacteria and small beasties into your home.
Great idea, Andrew!
Hi there, theses look great! Just wondering, how have these held up 3 years later? Still looking good? Any corrosion on the cans and are the plants ok?
Hi Stephen! We would suggest adding drainage holes to make them last longer.
Heya, dont you need drainage holes so the cactus roots dont rot?
Hi Claire! Yes, it would be sensible to add drainage holes. Alternatively, you could use fake plants to avoid watering.
Have you thought they make nice pencil or pen holders. Decorate the cans and put something in the bottom to give it a bit of weight of the tin will fall over when the pens and pencils are put in.
That's a fabulous idea!
What's the aftercare for these?
Aftercare depends on the type of plant you've opted for. If you want to go the low-maintenance route, we'd suggest artificial plants. You might also like to drill some holes in the bottom of the can for drainage.
Thanks for sharing. I've also used empty cool looking/unique design beer cans as candles. I boil a large pot of water and place spent Yankee (or similar brand) candle jars in to melt the remaining wax as there's always lots left, then carefully tip into the empty can once a new wick has been placed in (can be purchased cheap online or at local craft store). They look great and you get an extra 10 or so hours of scent out of a candle otherwise destined for the bin!
That sounds fantastic!