If locating your clothes has become as hopeless as looking for a needle in a haystack, it may be time to organise your wardrobe.
I'm extremely indecisive in the mornings, flailing clothes all over the room like confetti, and my wardrobe bears the brunt of this. There are clothes half-hung on hangers, Winter jumpers alongside Summer skirts and, the obligatory pile at the bottom, hiding items I forgot I had.
With our busy lives, it's easily done, and even easier to avoid. A quick, forceful slam of those bursting wardrobe doors, and the unruly mess inside remains hidden - our dirty little secret.
But one day, the straining doors will finally give in. You'll find your favourite silk shirt torn beyond repair in that gluttonous pile on the bottom of the floor. You'll create an entire outfit that is crying out for your red, polo neck, and you won't be able to find it anywhere.
When the time arises, organising your wardrobe couldn't be easier. It takes just five, incredibly simple steps to get your wardrobe neat, orderly and functional. Just imagine the amazing outfits you'll be able to create when you can see everything clearly!
If you love our tips, sign up to the Expert Home Tips newsletter to get all the best home hacks, living tips, competitions and more.
With that in mind, let's get started.
Organising your wardrobe step 1: Remove & sort your clothes
All great masterpieces start with a blank canvas - the same can be said for your wardrobe. You're going to need to empty it completely in order to get organised.
Getting rid of your clothes can be difficult. Even if you've not worn something in a year, or even two, you may be reluctant to part with it. Be strong - you need to be decisive when it comes to sorting through your clothes. Remember that a tidy wardrobe = a tidy mind!
Why not really push yourself and aim for a capsule wardrobe? Check out Anushka's blog post, how to create a capsule wardrobe & why it will change your life for some guidance.
Before you start on a quest to an organised wardrobe, it's important to set yourself two main categories and subcategories. This way each piece that comes out of your wardrobe will be able to find its rightful place. The categories I recommend are as follows:
Clothes you want to keep:
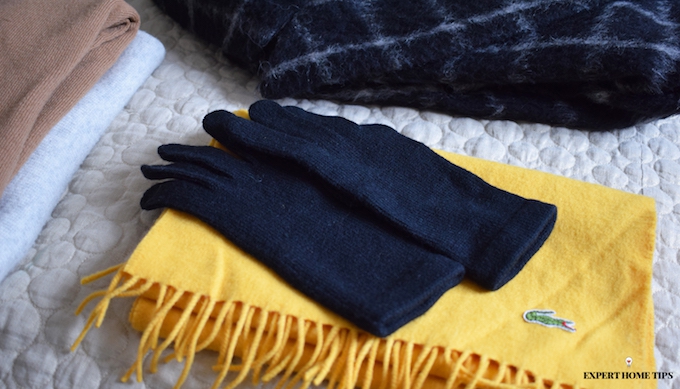
- Frequent wear - these are the items you wear regularly. They'll be in season and primarily basics or workwear. By putting them into this category, you'll be able to make them easily accessible when rearranging your wardrobe later on.
- Infrequent wear/out of season - items that you only wear for special occasions such as weddings or holidays should be separated. Similarly, out of season items need to be set aside. When it comes around to reloading your wardrobe, you may find such items can be stored elsewhere.
- Requires attention - whether it's a tattered button or a missed soup stain, some of your clothes and shoes may need a little TLC. Group them together so you know what needs repairing before being put back in your wardrobe later on.
Clothes you're getting rid of:
- Giveaway - items you no longer wear that are still in good nick can be donated or given away. Put them all into one pile, and consider how you're going to go about getting rid of them. You may decide to give them to someone you know, donate them to charity, or perhaps even sell them if you've got the motivation.
- Rubbish - Before you throw those holey socks and bleached t-shirts in the bin, see if you can repurpose them. Old clothes make great cleaning rags if nothing else. You can also look into recycling old fabrics in your local area.
Could your whole house do with a bit of a declutter too? If so, Colleen's guide to decluttering your entire home for good will help you get things in order.
Now you've set your categories, you'll need to assign a space for each. Make sure your bed is clear, and begin to remove the clothes from your wardrobe, item by item. Don't just throw them anywhere, or you'll be left with a tonne of ironing to do afterwards. Lie them flat, one on top of another to keep them looking fresh.
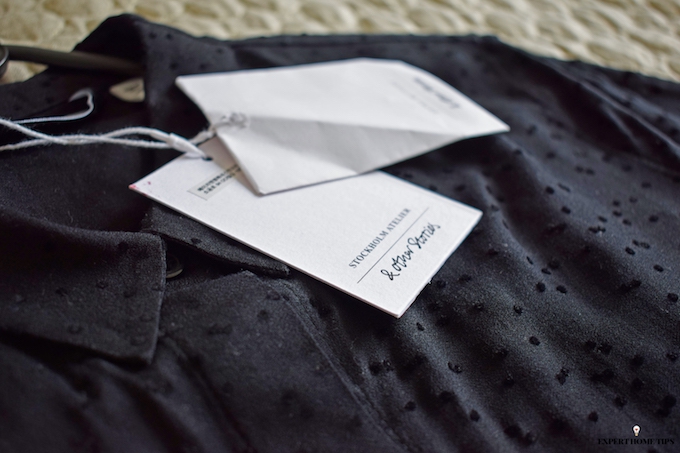
Do the same with your shoes, accessories, underwear and anything else that you might have hiding in your wardrobe until nothing remains. Ahhh, doesn't that feel better already?
Top Tip:
Now is a great time to finally get those worse-for-wear items looking great again. Pop your favourite tv soap on, and get sewing and stain removing so everything's nice and fresh to go back in your wardrobe later on.
Step 2: Assess the available wardrobe space
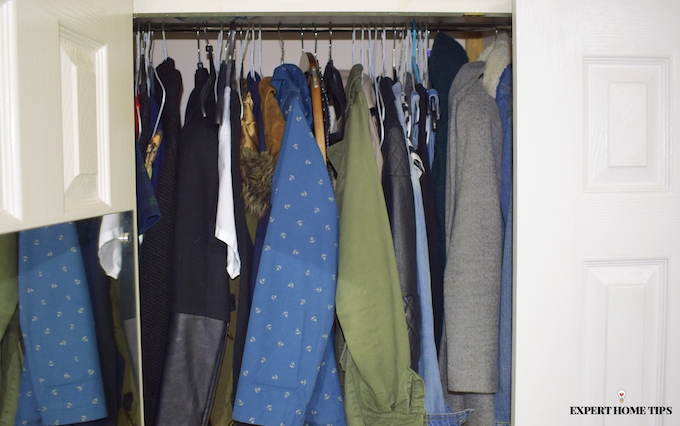
There's no point planning a Beyoncé-style wardrobe if you've only got a small closet to play with. It's important to assess the space on offer in order to create a wardrobe that's functional.
If your wardrobe features a shelf at the top, this will be the ideal place for folded clothes - have a think about which of your items could go there. If it's really high up, you may choose to place storage boxes on it, full of items you rarely wear.
Depending on the height of your closet, there may also be room for additional storage down below. A Small shelving unit placed on one side can be extremely useful, giving both hanging room for long and short items, plus additional space for folded items or shoes.
If your wardrobe was extremely cramped before, storing clothes elsewhere could be a space-saving solution. Perhaps you have a bedside table or set of drawers with space left unused. Think about how you could utilise this and free up room in your wardrobe for items you wear regularly.
At the end of your wardrobe space assessment, you should have a clear idea, not just of the space available, but also the type of space available. This will help you organise your clothes in a way that suits your individual wardrobe.
Step 3 of organising your wardrobe: sort your items
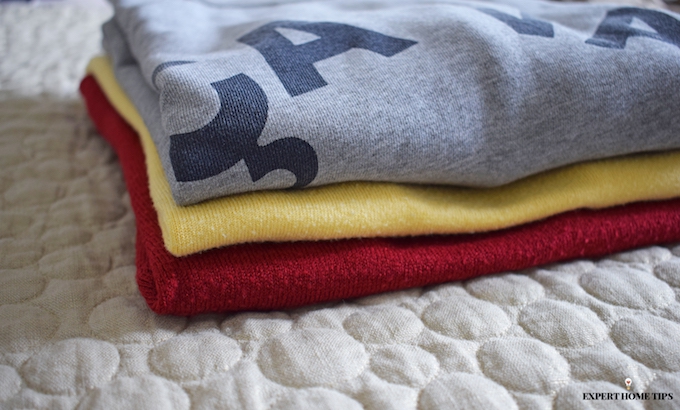
You've cleared out all the clutter, cut down on your clothes, and assessed your wardrobe space. Now it's time to organise what you're left with and prepare it for being put back inside.
Thanks to step 1, you'll already have sorted your items into categories. Step 2 will also have taught you what space you've got to work with.
With this in mind, go through all your initial categories and begin to re-sort your items with space in mind. Fold jersey tops and other casual clothes and pile them neatly. Separate dresses and long items such as tailored trousers, as these will need to be hung at full - length.
What you do with infrequently worn items will very much depend on their individual use. Ski jackets can be boxed up and go in the loft. You may wish to bag up posh dinner dresses and group them with your long items. Out of season items, such as woolly jumpers, can be folded and placed in storage bags or boxes, to go at the top of your wardrobe.
By the time you've finished organising your items, you should be left with piles that all have a designated home in your empty closet. When that's done, you can move on to step 4.
Top Tip:
Now your wardrobe's empty, it's a great opportunity to give your wardrobe a once-over. A quick dust and vacuum will take no longer than a couple of minutes.
Step 4: restock your wardrobe
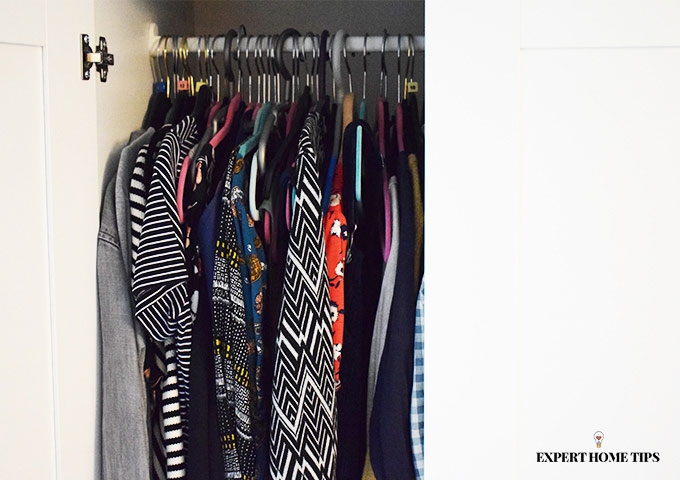
Now everything's spick and span, segregated and sorted, it's time for the fun bit - restocking your wardrobe.
Move methodically, starting high-up and working your way down. If you've already stored items in storage boxes, these can go straight onto shelves. For folded clothes, put some thought into how where you're placing them. You want to position them logically, whether that be with all long-sleeved tops together, or by colour - whatever works for you.
You've already spent a lot of time organising your wardrobe, don't waste your efforts by rushing over details. When it comes to clothes that need to be hung, make sure you use the correct hangers. This sounds like such a silly thing, but the right hanger can help keep your clothes hung correctly, preventing them from falling and also from getting damaged.
Skirts should be hung with skirt clips, trousers folded over hangers with bars, and wide-necked tops hung over suitably-sized hangers. A pile at the bottom of your wardrobe floor is something we want to avoid happening again, and this is a great way to prevent it!
As with folded items, pay some thought as to how you're organising your items. You may choose to go by clothing type - i.e skirt, shirt, dress - by occasion, colour, or maybe something completely unique to you.
Wardrobe organisation step 5: consider additional storage & hacks
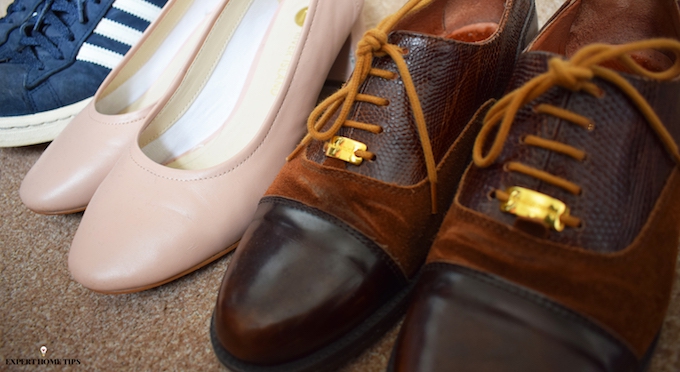
Ahhhh...doesn't it look great? The big question is, though, could it look even better?
You've done the best with your resources - you've energetically emptied, fantastically folded and relentlessly restocked. Now it's time to consider calling in some extra help in the guise of additional storage.
If you're anything like me, you may just have too much stuff to ever get your wardrobe looking really organised. If this is the case, consider investing in a large piece of furniture, such as a narrow wardrobe to stand alongside your additional one.
Perhaps there's no issue with a lack of space, but a lack of separation in your wardrobe. Hanging shelving can be an extremely useful solution, giving you individual areas of storage inside your closet.
Even if your wardrobe is already looking pretty organised, there's always room for some improvement. Check out Anushka's tiny wardrobe hacks for some interesting ideas to take your wardrobe to the next level.
This time, I vow to keep my wardrobe tidy! I hope my guide will help you do the same too.

Wonderful article Stephanie. Some great tips on keeping our wardrobes organised.
Hi Aufora. Thank you so much for your lovely comment. I'm glad you enjoyed my article :)
Hi Stephanie, this was a great article and has inspired me to do something about my four wardrobes! which are all bursting at the seams with clothes I hate to part with even though I'll never wear them again. Many thanks.
We're so pleased to hear that, Marion! We hope it helps.
patronising don't these people have more important things to do?
Hi Christine, We'd love to hear if you have any new tips for wardrobe organisation!
My best tip as many of you may already know is invest in the coat hangers that have a non-slip coating that way you will get even more space and you will never find your clothes on the floor of your wardrobe.
This really changed my life! I can fit so much more in my wardrobe now - and it looks so neat!
If you have good coat hangers or don't want to replace them with non-slip, a simple fix is to wind a rubber band around each end of the hanger. Also, if you are short of space, a ring pull placed over the hook enables you to hang another hanger through the hole.
Great tips, Susan! Thanks for sharing.